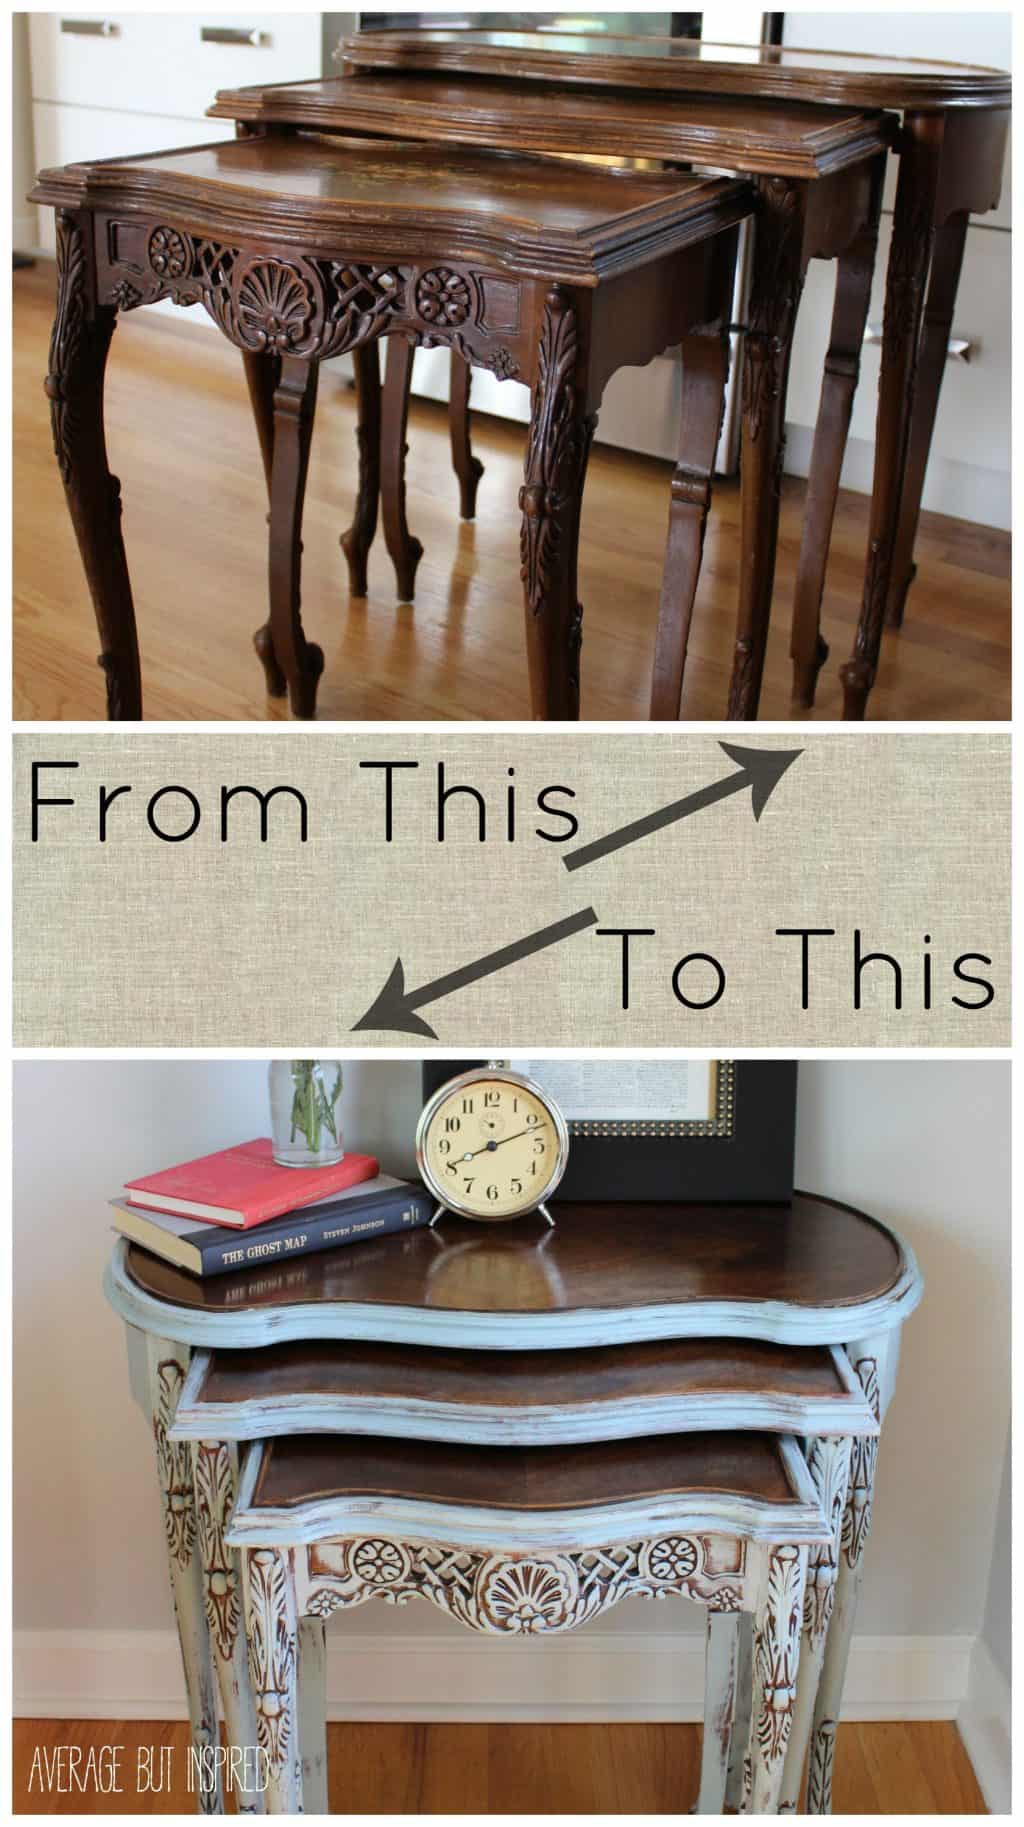
Several months ago I was so lucky to find a set of nesting tables for sale on a local resale website. They weren’t in terrible condition, but they did have some water rings, damaged veneer in spots, and an outdated floral motif painted on each of the table tops. 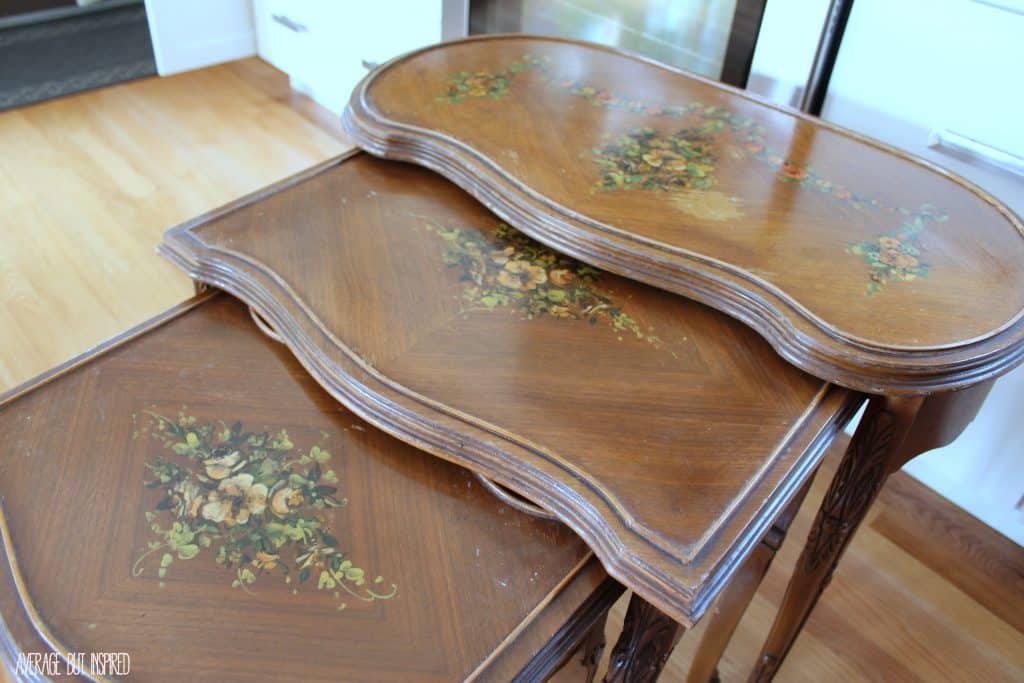
Nonetheless, I was PUMPED to get these babies into my possession. I knew I could make them gorgeous again. I promptly hid them in my basement storage area, hoping that my husband wouldn’t discover that I’d brought home yet another furniture project. (Womp womp. He found them and promptly began badgering me about when my “Russian dolls tables” would be out of here.)
With some elbow grease and TLC I got them spiffed up, and now my painted nesting tables look better than ever!

To get these tables looking beautiful again, I started by stripping the tops to reveal the gorgeous pattern on the veneer. It was hidden beneath the floral artwork and barely noticeable before! I also sanded around the edges, which were pretty rough.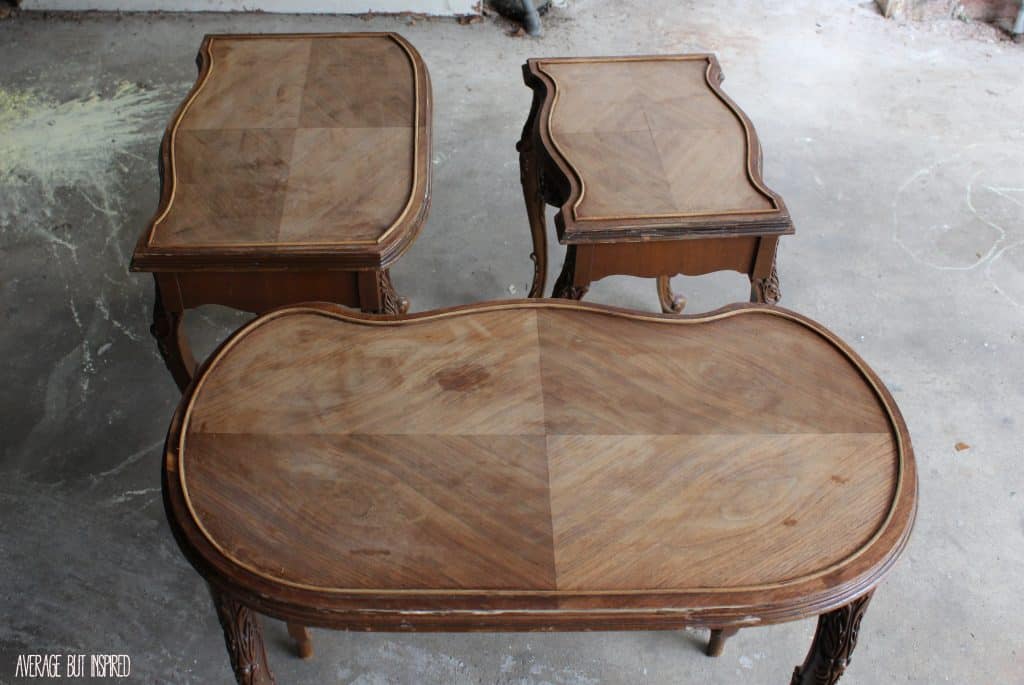
I then stained the tops with dark walnut stain, and sealed them with satin wipe-on polyurethane. Once that dried, I got to work painting the legs with Country Chic Paint in Elegance. This beautiful blue color immediately brought out the ornate detailing in the table legs and bases! (Thank you to Country Chic Paint for providing the paint used in the project!)
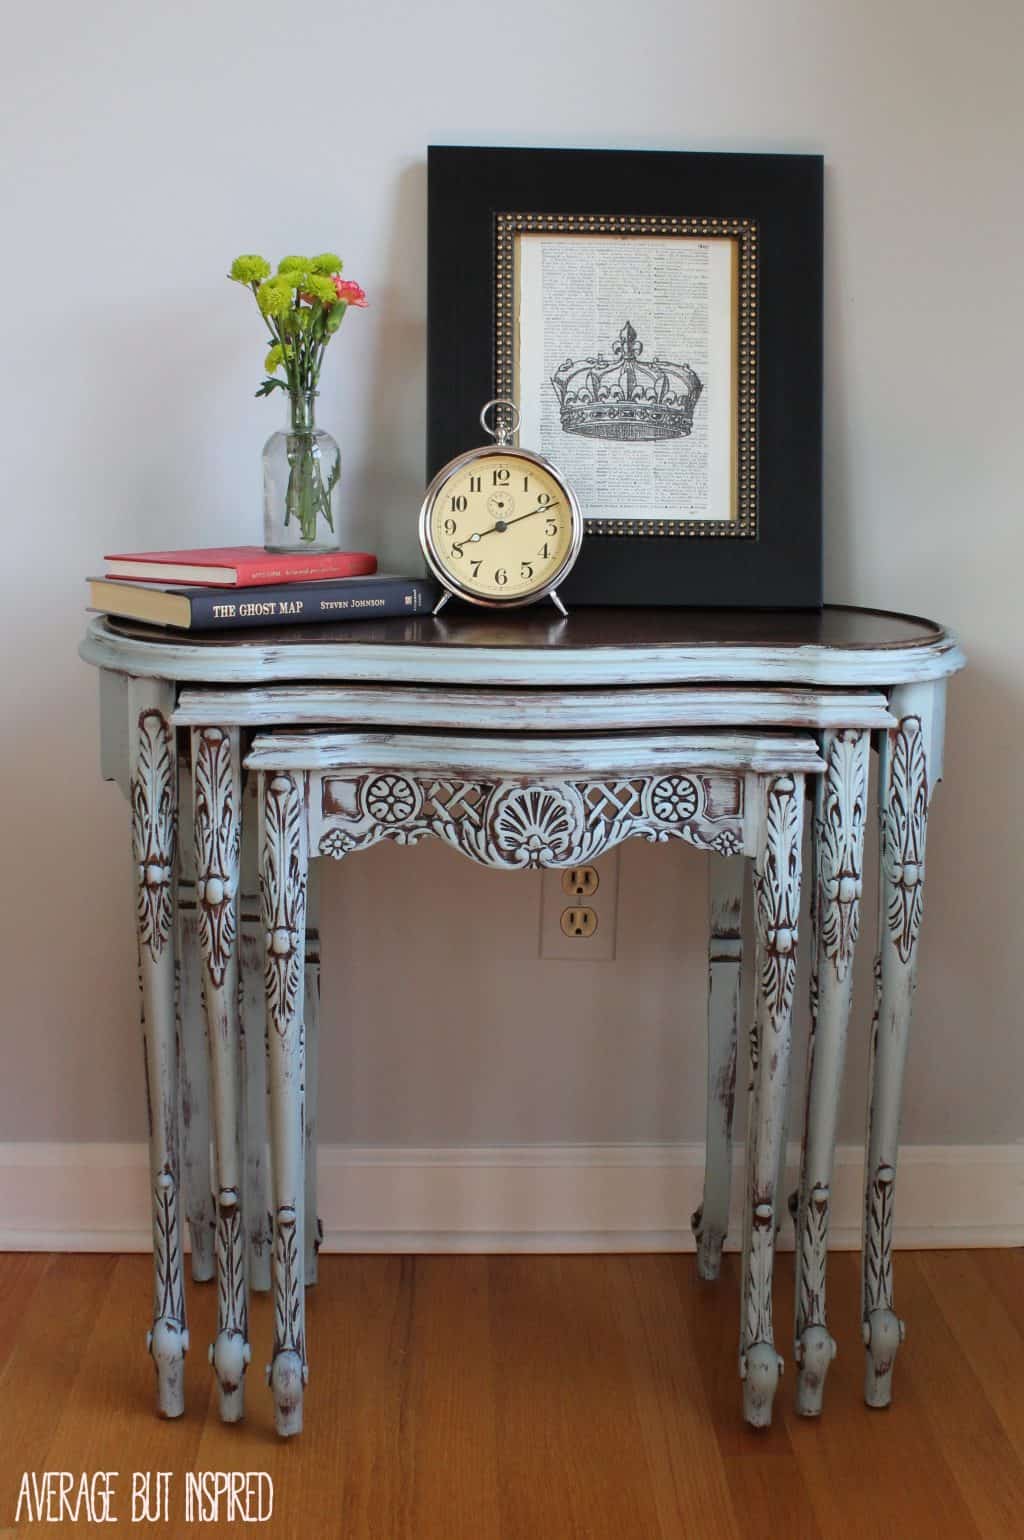
One coat of Elegance was enough to give a slightly distressed look and really make the details pop! Once the paint dried, I sealed each of the tables with wax.
I think the finished product is just gorgeous! To me, it does justice to the vintage look the tables had when I got them, but also gives them an updated look that works wonderfully with today’s decor trends! 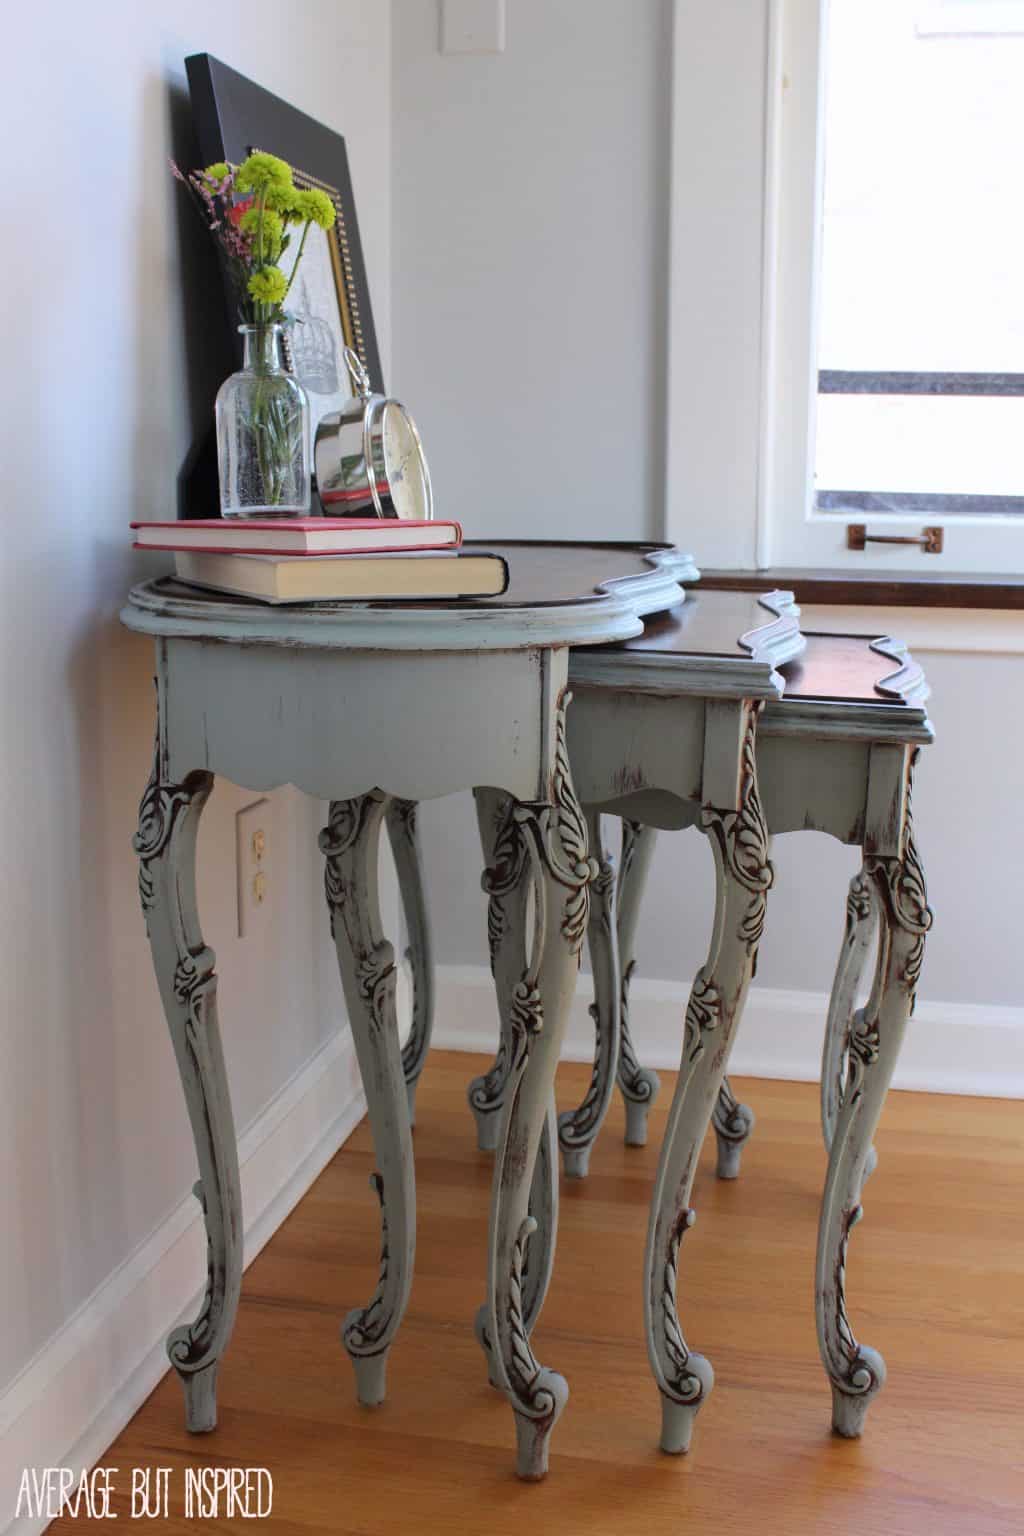

While I was photographing my painted nesting tables, somebody got a little jealous and insisted on being the center of attention. I think he’s too cute not to share, even though he has a naughty little smirk on his face! 
I finally got him to move with the promise of some candy corn. Bribery works, people! 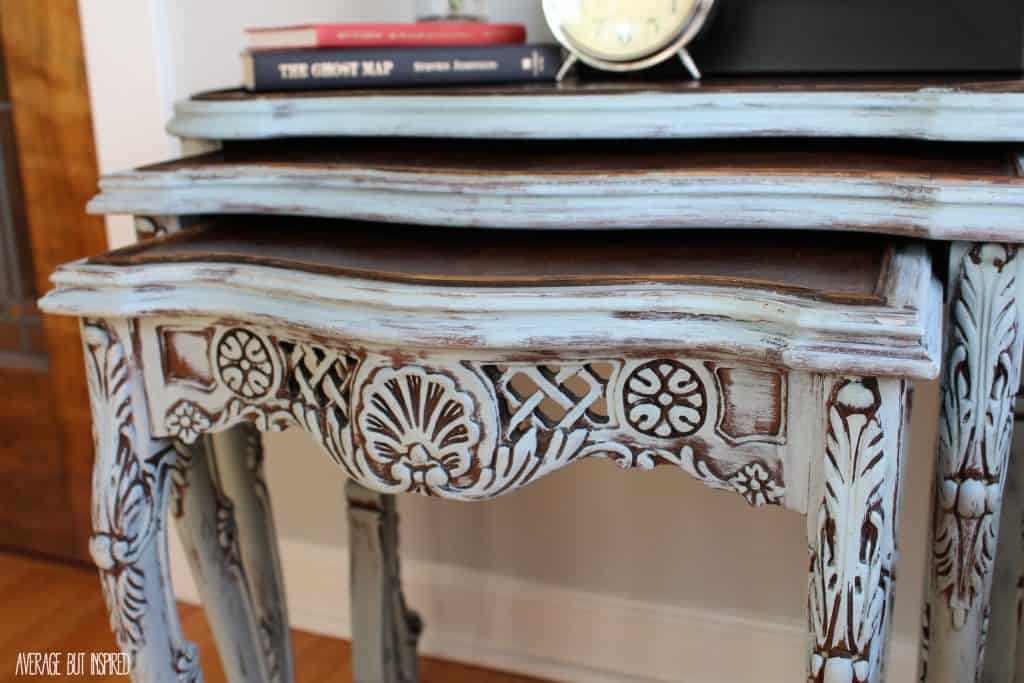
These painted nesting tables make me happy. I love how they turned out and I hope I’m lucky enough to find another set for sale in the future. They’re not that easy to find!
-Bre
Marie, Paint it white says
Oh my Lord!! You did an amazing job with these !! Hats off too Ya.. Well done..
Bre says
Thank you so much, Marie! I really appreciate that!
Cat says
What tool did you use to paint the legs? Any particular brush? I’d be interested in those photos too! I always feel like paint tends to get too gloopy for me, but maybe I’m using the wrong tools or wrong technique. Did you sandpaper the legs at all after you painted them to get that distressed look or it really just turned out like that? I might be interested in doing something similar to my coffee table soon!
Bre says
Cat! I swear, I just used a regular high-quality brush (1.5″), and I made sure it wasn’t overly saturated. I just put a real thin amount on the brush and brushed all the way down each section. I didn’t sandpaper at all after the paint dried – it honestly just came out that way. The Country Chic Paint is thinner than other chalky-finish paints I’ve used, so I have never had a “gloopy” problem like you mention. Other brands that are thicker I will water down a bit prior to application in order to avoid that problem. You should for sure give your coffee table a makeover! Not sure what your level of experience with chalky paint is, but it’s basically foolproof!
Amy | Canary Street Crafts says
$10 bucks delivered?!! Amazing deal! I love how you painted them, leaving the woodwork in the pretty details to show through. They look gorgeous now. And C is adorable. I need to have a talk with him though…he moved for candy corn?! I need to teach him how to hold out for the good candy :).
Bre says
Thanks, Amy! Yeah, it wasn’t my plan to leave them shabby like that, but when I saw how the details just popped with the brown and blue contrast, I couldn’t do a second coat. And seriously, my kids will do ANYTHING for ANY type of candy. 🙂