During one of my recent trips to Michaels, I picked up some unfinished wood bunting pieces for no reason at all. I had nothing to celebrate and Lord knows I have enough holiday and event decor to last a lifetime. But into my cart these pieces went. 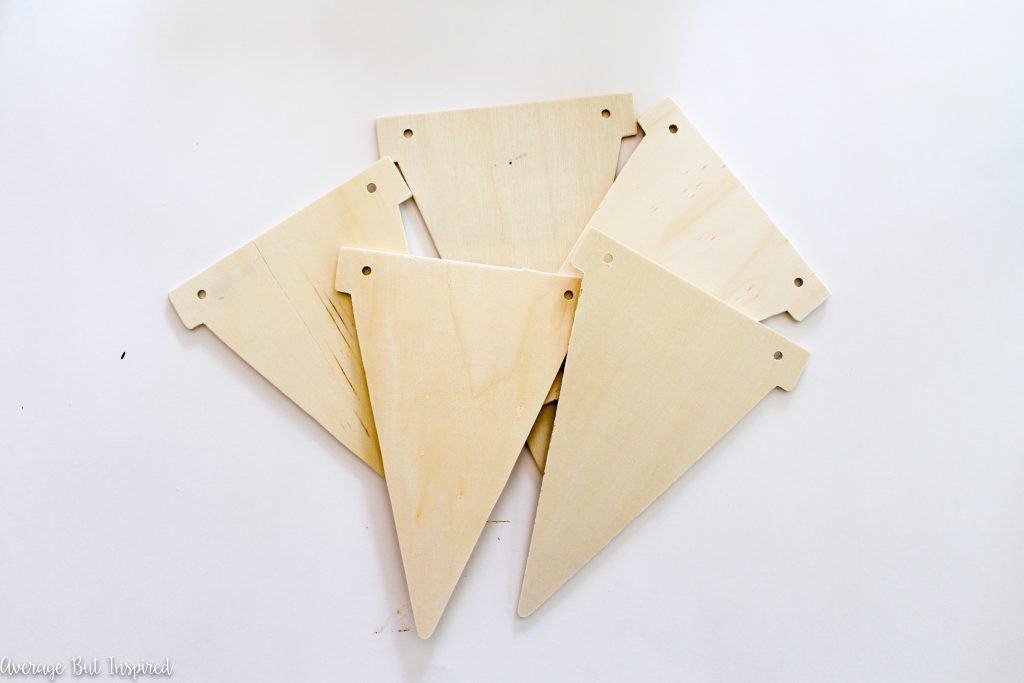
Then they sat on my craft desk for months. (I wish I could say that is atypical, but it’s not. I have become a craft supply hoarder. Call TLC and get a production crew out here – stat.) But one day an idea popped into my head and I knew these would be perfect painted as watermelon slices on one side and candy corn on the other! Painting both sides meant more bang for my buck (literally and figuratively). I can display it on the watermelon side in the summer, and flip it around come fall.
I grabbed the paints and got to work . . . and if I do say so myself, my summer to fall reversible bunting turned out so cute! It’s kind of like a mullet . . . business in the front, party in the back. (Candy corn clearly brings the party.)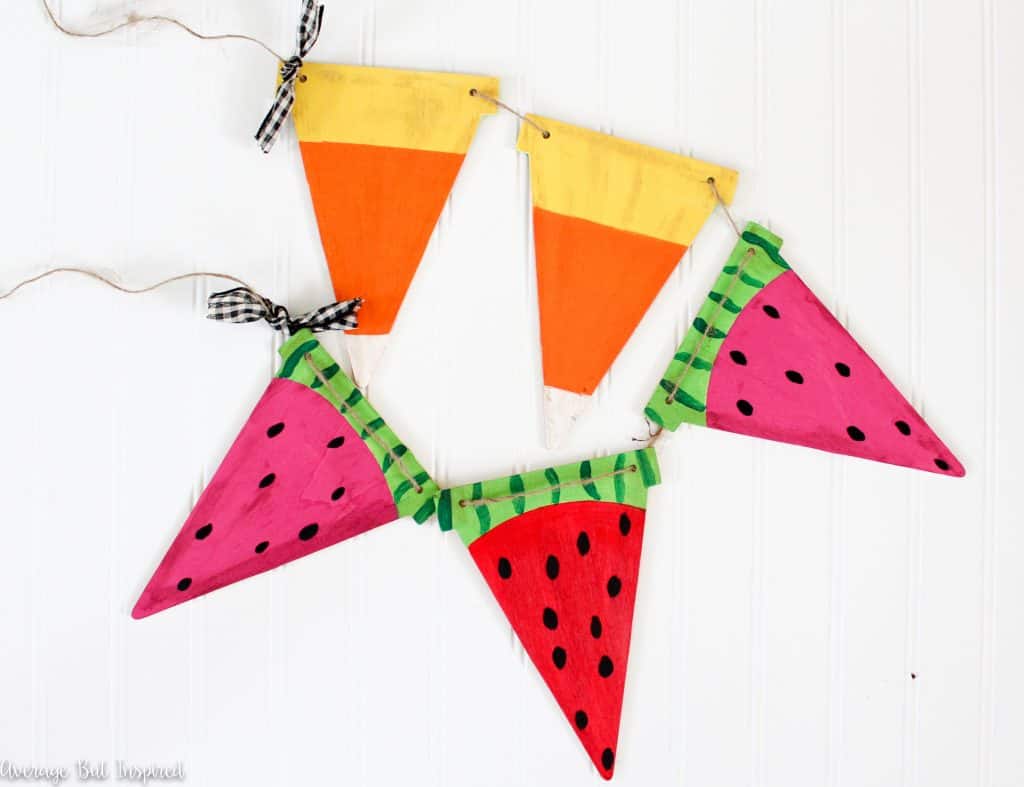
SUPPLIES NEEDED FOR SUMMER TO FALL REVERSIBLE BUNTING
Some of these links are affiliate links. To read my full disclosure policy, please click here.
- Unfinished wood pennant banner
- Twine
- Acrylic paints in red, fuschia, lime green, dark green, black, yellow, orange, and white
- Brown creme wax
- Small foam brushes
- Small artist brushes
HOW TO MAKE SUMMER TO FALL REVERSIBLE BUNTING
If you have a steady hand, this project is a snap to make! (If you don’t, you may want to tape off each section so that you get clean lines.) First, paint a slightly arched line with the lime green paint. 
Paint below the green line with red and pink paint.
Add some wavy dark green lines to the lime green section, and paint some black watermelon seeds on the pink and red parts.
Flip each piece over and paint a yellow section at the top of the bunting.
Next paint a larger orange section in the middle.
Finally, paint the tip white.
After the paint has dried completely, brush on some dark brown creme wax and wipe it off quickly. This will help give an aged look.
String each of the pieces onto twine and add a little decorative ribbon if you want another cute touch.
Hang it up as the watermelon side in the summer!
And turn it around to another sweet treat in the fall!
If watermelon or candy corn don’t float your boat, you could make a pizza bunting instead. (No – don’t do that. That would just be weird.)
I think this summer to fall reversible bunting turned out pretty darn cute. How about you?
Bre
Kim says
First of all, now I’m hungry! Can’t wait for the candy corn to land on grocery store shelves and I’m out of watermelon! These are seriously brilliant! Like another commenter, I thought these were sewn together. You did an absolutely fabulous job. Way to keep our creative juices flowing, Bre!
Bre says
Aw, Kim – that is so sweet! Thank you for this nice note. I really appreciate it!
Emily says
Bre, this banner is so cute and so clever! I love it! Thanks for linking up with our Creative Spark party; I chose your bunting as one of my Feature picks this week. I hope you’ll stop by tomorrow and link up with us again 🙂
Bre says
Hi, Emily! Thank you so much for featuring my banner! I so appreciate it! I’m sorry I missed your party this week. Haven totally threw me off! 🙂 Hopefully I will be back on track this week. 🙂
Carrie at Kenarry: Ideas for the Home says
Oh my goodness! This is brilliant! What a great idea, Bre.
Bre says
Thank you, Carrie! BTW it was SO fun hanging this past weekend!
Angie @ ambient wares says
Nice! I didn’t know these existed and I’m glad they do. I love how you get 2 completely different uses out of one banner! So fun!
Bre says
Thanks so much, Angie! Yeah, they’re super fun and you could really do so much with them. I bet you’d make something awesome!
Julie says
That’s such a clever idea. I love that they just kind of fell into your basket and came home with you, that sort of thing happens to me all the time too!
Bre says
Hi, Julie! Thank you!! 🙂 Yeah, man, I just don’t know how these things keep jumping into my basket. But I’m glad I’m not the only one who has that problem!
Seana Turner says
I had no idea you could buy wooden bunting pieces. When I saw the photo, I thought you had sewn these (which, I guess, could work as well.) What a very clever idea! Perfect end of summer craft to do with older kids as well… In terms of craft hoarding… maybe we should talk LOL!
Bre says
Thank you, Seana! And oh my gosh, your comment about craft hoarding made me laugh out loud. HA!