It’s Week Three of the One Room Challenge, and that means my six week master bathroom makeover is halfway finished (in theory). If you’ve just now found yourself in the middle of my makeover, welcome and feel free to peruse my disaster of a master bath as shown in Week One, and the progress I made in Week Two.
![]()
I have to admit that Week Three started out strong, but then my daughter’s birthday came along, followed by Easter. I got a little sidetracked, and now my preschooler is on spring break. I can feel my momentum shifting toward the “getting nothing done” column. BUT . . . that isn’t stopping me from showing you what improvements I DID make over the last week!
I started out by giving my master bathroom vanity a death stare. I really don’t like its fussy styling or cherry wood finish. And I especially don’t like the copper vessel sink or weirdo pump faucet. 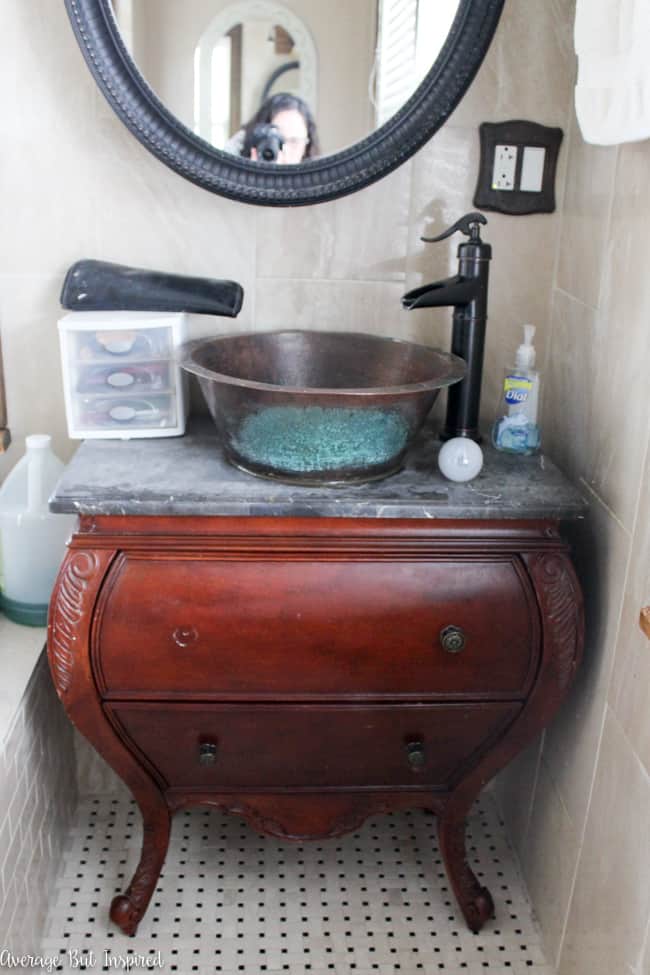
But because this is a BUDGET bathroom makeover and not a renovation, I am going to live with this monstrosity. I decided to do what I love and just paint the vanity.
This post contains affiliate links. To read my full disclosure policy, please click here. Also, thank you to DecoArt for providing me with the paint used in this post. The project and opinions are my own.
In order to get a great finish in no time flat, I used some awesome furniture and cabinet paint from DecoArt called Americana Decor Satin Enamels. I knew about it because I previously refinished a table for my mom with it. I love it because it goes on really evenly and it doesn’t require a topcoat! Yup – it’s self-sealing. I am all about instant gratification when it comes to painting furniture, so this paint was the logical choice for my bathroom vanity. 
I chose the color Steel Blue because I wanted a moody blue that wasn’t a true navy. I lightly sanded the vanity and painted it right in place!
Two coats later and I was finished. The result is awesome; it’s so smooth and a perfect amount of shine for a bathroom vanity.
I also added new hardware, which I found on clearance at Marshalls for $4.50 (for all four knobs)! This hardware is different from the hardware in my original design plan, but for the price I couldn’t pass these up! Plus they look like the doorknobs throughout my home so they work.
I also restored the countertop, which was dull and lifeless.
I found this awesome product called Rejuvenate Polish and its little microfiber applicator and chamois buffer, and I gave it a try.
It was super easy to apply, and it made my countertop look SO MUCH BETTER!
I really could not get over how easy it was to make the countertop look that good! Next up – shining up that copper sink!
Now, even though the vanity painting was a big part of this week’s progress, the other big news is that my husband and I got the new lighting installed! (When I say “my husband and I,” I really mean “my husband.” I supervised and ate some snacks while he worked.)
We chose fixtures that were slightly different from the one in my design plan, primarily because we decided those were just too expensive for this project. We loved them, but were glad to find ones with a similar look for a much lower price tag! We chose a three bulb semi-flush mount for the main fixture, and a two bulb flush mount for over the toilet. Let me tell you that the added light in the room is incredible, and I do not miss the weird pendant light over the toilet and flowery flush mount that were there before!
We also installed a new vanity light, and were very disappointed to find that the previous homeowner installed that strange wood piece over the tile / under the fixture because he didn’t center the electrical box, so he had to mount his fixture on the wood to get it centered. Because of this, we had to leave the wood, which I hate. I’m thinking I might paint it to match the marble, but I’m a little nervous I could make it worse. Any thoughts on this?
So, the painted vanity and the new lights were the highlights of Week 3! Other little things I accomplished were nailing the window trim pieces back into place and attempting to replace the rusty return vent cover. Let’s take a look at the to-do list and what remains:
Patch drywallScrape ceilingRe-paint ceiling- Paint moulding
- Paint windows
- Paint walls
- Paint pocket doors (or maybe replace these . . . )
- Re-stain window sills
Change light fixturesPaint vanity- Make cornice boards for over windows
- Create art to replace mirror near toilet
- Tailor shower curtain to fit non-standard shower entry
- Shop for decor for bathroom
Yikes. Typing this was a bit of a reality check for me. I don’t think I can afford to slack off this week. Time to get painting!
I hope you’ll check back with me next Thursday to see what else is new in my master bathroom makeover! I hope to have it looking even better! Also, please make sure to visit the other designers and linking participants that are making over their spaces in six weeks as part of the One Room Challenge!
-Bre
Thank you to these sponsors for providing product for my Master Bathroom Makeover!
YOU MIGHT ALSO LIKE TO SEE THESE ONE ROOM CHALLENGE POSTS
UncommonSensesc says
I’m just now finding this and love that enamel paint on the vanity – I even like the blue (little too purple for me, I think, but I still really like it). That wood piece (it may have been changed/painted by now) – I agree with you, I really don’t like it. I don’t think you could mess it up if you tried, anything is an improvement!
Bre says
The paint is awesome! It is holding up really well and it comes in lots of colors if you need some for a bathroom! As for the wood piece – it’s still wood! Any ideas what I should do with it? I hate it, but am kind of stuck. 🙂
Nicole Q-Schmitz says
The vanity colour looks great! Have you thought about painting the wood behind the light to match? It may pop in an intentional way, rather than trying to blend it into the marble and not looking correct. (It also does sort of go with the wood trim, so maybe keep it as is?).
Lynsey says
I had the same thought as ^^ Nicole – maybe paint the wood behind the light the same blue as the vanity. Or, perhaps stain it dark to match the bronzed fixture.
Bre says
Thank you, Lynsey!! Yes – I am so torn about what to do with that weird wood!!! I appreciate your thoughts. 🙂
Bre says
Thank you, Nicole! Ugh I so appreciate your thoughts on the wood behind the light. I am going back and forth on that all the time! Currently I’m leaning toward leaving it stained as-is, because it ties into the windowsills which are natural wood, too. I think you’re right that if I try to make it look like marble, I may just mess it up. Well anyway, hope you’ve made good progress this week on your bathroom makeover. Looking forward to see the updates!
Julie says
Wow, that paint color is gorgeous! And self-sealing paint sounds like a nice solution.
Bre says
Thank you so much, Julie! 🙂 Also, I’ve been checking out your makeover but have been having a hard time leaving comments on your blog! Anyway, just want you to know I love the furniture you chose (including the splurge pieces), and am excited to see it all come together!
Seana Turner says
Wow – that is looking terrific. What a beautiful color of blue. Never heard of self-sealing paint. I’m all about efficiency. Everything you do always looks so pretty:)
Bre says
Thank you, Seana! Yes – efficiency is KEY!! This paint is so awesome – I really can’t rave about it more. If you need to give cabinets, a vanity, or a door a new look, try it out. It’s pretty much foolproof!
Bre says
I LOVE the Satin Enamel paint. And that color is so pretty! That vanity is looking so much better now!
Bre says
Thanks, Bre!!! Yes, I am so happy with the new color! It has made that yucky old piece look so much more vibrant (and so much more ME!). 🙂