When you’re looking for an inexpensive craft that packs a lot of punch, paper crafts are the way to go! Let me show you how to make a paper butterfly for crafts, decor, and more. I think you’ll want to make these paper butterflies to adorn lots of things!
With so many gorgeous scrapbook paper patterns available, it’s easy to create eye-catching paper butterflies without spending much money at all.
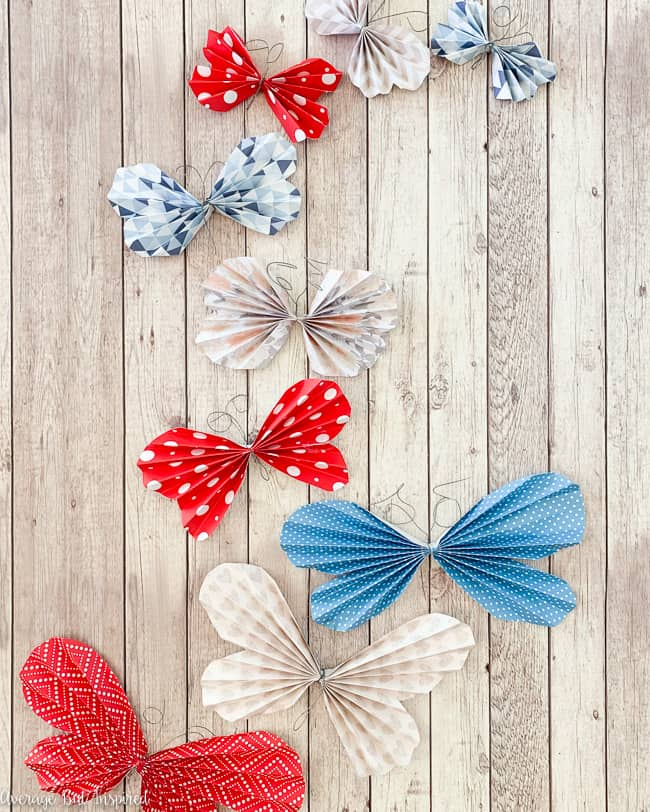
I made a bunch* of paper butterflies for a cute piece of Fourth of July decor, but you could make paper butterflies in any color or pattern to suit your needs! (*Did you know that a “bunch” of butterflies is actually called a kaleidoscope or a swarm? I wish I would’ve known that when I painted this butterfly bench for my daughter!)
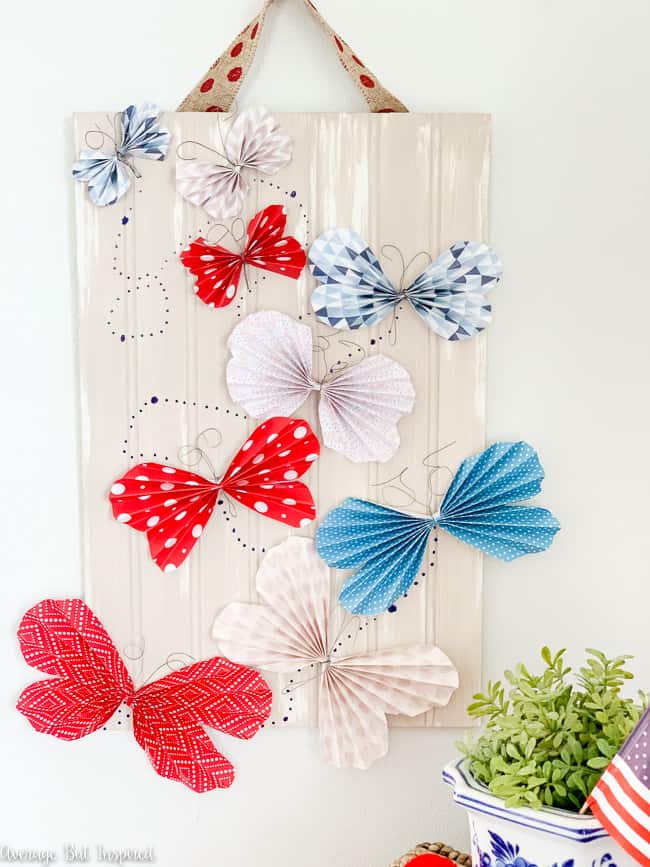
Some ideas for how to use a paper butterfly is to hang it on the wall, add it to a greeting card, or put it in a cloche jar.
How will you use any paper butterflies that you make? Share your ideas in the comments below!
How to Make a Paper Butterfly
Learn how to make a paper butterfly for crafts, party decorations, home decor, gift wrapping, and more! Paper butterflies are also fun for kids to make! Customize paper butterflies with pretty scrapbook paper.
Materials
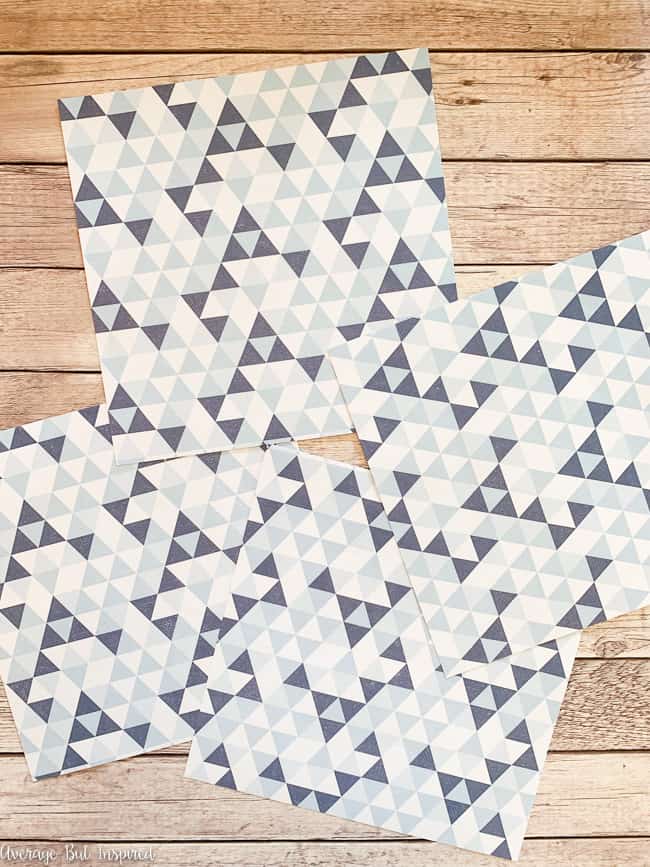
- Scrapbook paper in colors and patterns of your choice
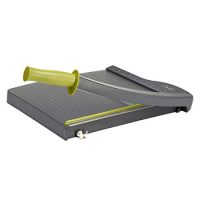
- Recommended: paper cutter (If you don't have a paper cutter, a ruler and scissors will work)
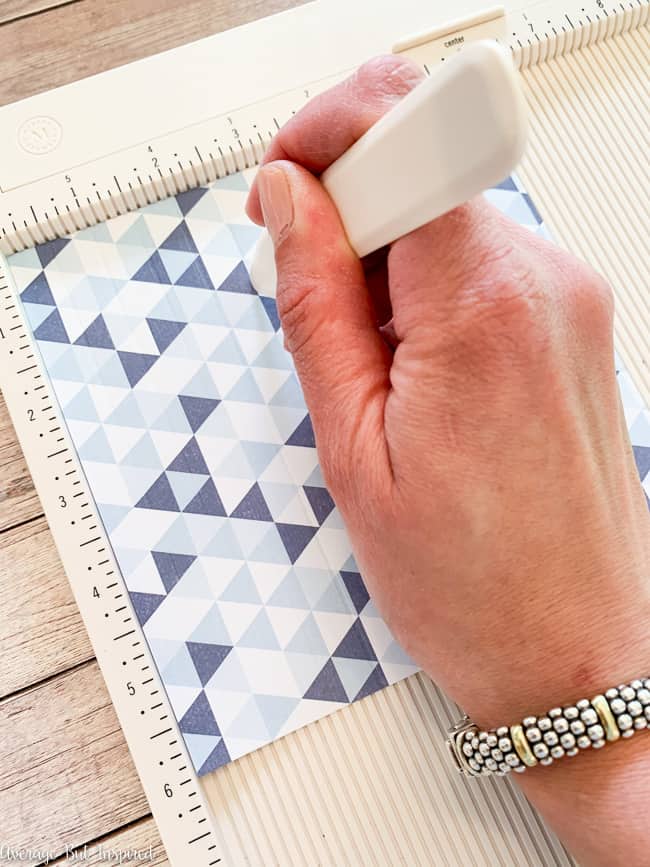
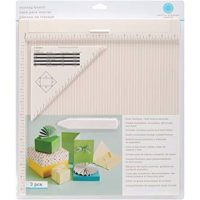
- Recommended: paper scoring board (If you don't have a paper scoring board, you can measure and fold or fold accordion style)
- Craft wire or floral wire
- Scissors
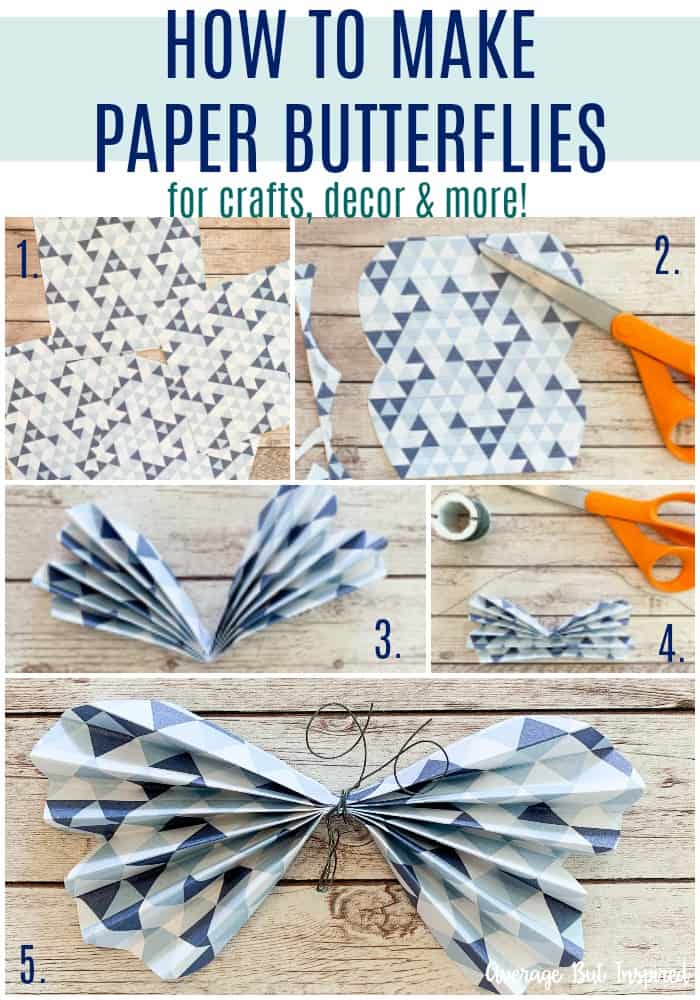
Instructions
- Cut patterned scrapbook paper into a square. We used a paper cutter to get perfect 6" x 6" squares quickly, but you can use scissors if you don't have a paper cutter.
- Use a paper scoring tool to score the paper at 1/2" increments. Scoring the paper puts a shallow line into the paper and makes it so much easier to fold and get perfectly even folds! If you don't have a paper scoring tool, you can fold accordion style.
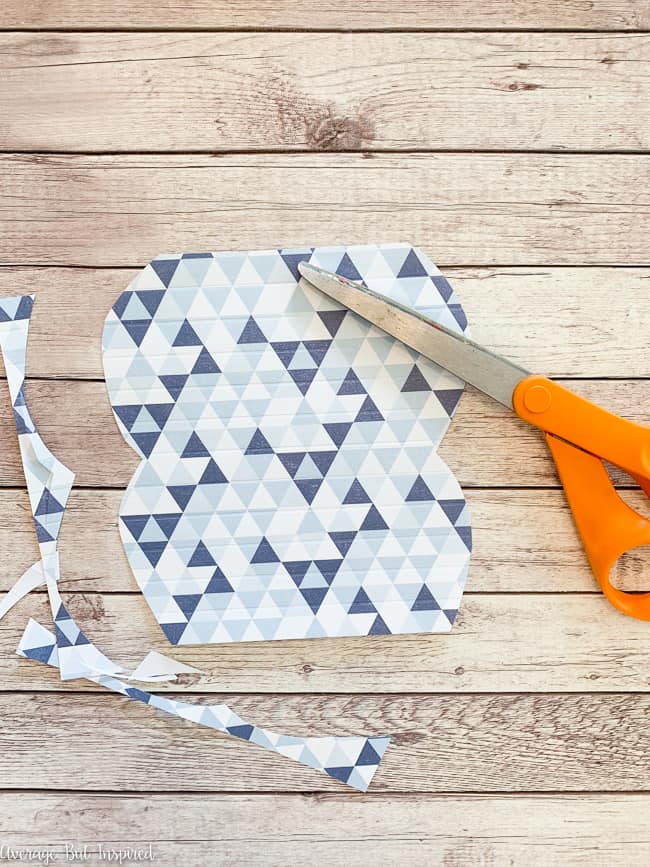
- Cut along the edges of the paper to create the look of butterfly wings. These don't have to be perfectly even!
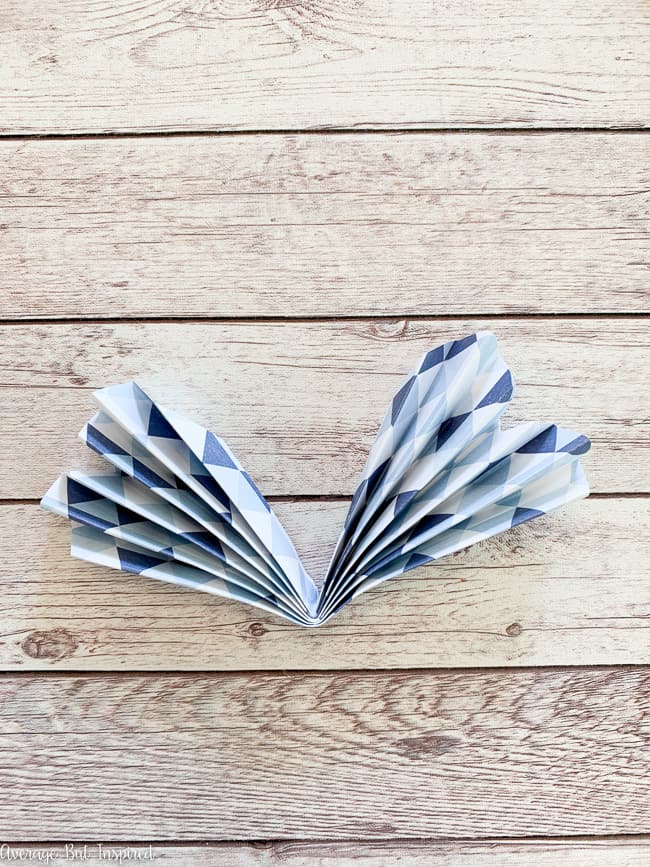
- Fold the paper along the pre-scored lines, or accordion style, and then fold the paper in half in the opposite direction.
- Cut a piece of floral wire and wrap it around the middle fold in the paper.
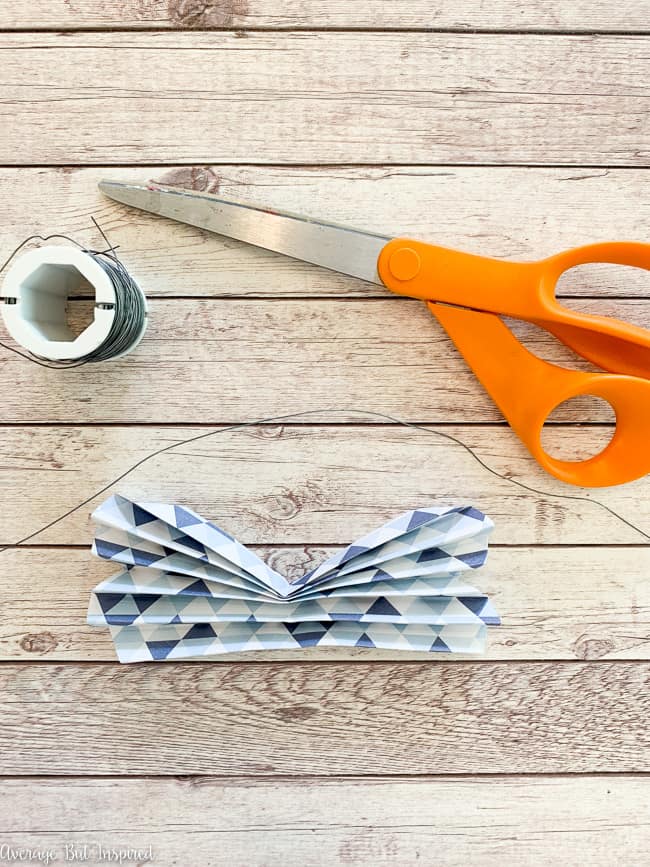
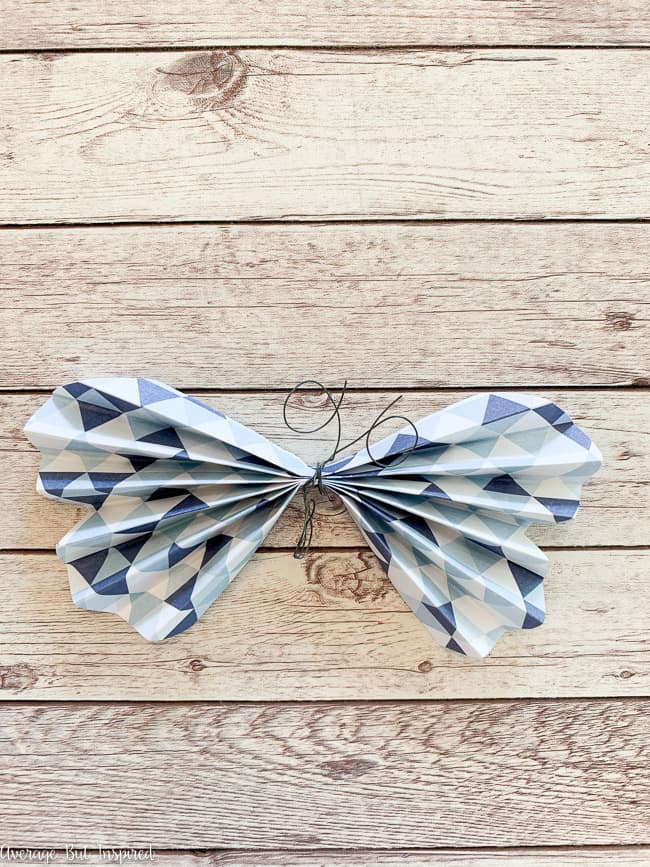
- Bring the ends of the wire together and twist them to secure them together. Wrap each of the ends outward and curl them to create your butterfly's antennae! Gently unfold the wings to create a fuller look.
- Use any paper butterflies you create for home decor crafts, gift wrap accents, and more! I hot glued some red, white, and blue paper butterflies to a piece of wood to create a Fourth of July sign!
Notes
To make larger or smaller butterflies than I created, simply cut your paper into larger or smaller squares! We cut our squares at 4" x 4", 6" x 6" and 9" x 9".
Recommended Products
This post contains affiliate links. To read my full disclosure policy, please view the disclosure policy at https://averageinspired.com/about-me-contact/disclosures.
Leave a Reply