Hi, friends! I have such a fun post for you today! Remember back in August when some of my blogger friends and I teamed up for The Great Crate Challenge, and showed you how we each transformed a plan wooden crate from Michaels in totally different ways? Well, we’re at it again, but this time it’s with foam craft pumpkins as part of the Pick Your Pumpkin Challenge!
 At the bottom of this post are links to everyone’s amazing projects, so make sure you check them out and find tons of inspiration on how to transform a plain craft pumpkin into something fantastic! Here’s a sneak peek!
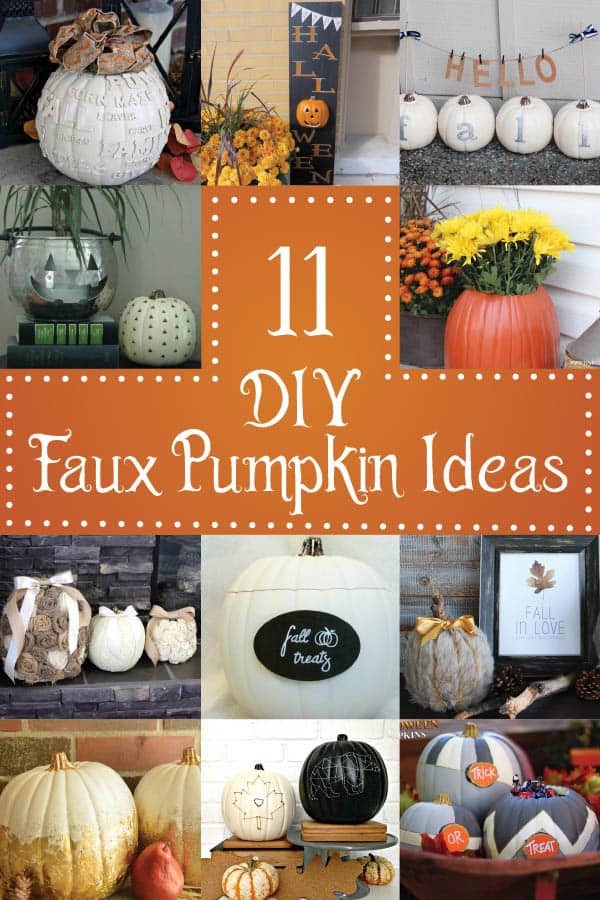
For weeks I racked my brain, trying to come up with a new way to decorate a craft pumpkin, but unlike the other ladies who participated in this challenge, I just couldn’t think of something original. So I decided to keep mine plain, but to use it in a different way – on a sign! A LIGHT UP Halloween wood sign, to be exact! I had SO much fun making this festive Halloween sign for my porch, and I think the pumpkin that serves as the letter “O” is such a fun touch! My kids are totally obsessed with making the pumpkin light up, too. I think the trick-or-treaters will love it come October 31!
To make my sign, I used these supplies (some of these links are affiliate links. To read my full disclosure policy, please click here.):
- 9″ x 36″ board
- Black, orange and cream chalk paint and/or acrylic paint
- Paint brushes (foam and detail brushes)
- Polyurethane
- Silhouette Machine (you could use stencils though!)
- Mod Podge
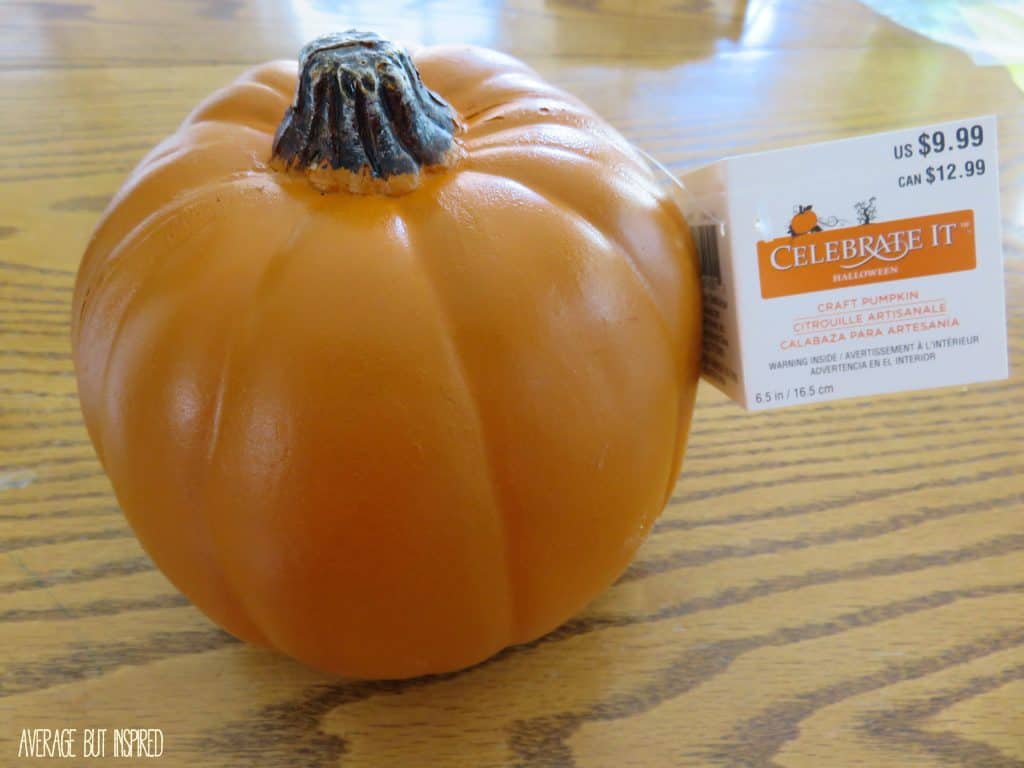
- Craft pumpkin
- Knife
- LED tea light candle
- Elmer’s ProBond glue (or another glue that is suitable for use on foam and wood)
First, I painted my board black using Americana Decor Chalky Finish Paint in carbon. 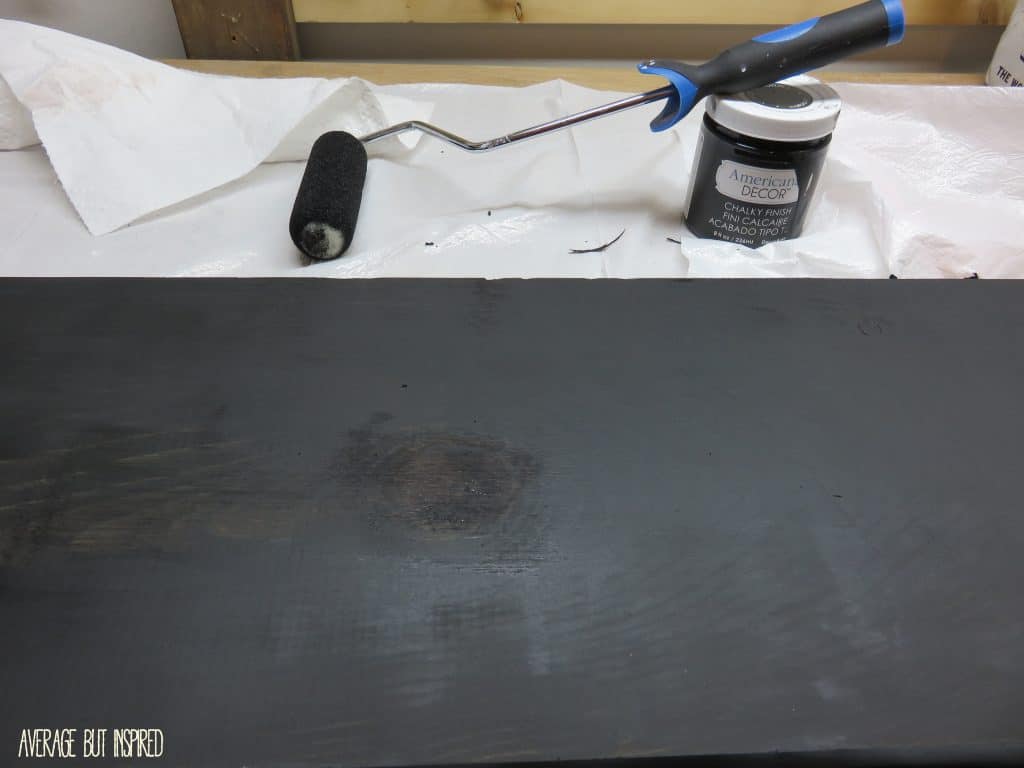 Next, I used my Silhouette machine to cut out my letters to spell “HALLOWEEN” (minus the “O”). You could easily use store-bought stencils for this part though! I placed my stencils on the board, had my kids help me Mod Podge around them to form a seal so the paint wouldn’t leak through, and then painted those letters orange.
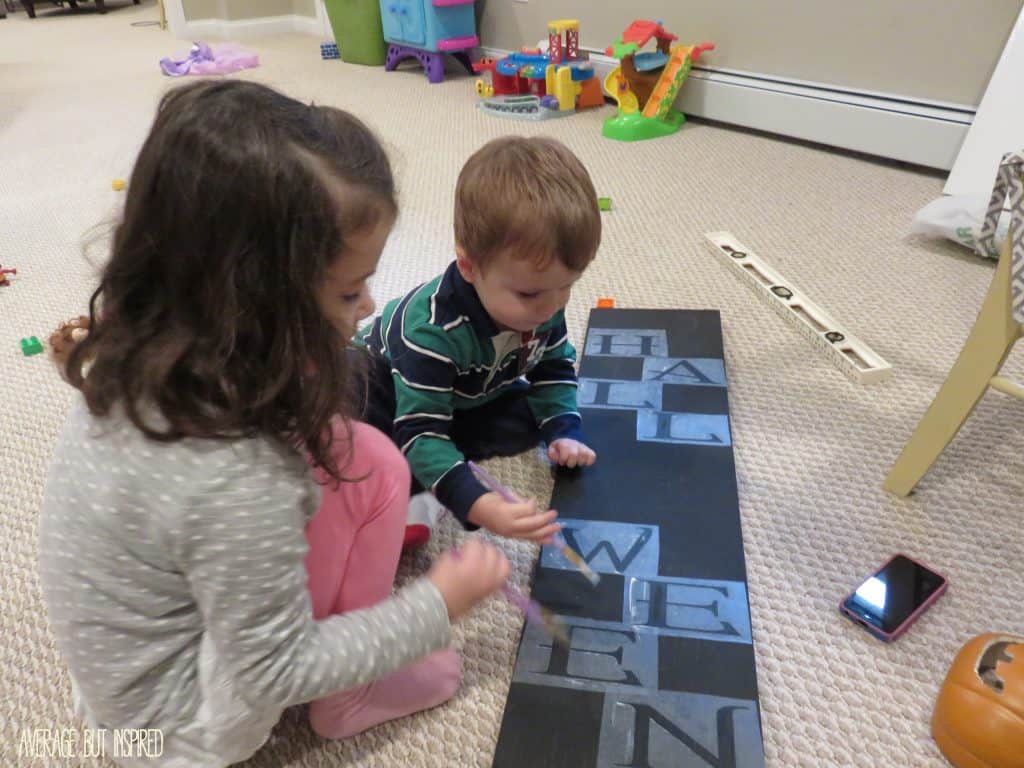
 Once the paint dried, I removed the stencils. Then I drew a bunting/banner at the top of the board by cutting a triangle out of cardstock and tracing around it.
  I filled that in with paint and added some detailing to my “HALLOWEEN” letters with the same color paint. When the paint dried, I wrote “happy” in the bunting so that I could paint over it and not make a mess.
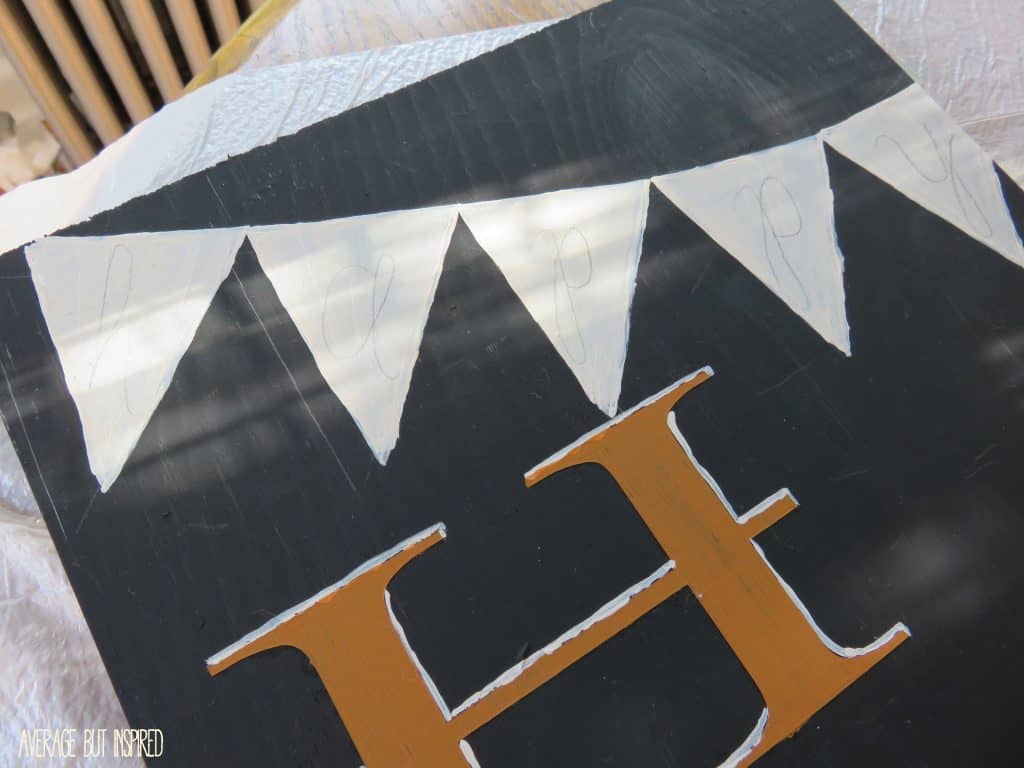 After all of the paint dried, I sealed the painted board with two coats of polyurethane suitable for exterior use. This was to ensure that my sign would be protected from the elements! Next, I cut my craft pumpkin in half.
 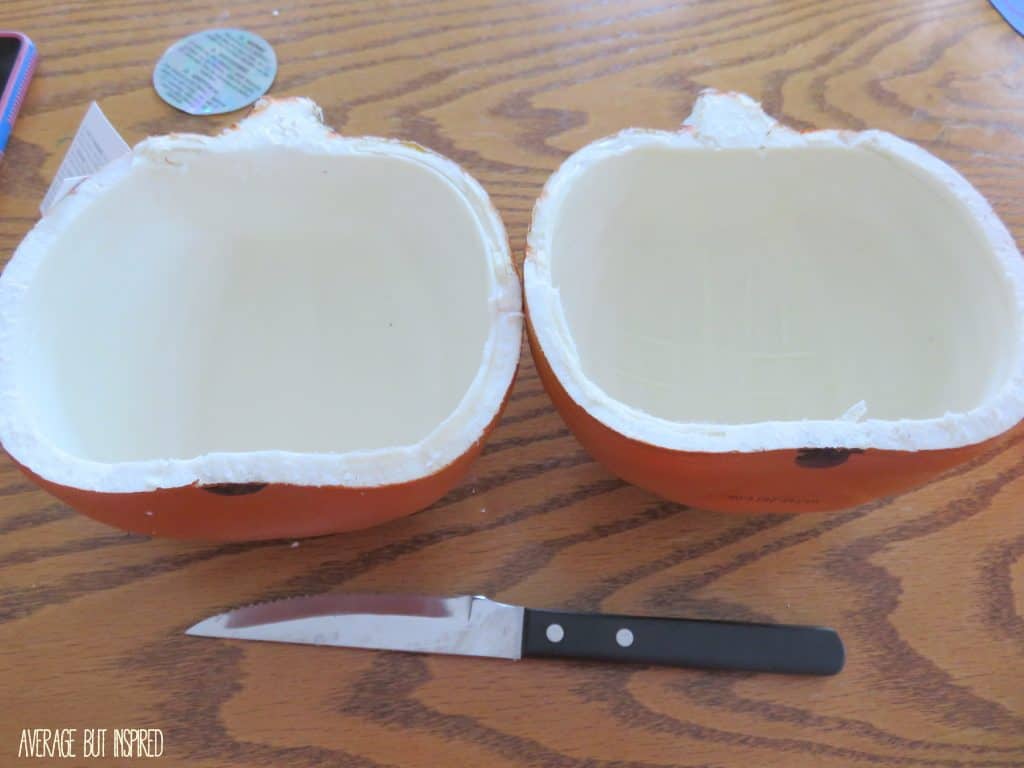 And then I gave him a cute little face. (Kinda crooked, but oh well.)
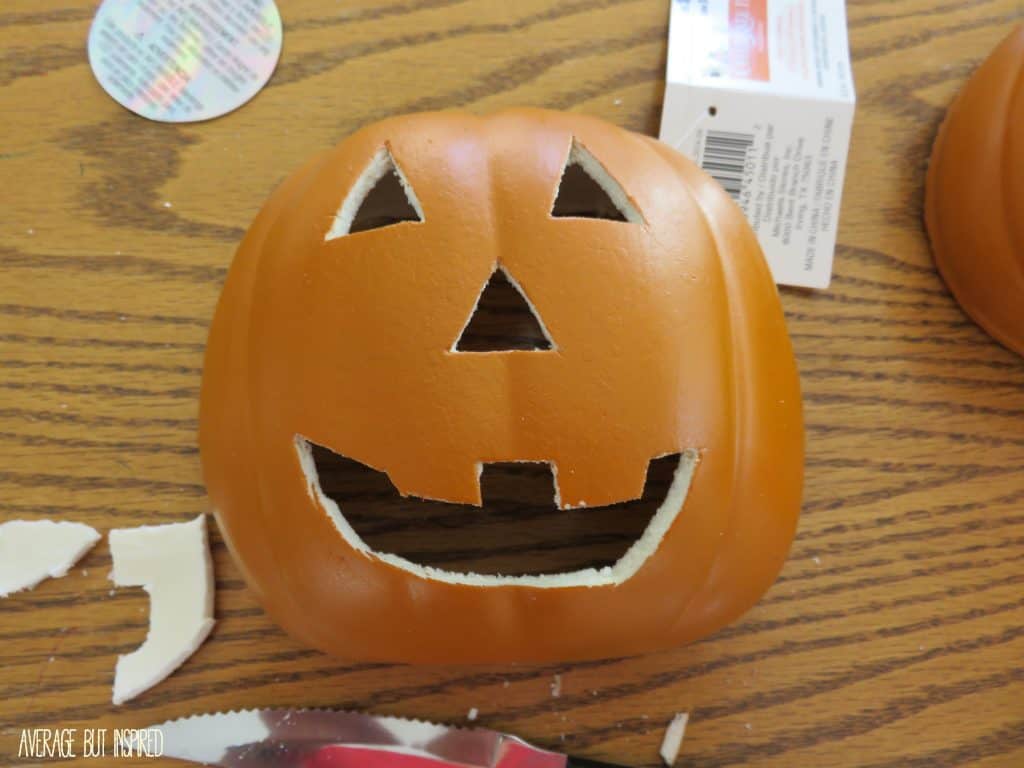 I then used my ProBond glue to affix a piece of velcro to the back of the pumpkin at the stem, and also to affix a piece of velcro to the sign where I needed the “O” to be. I also glued a piece of velcro to the bottom inside of the pumpkin and to the bottom of my LED tealight candle so that I could secure the candle to the pumpkin. I wanted my pumpkin to be easily removed so that I could access the tealight to turn it off and on as need be.
 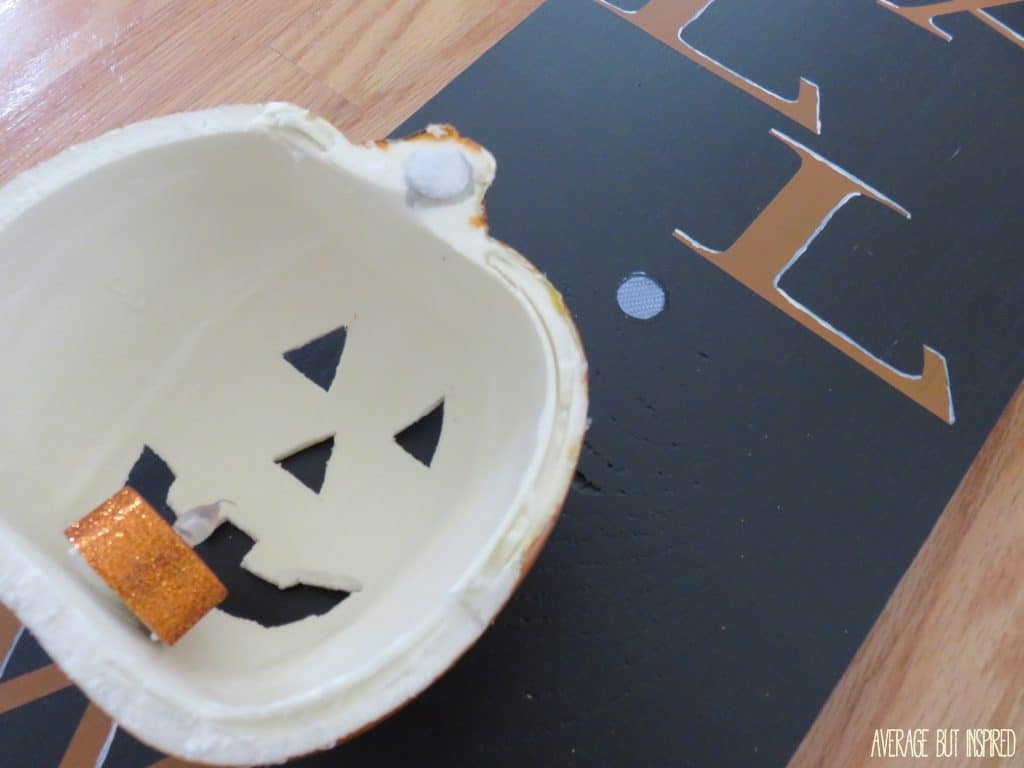 After that, my sign was ready to go!
 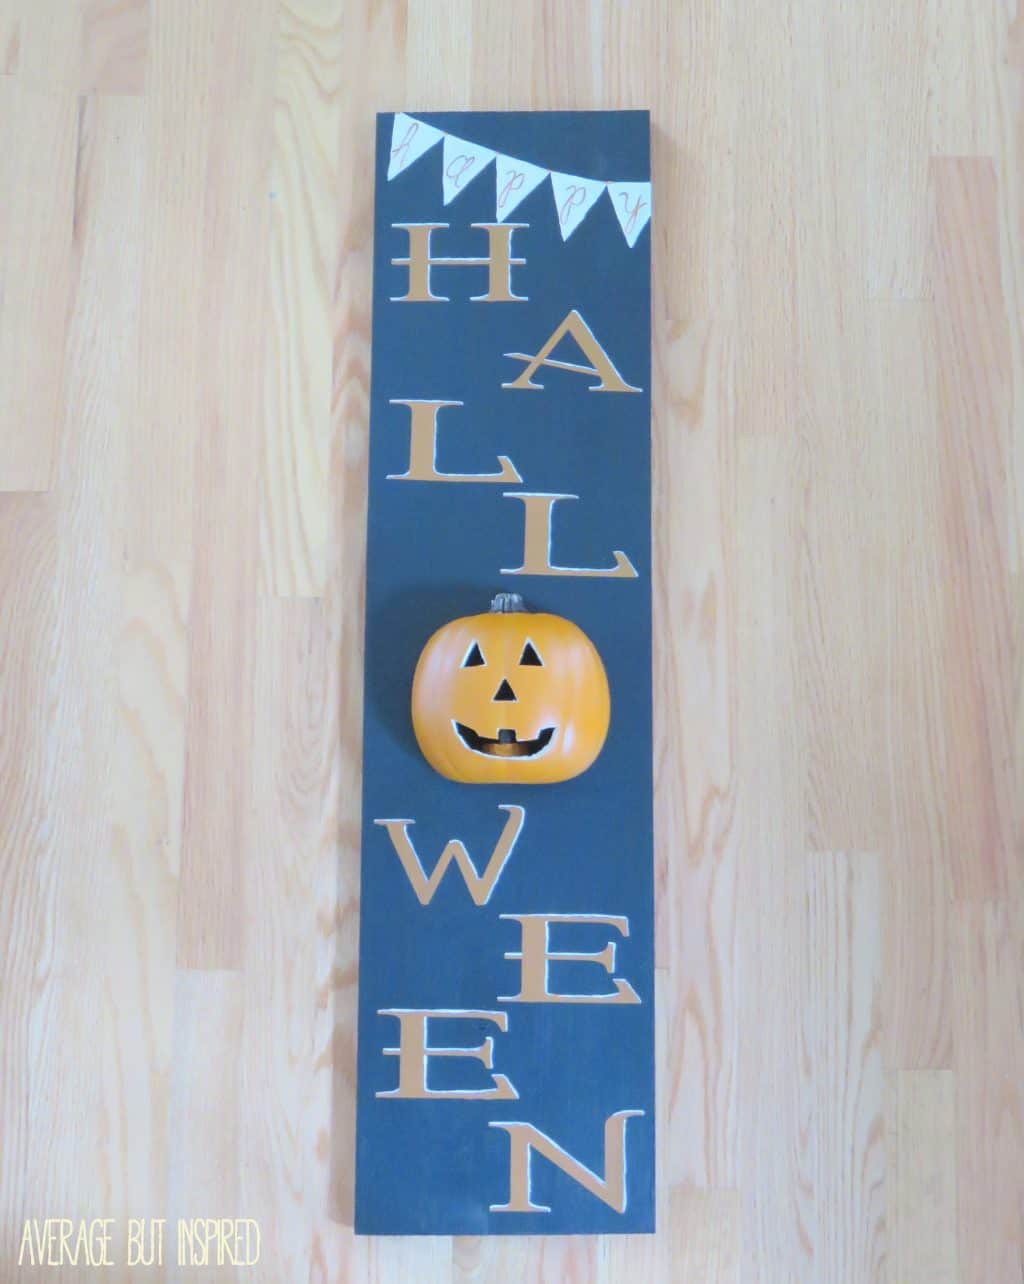 I love how it looks on my porch, and it even looks cute next to my fireplace (I bring it in when the weather’s bad).
 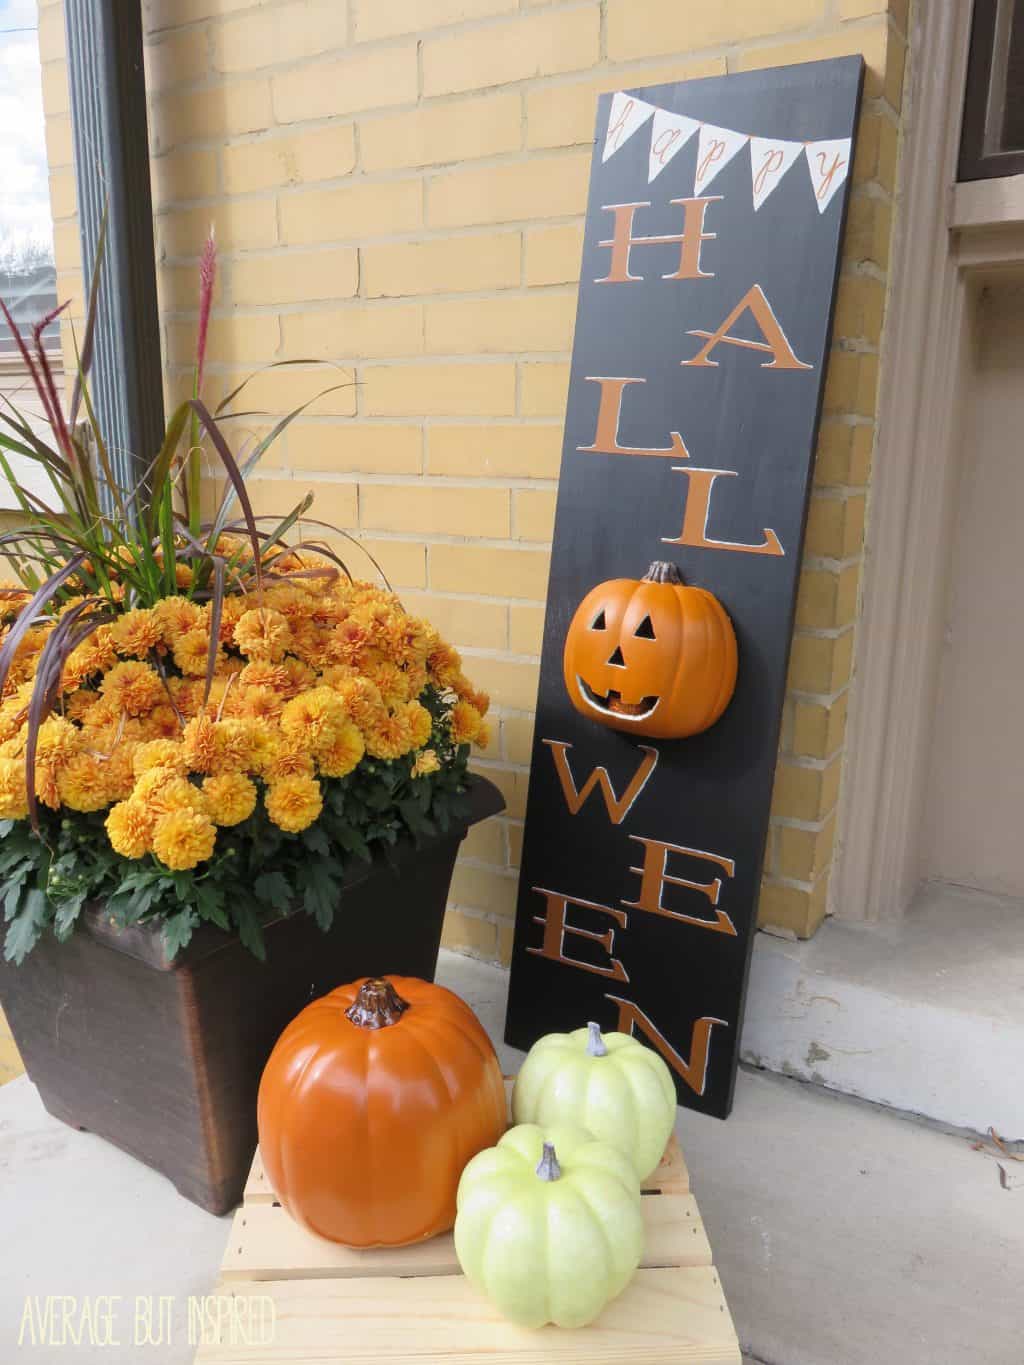 I tried to take a photo of it lit up, but I have a new camera and am not totally sure how take decent pictures in the dark. Sorry!
Well, I hope you enjoyed my craft pumpkin Halloween sign. Now go check out the other fabulous ideas and get busy transforming your plain craft pumpkin into something amazing!
– Bre
Glenda Brown says
Love, love, love this….will be making this year (2019)!!!!
Bre says
Hi, Glenda – that’s awesome!! It is definitely a fun project. Have a great day!
Ms Misantropia says
This is such a great idea – and beautifully executed!
Bre says
Hello there! Thank you very much! Hope you have a wonderfully happy Halloween!
Emily says
Super cute! Love how you made the pumpkin apart of the sign. Thanks for sharing with us at Your Designs This Time.
Emily & Erin
Bre says
Hi, girls! Thanks so much! Hope you both have a great week!
Leia says
This sign is SO cute! My kids would love having a sign that lights up, so clever. Pinning and sharing!
Bre says
Hi, friend! THANK YOU!!! 🙂 Have a great weekend!
Michelle from Weekend Craft says
Such a great job! Love that the sign is now more 3 dimensional than flat! Congrats you were featured on Creative Spark Link Party! Hope you stop by today to see your feature and link up again! http://bit.ly/1CkmzzM
Bre says
Hi, Michelle – thank you!!! I truly appreciate your sweet note and the feature. 🙂
Carrie @ Kenarry: Ideas for the Home says
This is so cool, Bre! Thank you for sharing at Think and Make Thursday this week!
Bre says
Hi, Carrie! Thank you! Your party is so great – thanks for stopping by!
Jamie @ anderson + grant says
Genius idea cutting your pumpkin in half! That is a totally unique take on this challenge and it looks so fabulous turned into a sign. Love it!
Bre says
Thank you!!! It was a fun way to use the pumpkin, but now I’ve got another half lying around with no purpose. 🙂
Mila says
I love that your Jack o ‘Lantern is cute not scary! 🙂
I would love if you share your wood sign with my fall themed party Big Autumn Bash:
http://milaslittlethings.com/2014/10/big-autumn-bash-the-link-party.html
xx
Mila
milaslittlethings.com
milawayable@gmail.com
Bre says
Hi, Mila – thank you! And thank you for the reminder to link up! I totally meant to do that earlier! Have a great rest of your weekend. 🙂
Mila says
Thank you so much for joining the party !
Have a great weekend:)
xx
Mila
Bre says
Hi, Mila! Thanks so much for inviting me to link up with you! That was a great idea for a link party. Have a wonderful weekend!
Lindsay Eidahl says
This is genius! I love it!
Bre says
Thank you! You are too sweet. I really appreciate it! 🙂
Amanda @ Dwelling in Happiness says
Adorable!! It’s so unique, and I love it! So smart to cut that pumpkin in half. Yay for Michael’s foam pumpkins! 🙂
Bre says
Thanks, girl! 🙂
Nicole B. says
Love everything about this sign!!! AWESOME idea! And I love that your kiddos got to help make it 🙂
Chloe Crabtree says
Very creative and adorable sign! I headed over to share this on G+!
Bre says
Hi, Chloe! Wow, thank you!! I really appreciate you leaving me a sweet note and sharing! Have a great night!
Amy | Canary Street Crafts says
So cute, Bre!! Such a creative way to use the pumpkin! I love it!!
Bre says
Thanks, Amy! 🙂
Tara @ Anything & Everything says
What a great idea, Bre! So creative and fun that it lights up! So cute!
Bre says
Thanks, Tara!!
Erica says
I love this so much! So so clever and what a perfect sign for the front porch! I love the little tealight, too! I would definitely make one of these for my house 🙂
Bre says
The Sooter Cottage would look delightful with a light up sign! Thanks for your sweet note; I can’t wait to check out your pumpkin project, too!
Sarah @ Little Red Brick House says
Cute, cute, cute, Bre! I love how you incorporated the sign. And that little painted bunting, oh so cute! Wish I could see it all lit up. Your little helpers are just adorable.
Bre says
Oh, thank you, Sarah! They definitely loved working on it and seeing it all lit up. I can’t wait to check out your project, too!
Breanna says
Oo I didn’t realize it lit up when I first saw your photo! Makes it even better! This is super cute, Bre!
Bre says
Thanks, lady! Can’t wait to check out your project, too!
Kristi says
You are BRILLIANT! This is such a neat way to use that craft pumpkin!!! LOVE the sign and the trick-or-treaters and going to love it too!!!
Bre says
Thank you, Kristi! I just hope the sign doesn’t fall on one of them – gah! 😉
Leigh Anne says
Love what you did with the pumpkin! So creative 🙂
Bre says
Thank you, Leigh Anne! I can’t wait to see your beautiful creation! I’m sure it’s brilliant. 🙂