Let’s be honest: there’s a stigma around giving used items as gifts. And truthfully, sometimes it’s warranted. But I’m here to tell you that it’s not always the case, and that it is possible to create beautiful gifts from thrift store finds.
In fact, thrifted gifts can be some of the most thoughtful, beautiful, and personal gifts you’ll ever give. Seriously.
I have been searching the Goodwill shelves for years, and I’ve got a few tricks to share with you to make thrifted items look like they came from a boutique and not the bargain bin.
Focus on the quality and condition of the thrifted items
When searching for thrifted items to give as gifts, it’s important to make sure they’re in good condition. You have to start with pieces that have “good bones,” as they say.
- Skip anything that’s stained, warped, or chipped. These are defects you can’t easily fix, and will diminish the value of the gift you give.
- Choose items that are easily cleaned. For example, wicker baskets, wood, glass, brass, metal, and ceramic. These are timeless materials that polish up nicely.

Remember that you can’t fix cheap or broken items, but you can refresh dated ones. If you choose products with a solid structure, your thrifted gifts will be much better.
Pair thrifted objects with new items
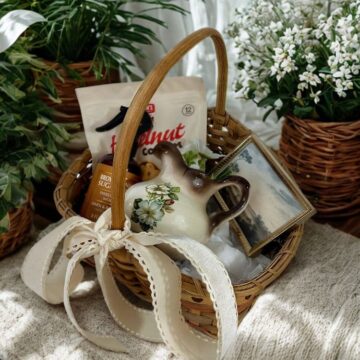
My favorite thing to do when gifting thrifted items is to pair them with new products. This is where the magic of thrifted gifting starts to happen, and it doesn’t mean adding expensive items.
Here are some examples of ways I’ve mixed old and new in thrifted Christmas gifts:
- Paired thrifted candlestick holders with a set of new taper candles
- Paired a thrifted crystal Christmas platter with freshly-baked Christmas cookies
- Paired a set of thrifted teacups and a thrifted tea towel with a box of herbal tea in pretty packaging
I like to think of thrifted items as the base, and the new items I add as the finishing touches that transform them into a gift.
Thrifted gift presentation is everything
This part is essential: you have to knock it out of the park with your thrifted gift presentation. If you gift a thrifted item with it still smelling like Goodwill (why do they all smell the same?), and just tossed into a gift bag, you have lost the opportunity to make it an incredibly beautiful gift.
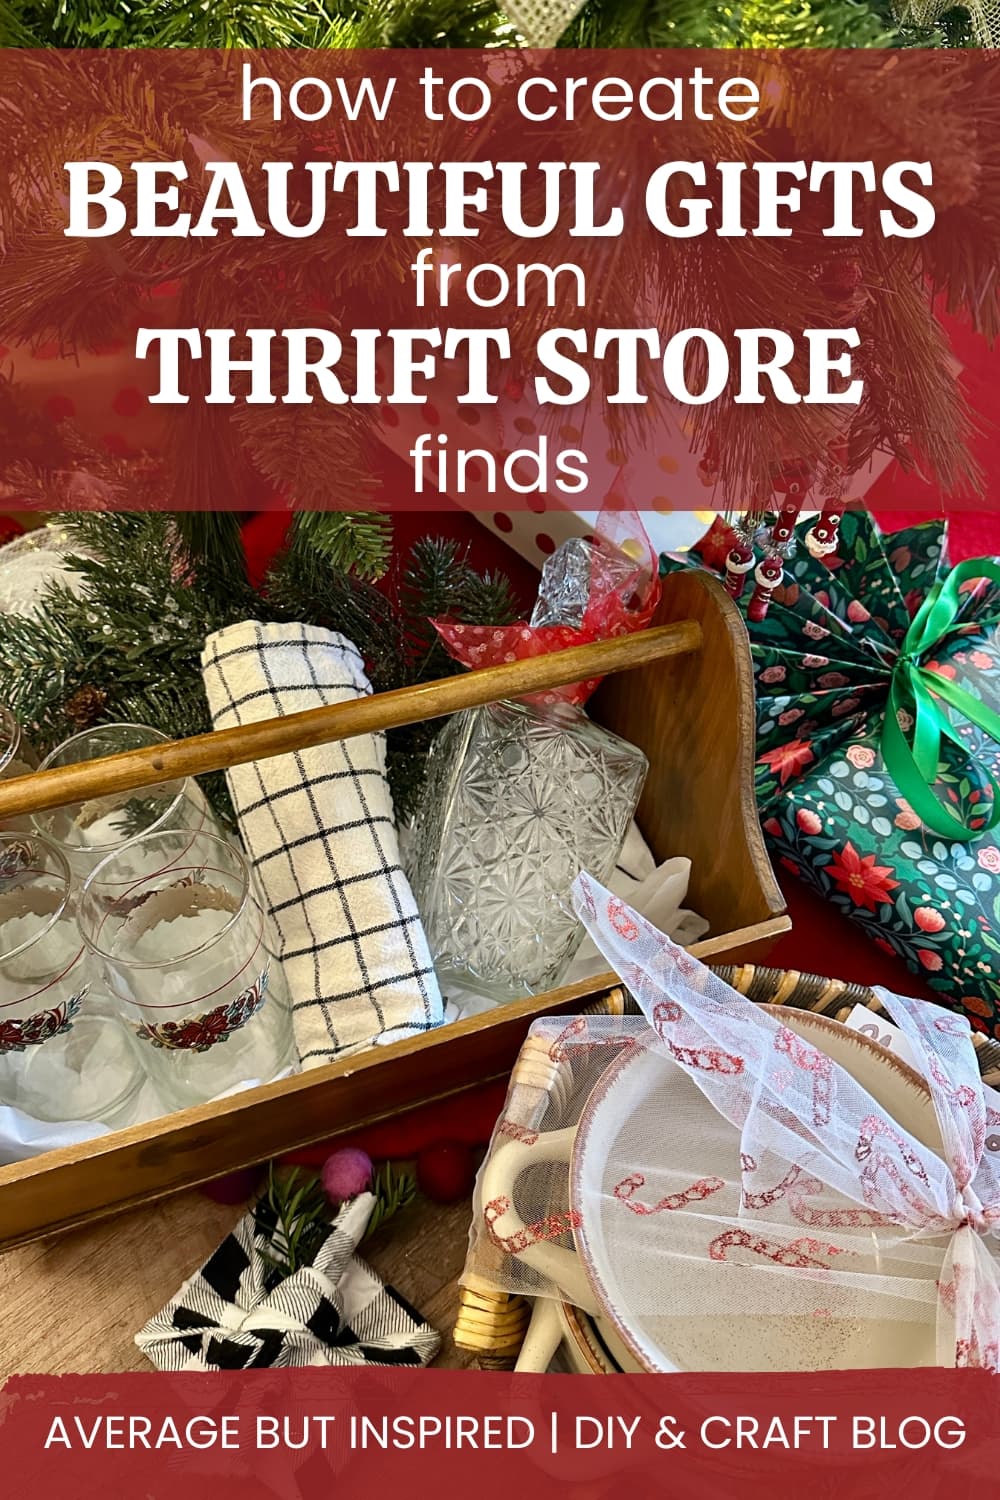
Because thrifted items don’t come with gift boxes, I love to package them in a thrifted basket, box, crate, or tray. When you add the new items to this, it becomes a whole concept.
And using thoughtful wrapping touches takes it a step further. Group objects together with pretty ribbon, add tissue paper to cushion items and add height where needed, and include a personal touch like a handwritten note or tag.
Careful gift wrapping and presentation can make thrifted gifts look curated and high-end instead of an afterthought. So don’t skip this step!
Be prepared and thrift for gifts smarter
Once you start seeing thrift stores as treasure chests instead of cluttered aisles of junk, gifting gets a lot more fun (and affordable!). The trick is knowing what to look for and how to turn it into something special.
If you’d love step-by-step ideas that show you exactly what to buy, how to combine it, and how to wrap it beautifully, I’ve put together a full guide called Thrifted & Gifted: Your Blueprints for Turning Secondhand Finds Into First-Class Gifts.
It includes 15 complete gift blueprints of thrifted gift ideas you can recreate for any occasion (not just Christmas) and any recipient. It also has printable gift tags and gifting elements to include with the gifts, a cleaning guide, and a thrift store shopping list.
Change your mindset around thrifted gift giving and see what amazing and unique presents you can put together this year. I think you might be surprised at how fun it is to put these gifts together and to give them, too.
Happy thrifting and gifting! (And PS: I am so honored to have been included in this HGTV article filled with more tips for thrifting holiday gifts! I hope you’ll read it, too!)