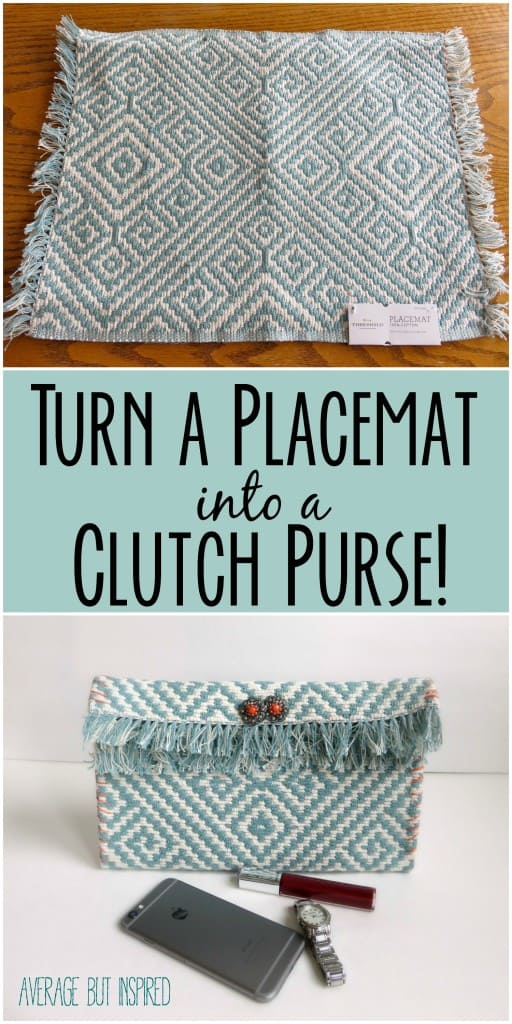
It’s really strange but some of my most creative ideas come to me right as I’m falling asleep or randomly in the middle of the night. This is one of those ideas – making a DIY placemat clutch purse!
I have NO idea why I thought of this. Maybe it’s because I go out to the clubs all the time and am in constant need of cute clutch purses. (Um . . . no.)
Maybe it’s because I’m totally in tune with the fashion trends. (Womp womp.)
Maybe it’s because my brain is strange. (Ding Ding Ding – we have a winner!)
Regardless of the reasoning behind the clutch, I’m pleasantly surprised with how cute it turned out! Bonus was that it really did not take long to make!
Supplies Needed for a DIY Placemat Clutch Purse
This post contains affiliate links. To read my full disclosure policy, please click here.
- Placemat
- Large sewing needle
- Embroidery floss
- Velcro
- Buttons or other embellishments
- Iron
- Fabric glue or hot glue
How to Make a Placemat Purse
First, determine how wide you want your clutch to be. I thought that it would be too wide if I simply folded the placemat in half. I turned the placemat to be vertical on the table and then folded the left and right sides inward about one inch. I pinned those and ironed them down.

Once the sides were ironed, I folded the placemat in half, horizontally, with the ironed sides facing in. Then I began to sew those seams shut along the edges.
I sewed about two-thirds of the way up. Once I reached that point, I only sewed the bottom layer of the placemat. The top layer was left untouched. (I hope this description makes sense. . . )
Next I folded the top layer of the placemat over, facing outward, and ironed it. I then sewed it down, using my embroidery floss again.
Then I glued Velcro to both of the flaps. I think I was a little aggressive in my Velcro application. I definitely did not need to use that huge strip on the bottom flap . . . I think those little Velcro dots would have been sufficient. What can I say? I love Velcro?
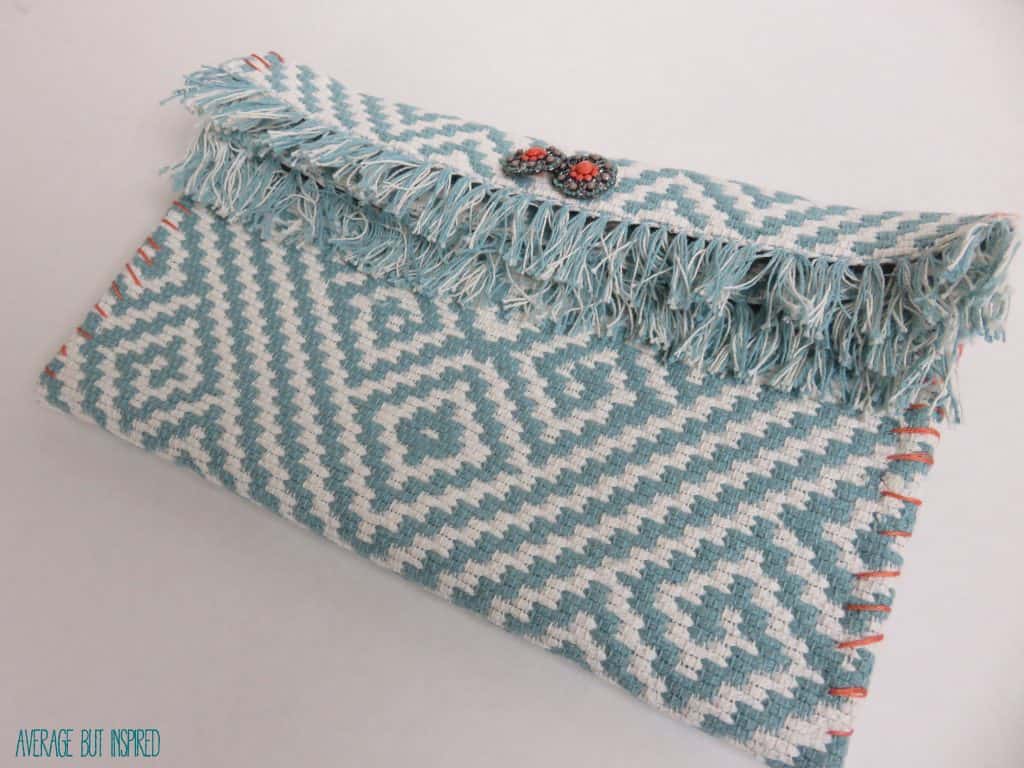
Finally, I sewed on some cute little buttons for a fun dose of the blingety bling.
Cute, right?!
I kind of need to go out so I can use this. . . .it’s not exactly practical for the playground with my kiddos.
So what do you think? Would you try and pass off a DIY placemat clutch as a purse?
– Bre
Cathay says
So creative! Love this.
Bre says
🙂 THANKS friend!!! xo
Amanda @ Dwelling in Happiness says
Wow!! You’re a genius!! I love this. The color, the fringe!! Adorbs. And I need something cute like this instead of my gigantic diaper bag when I go somewhere WITHOUT my daughter. Ha!
Amanda @ Dwelling in Happiness says
And also, I’m featuring them at Motivational Monday tomorrow! Happy Easter! 🙂
Bre says
Woop woop!! Thanks so much lady!! I’m heading over to the party very soon! (I’m playing catch up from Easter recovery!)
Bre says
Hi, oh my gosh, I wish I were a genius! More like crazy. But anyway, thank you! And no – go buy yourself a cute new (tiny) bag for date night. When you’re still in the diaper bag phase you have got to treat yourself since you lug that thing around all the time!!! 🙂
Erica says
Whattttt. This is genius! I always see cute placemats at the store but then don’t buy them because we don’t really use placemats. But this opens up a whole new world of opportunities!
Bre says
Thanks, friend! I know, see I always see these cute placemats but I never buy them because they’d be food-covered in like 8 seconds, which would require me to do MORE laundry than I already do. Next up – placemat mini skirt. HAHAHA just kidding. 🙂
Mila says
This is super clever!
Inviting you to share your clutch with our Link Up Party – Idea Box:
http://milaslittlethings.com/2015/03/idea-box-thursday-link-party-3.html
xx
Mila
Bre says
Hi, Mila – thank you!! I hope I am not too late for the party. I have a feeling I might be, so I will plan to make it this week~ Thanks for stopping by!
Maria@SewTravelInspired says
I have thought about making a placemat purse but I have never found the right placemat. Your choice is perfect. Enjoy. Thanks for sharing;
Bre says
Aw, thanks, Maria!! I got this one at Target, and they have it in coral, too! It was a lucky find! 🙂
Breanna says
What?!?!? This is genius Bre!
Bre says
Aw, thanks, girl! 🙂
Brenda says
Very cute idea!
Bre says
Thank you, Brenda! 🙂
Alexandra says
I absolutely love this clutch! I have pinned and shared. Great little project, and best of all – no sewing machine required!
Bre says
Thank you so much, Alexandra!! I really appreciate it! 🙂
Ashley ~ 3 Little Greenwoods says
Love this DIY purse! So much fun for a date night with the Honey!
Bre says
Thanks, lady! And you reminded me I need to schedule a sitter so we can actually have another date night! 🙂
Laurie says
Bre, This is adorable and so creative!! Love the repurpose! I think it is only natural that ideas come to you before you go to sleep because you are not running around thinking about your daily activities!
~Laurie
Bre says
Thank you, Laurie! And yes, you are probably right about why ideas come to us at night! But sometimes, I wish my brain would just shut down and give me some peace! 🙂 Have a great day!