Slowly but surely I’ve been working on my little guy’s “big boy” bedroom makeover. (Emphasis on the “slowly.”) And that’s left my little girl feeling, well, a bit jealous.
“Uh, mommy, why are you ALWAYS making things for his room. You never make ANYTHING for me. EVER.”
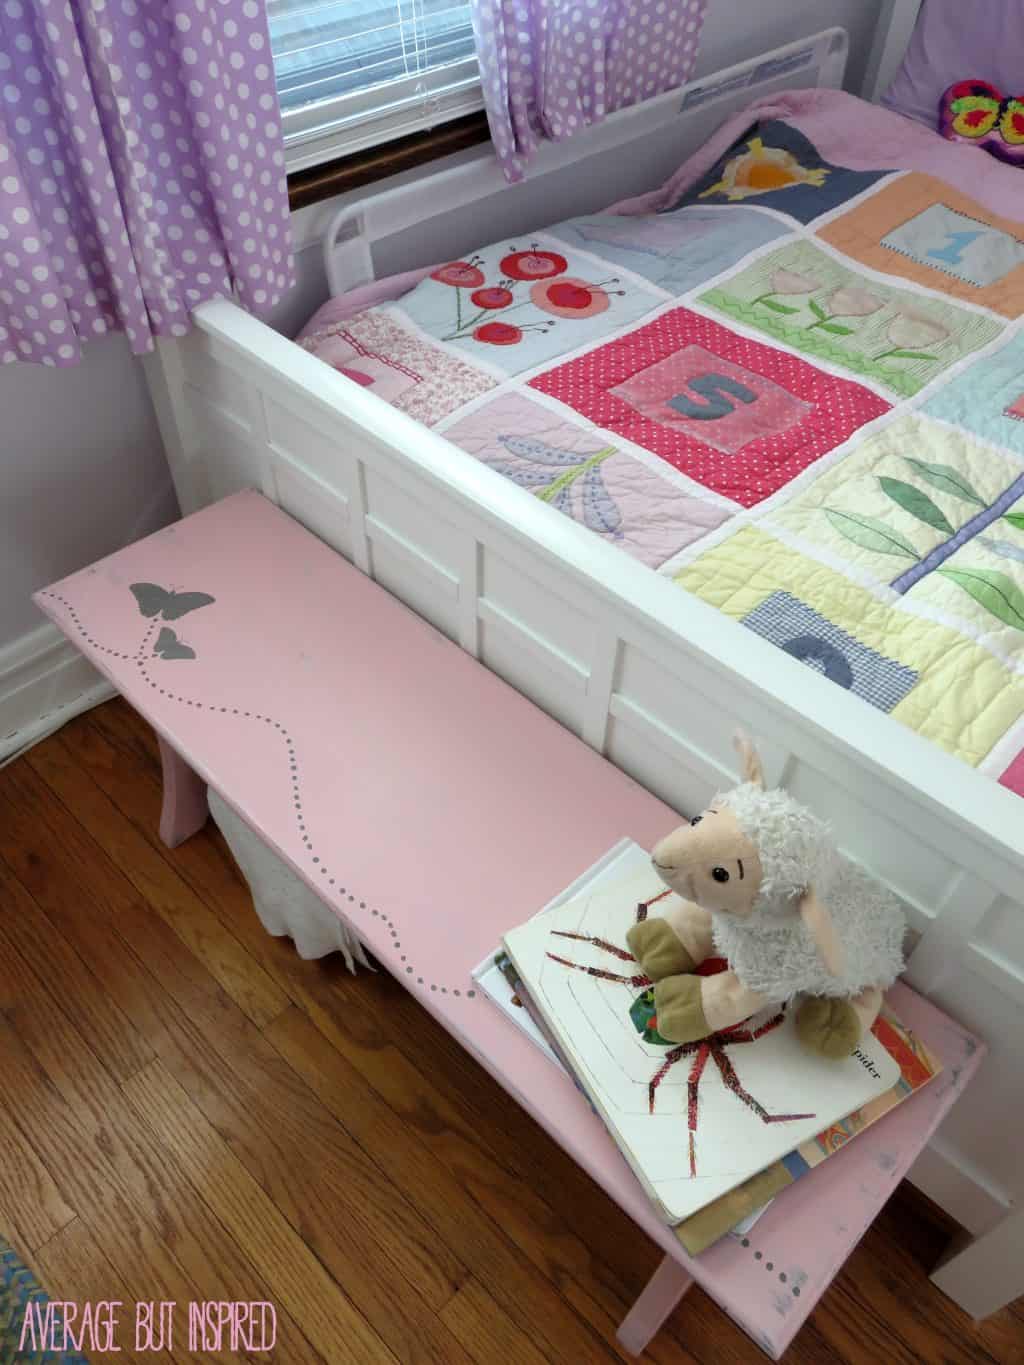
Whatever, drama queen. The truth is that almost every piece of decor in her bedroom is something that I made – while pregnant and working full-time, which totally earns me bonus points. But anyway, since she was convinced that she was a neglected child, I decided to fix up a hand-me-down bench just for her, and in a way that probably only a five-year-old could love – in pink and covered in butterflies.
This is the bench as it came to me from my mother. In all honesty, I really liked it as it was, but I had nowhere to put it in its “before” form. I decided it was better to repaint it and keep it than to give it away.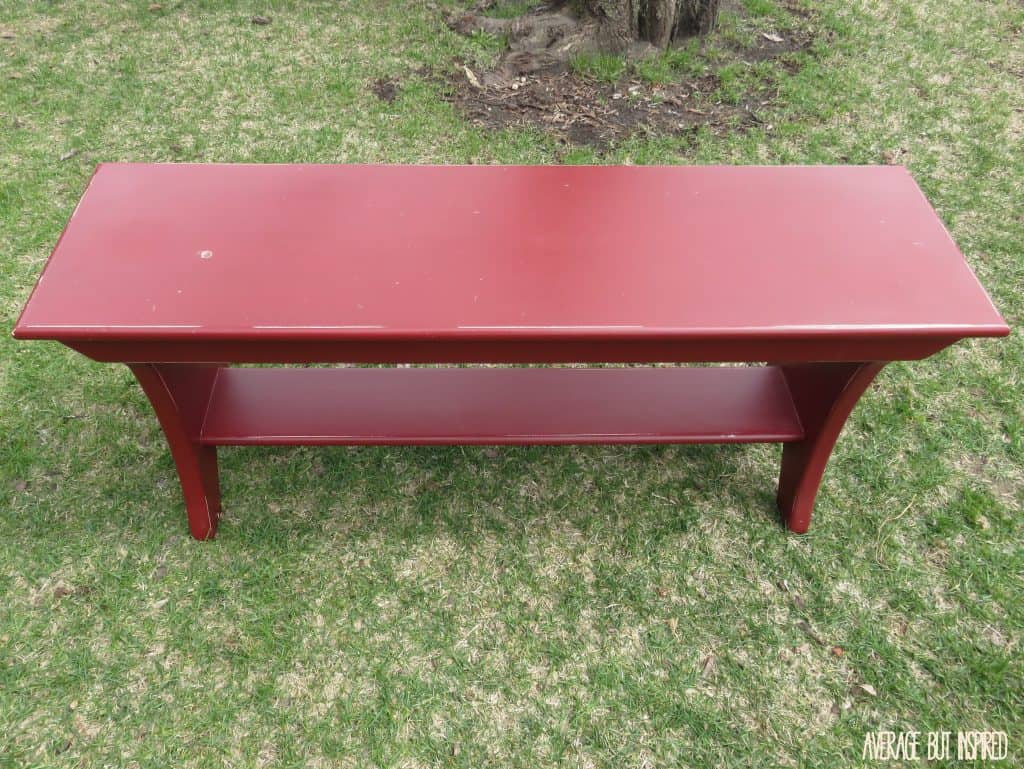
So I started by painting the entire bench with one coat of Country Chic Paint in Cobblestone. 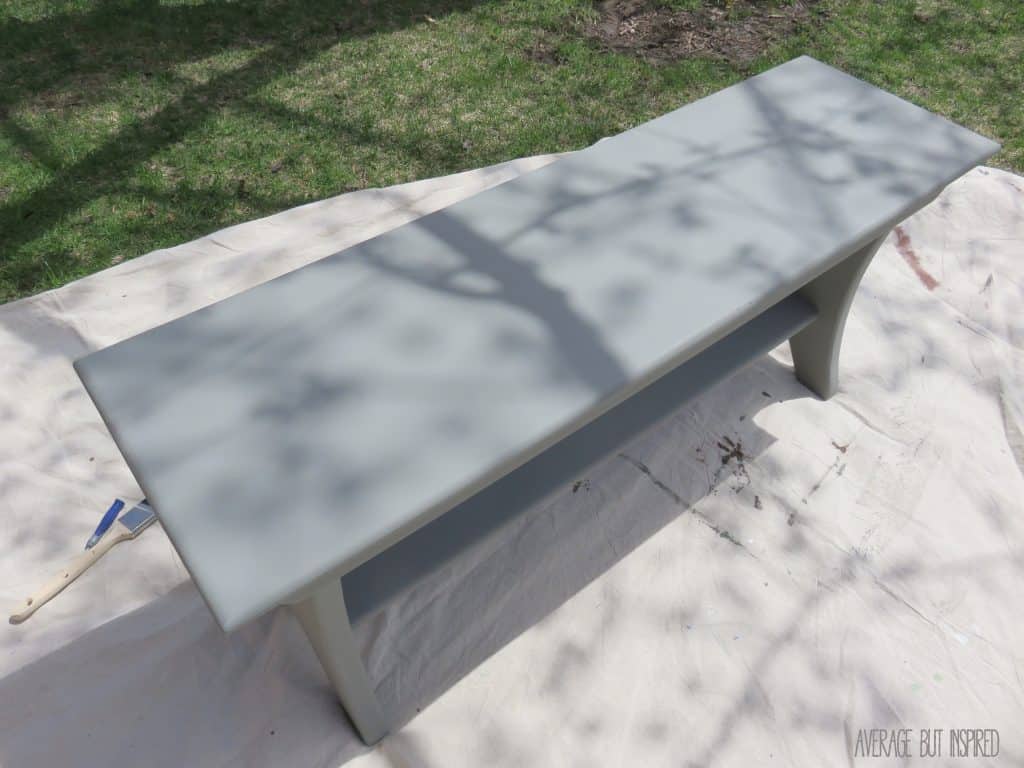
Next, I applied two brushy layers of Country Chic Paint in Vintage Cupcake. I wanted some of the gray to peek through even before sanding.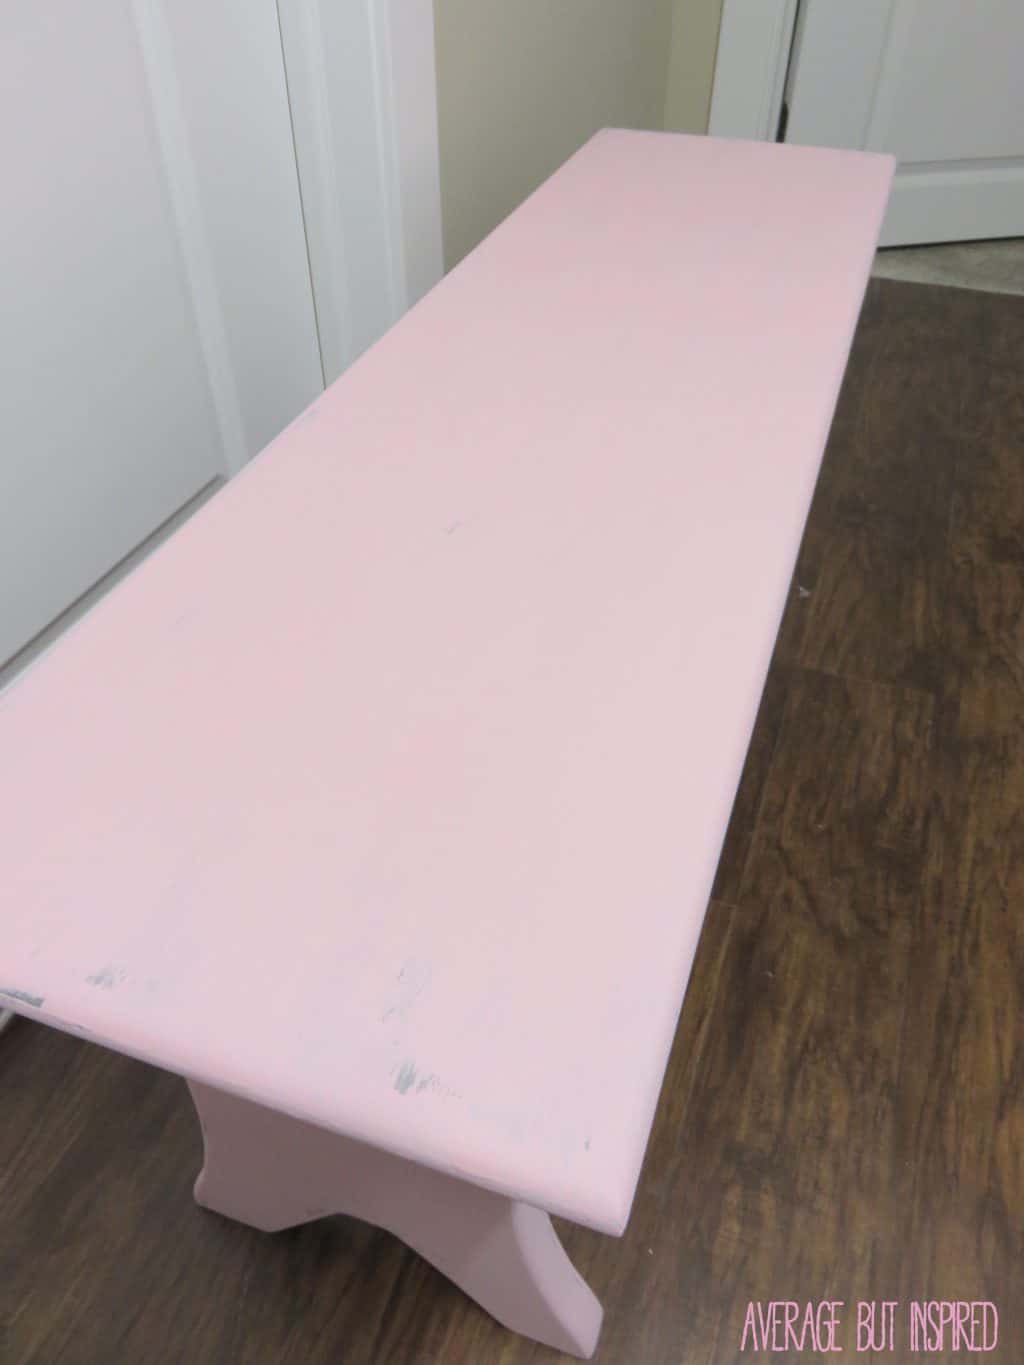
Then I used my Silhouette machine to cut some butterfly stencils with Contact Paper. I applied those babies and got to work! (Sidetone: it’s super tricky to hold a stencil brush in one hand and photograph said hand with the other.)
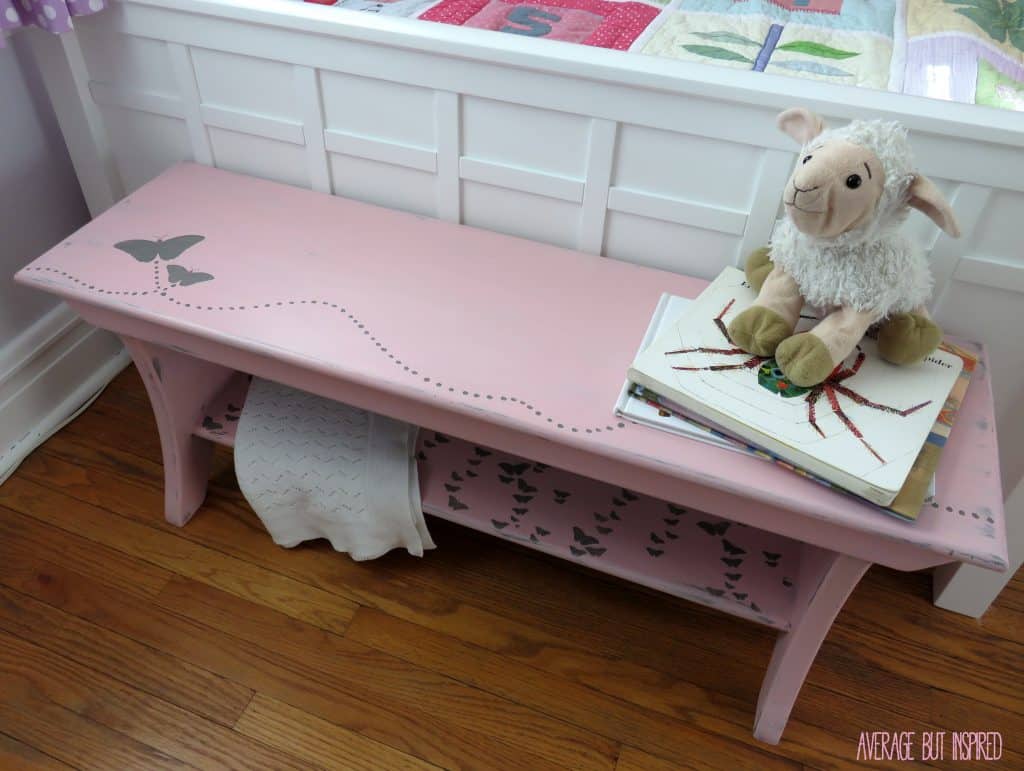
After everything dried, I sanded to distress the piece and then sealed it with finishing wax. But the absolute BEST thing was when I applied a layer of Country Chic Paint’s Pearl Wax to the top of the bench. Let me just say that I am OBSESSED with this stuff; it leaves the most gorgeous and subtle shimmer. I pretty much wanted to douse myself in it. 
My daughter is thrilled to have this special piece of furniture in her room.
It really is the perfect addition to her space with its pretty color and sweet charm!
Oh, and say “hi” to her most favorite “lovie.” She insisted that Lambie make an appearance in this photo shoot.
– Bre
Whitney Stevens says
I loved all your creations! How talented you are! I especially loved the butterfly bench, and I’m definitely going to steal your idea of using butcher paper as a grocery list! Genius! I’m always leaving something off!
But I have a challenge for you!!! My little girl is mine and “grown up” you know! She wants to decorate her room in mermaids, ocean and ocean log and the beach. But she also wants a princess net and I want to make it very special and original for her. I don’t know the best way to make it. What’s the best material? Is it better to use a hula hoop or those cross stitch rings? I can’t really. Sew all that well, is there another way like the double sided iron on tape …. help!!!! Also, do you have any ideas as far as mermaid/ ocean/ beach related decor? It would be a life saver if you could give me some tips and ideas. Thank you so much for your time!!! I can’t express how grateful I am!!! Thanks, ❤️Whit
Bre says
Hi, Whitney! Aw, that all sounds so sweet! I’m sure her new room will be amazing!! As far as the princes net goes, I think that tulle in large quantities from the fabric store and a hula hoop would be the easiest (and least expensive) way to make it! And you could definitely use fabric tape or fabric glue to hold it together! No sewing needed. I’m sure you can find a no-sew tutorial online somewhere. As for decor, I would say to keep the walls and major furnishings (like comforter, etc.) pretty neutral and theme-free. Then add in those fun beachy accents so they can easily be swapped out once she’s outgrown the look. You could download printable art from Etsy (or there may be free ones you find on Pinterest), make some colored sand jars with shells in them, etc. I’d also check out the clearance sections at HomeGoods and Hobby Lobby and Marshalls now because they’re clearing out all that beach stuff since summer is ending! GOOD LUCK! I’m sure it will be fantastic!
Roxanne says
So cute, I love the shade of pink you chose. I feel like I need to add some pink back into my home, I was on pink overload when my girls were little but now I miss it. Thanks for sharing with us at Pin-Worthy Wednesday!
Bre says
Thank you, Roxanne!! I’m sorry I missed the party this week but I will link up again next week!
Stephanie @ Casa Watkins says
Aww her room is so sweet. My 2 year old has the same color on her walls and I can’t wait to transform her room to a “big girl room.” Meanwhile, my soon to be 16 year old is already asking for another room makeover 2 years later. :\
Bre says
Thanks so much, Stephanie! It’s a great wall color, isn’t it? Not to overpowering but still very sweet. And oh man, I’m sure that when they become teenagers it’s a whole different story. Yikes! 🙂
Stephanie Volkert says
That is very cute. I’m 33 and I’d still find a place for that in my house lol.
Bre says
Hahaha, thanks, Stephanie! 🙂 It’s good to stay a child at heart so I don’t fault you one bit! 🙂
Megin says
Beautiful! Love the pink and gray.
Thank you for sharing this at Brag About It Link Party on VMG206.
~ Megin of VMG206
Bre says
Thanks so much, Megin!
Amanda @ Dwelling in Happiness says
Oh this turned out SO cute!! I love getting furniture like that for free. 😉 Your daughter’s room is SO cute, too!
Bre says
THANKS, Amanda! 🙂 It was definitely a lucky pick up, that’s for sure! I am so happy I found a place for it in my own home. Thanks for your sweet note!
Kristi says
This is SO super sweet! Lucky girl!!!
Bre says
Thank you, Kristi! 🙂