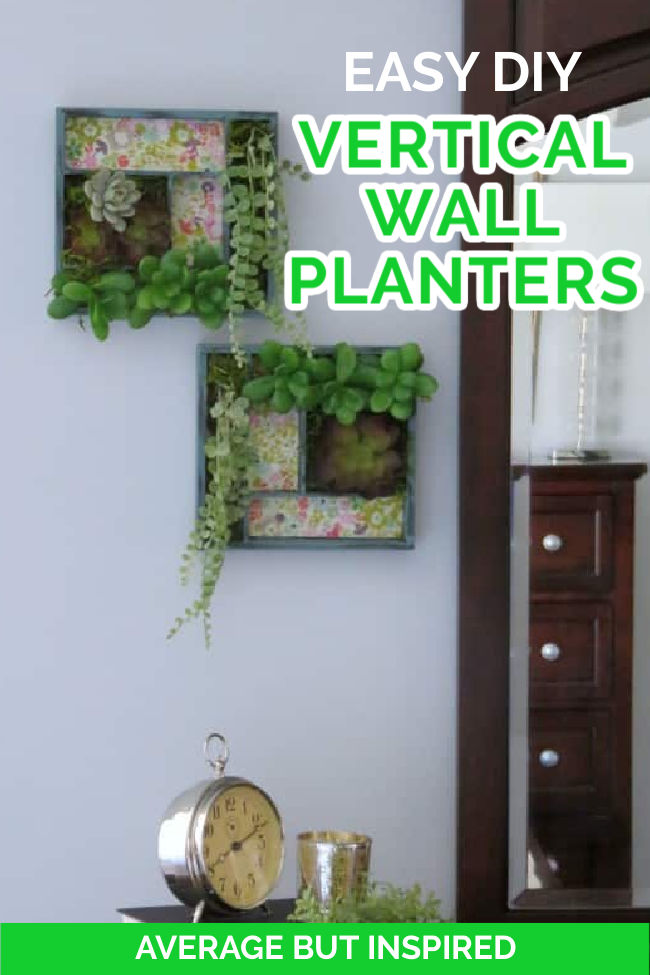
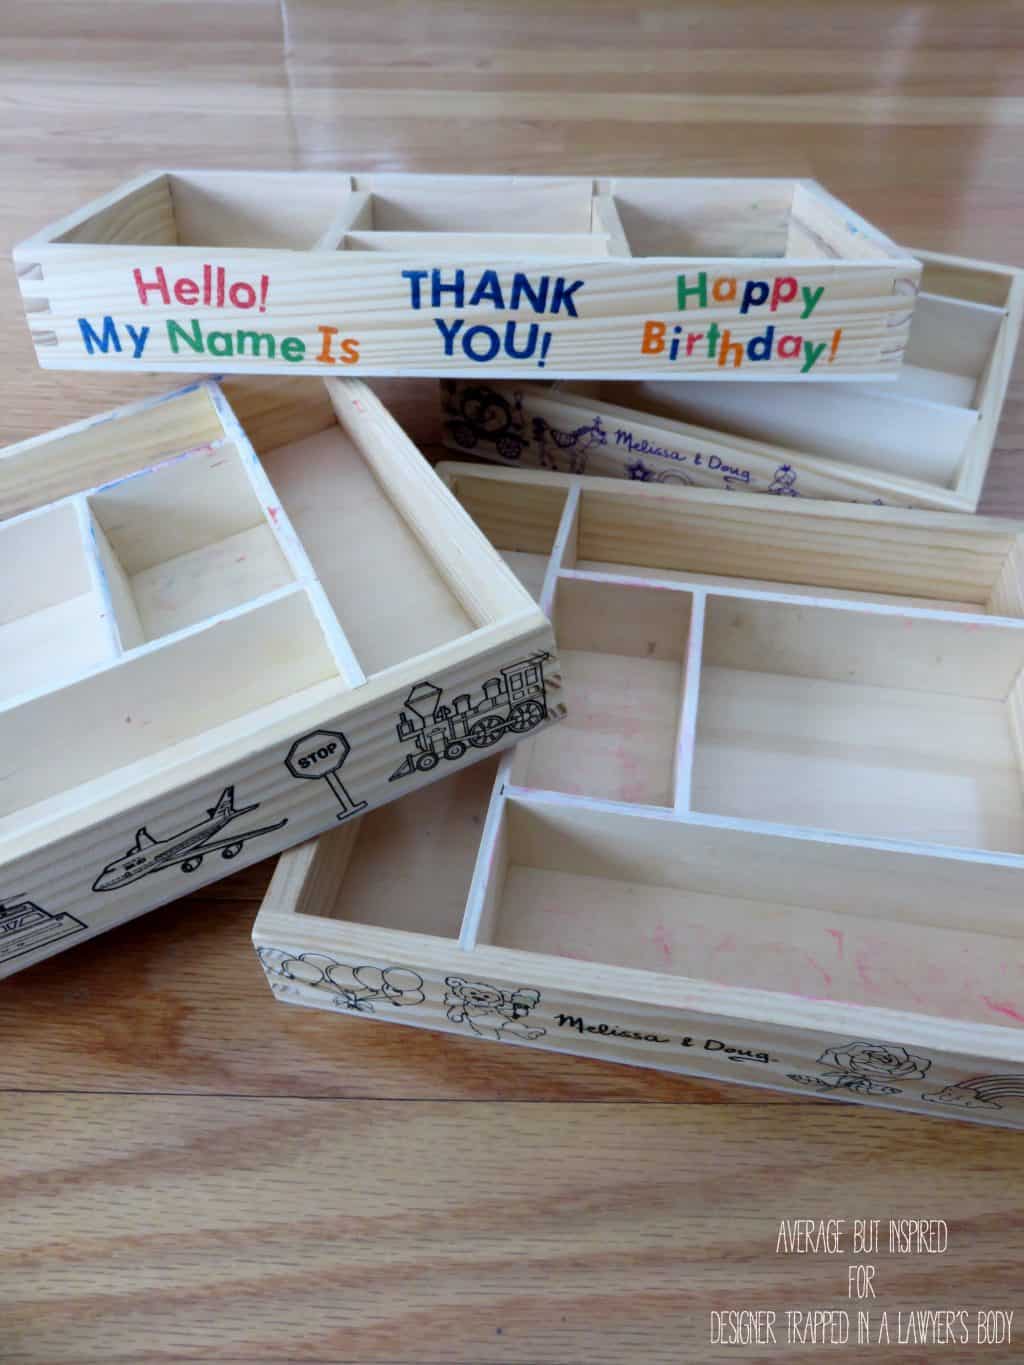
If you have kids, grandkids, or just know any kids, you’re probably familiar with Melissa & Doug toys. Not only are their toys great, but they package them in amazing wooden containers that are TOO nice to throw away! Let me show you how I turned them into a DIY Indoor Vertical Wall Planter!
And don’t worry – if you don’t have any of these toy containers lying around, you can use any wood box with compartments (I even linked one in this post for you)!
Supplies Needed to Make a DIY Indoor Vertical Wall Planter
This post contains affiliate links. To read my full disclosure policy, please click here.
- Melissa & Doug toy containers (or empty wood box with compartments)
- Paint (chalky-finish paint, acrylic paint, or latex paint will work)
- Paint brush
- Scrapbook paper
- Mod Podge
- Foam brush
- Faux succulents
- Faux moss
- Hot glue
- Floral foam
- Sawtooth picture hanger
How to Make a Vertical Wall Planter
You’re not going to believe how quickly you can make a wooden container into a super cool vertical wall planter!
Step One: Get Painting!
First, paint your empty wood boxes however you like.
I painted mine with black chalky-finish paint first, and then layered a turquoise acrylic paint on top for a slightly rustic look.

Step Two: Add Decorative Paper
Next, cut scrapbook paper to fit the compartments in each container. This may take some trimming and more trimming and even more trimming. It’s okay – you’ll eventually get the size right!
Then place a thin coat of Mod Podge into each compartment and press the scrapbook paper on top.
Once dry, cover each piece of scrapbook paper with more Mod Podge. This will ensure that everything is sealed really well!
Step Three: Get The Vertical Planter Boxes Ready to Hang
If you want to hang these on the wall, this is the time to add sawtooth hangers to the backs of your empty toy containers.
If you want to set them on a table, no need to do this.
Step Four: Add Faux Plants and Moss
Next, put faux succulents or other small faux plants into small pieces of floral foam that are cut down to size.
Hot glue those into various compartments of the toy containers.
To hide the foam, hot glue faux moss all around the succulents. Prepare to make a MESS.
Once all the moss is in place, you’re ready to hang your new vertical wall planters!
While these look great hanging on the wall, they’d also be super cute just sitting on a shelf or a table, too!
The best part is that no watering is required! Perfect for black thumbs like me.
If you have any of these Melissa & Doug toy containers sitting around, think about putting them to good use, even if it’s not as an indoor vertical wall planter!
– Bre
This post previously appeared on Kaleidoscope Living as a contributor post.
Kim~madeinaday says
Lovin this upcycle! Thank you so much for sharing this pin on the P3 party Board! We loved it and it will be featured on the blog and my social media today! So look for a little traffic from me!
Kim
Bre says
KIM! Thanks so much!! I really appreciate it! Love your party and greatly appreciate the feature. 🙂
Kristi says
This is absolutely brilliant! I’ve saved a ton of those Melissa and Doug bins, but have no idea how to out them to work … so genius Bre! And I love that scrapbook paper!!!
Bre says
Hi, Kristi! Thank you!! Wouldn’t they make great storage containers, too? I have SO many of them. My kids must be spoiled. 🙂