
Learn how I created vintage-inspired engraved mirrors with Dollar Tree mirrors and the xTool F2 Ultra UV laser.
I absolutely adore vintage etched mirrors, and I think it’s because of the gorgeous original mirrored medicine cabinet we had in my Chicago home.
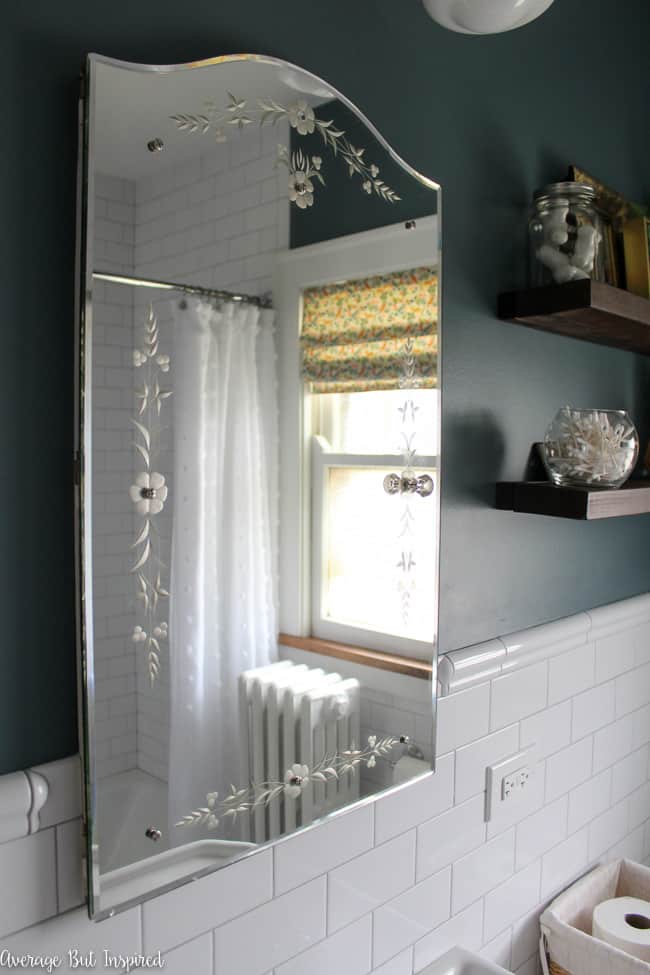
The subtle charm of a little pattern in an unexpected place just made me so happy!
Of course, I don’t have the skills to replicate anything like a vintage etched mirror, but when I got the new xTool F2 Ultra UV laser machine, I knew I could create engraved mirrors inspired by my vintage medicine cabinet!
Learn more about the xTool F2 Ultra UV laser in my blog post review!
Thank you to xTool for gifting me the F2 Ultra UV. The project and opinions expressed in this blog post are all my own. Also, this post contains affiliate links. Please read my disclosure policy for more information.
I spent a lot of time practicing laser engraving mirrors on small craft mirrors. I worked until I got the settings just right, and then I purchased these pretty Dollar Tree beveled mirrors for my project.
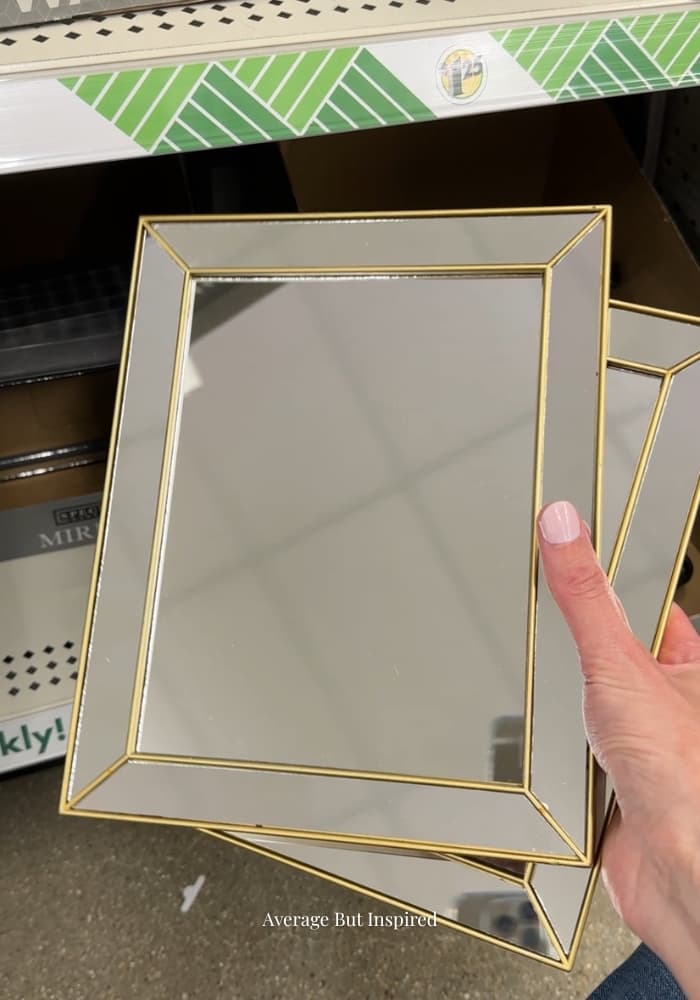
I found the floral artwork in Canva and uploaded it to the xTool Studio software.
Engraving mirrors on the xTool F2 Ultra UV
From there, here’s what I did.
Step one: insert the baseplate
Make sure to put the baseplate or riser in the bottom of the machine, or you’ll damage the inside of the machine as the laser breaks through the back colored coating of the mirror.

Step two: add black card stock or paper to the baseplate
Through trial and error, I figured out this important step. Set a piece of black paper or cardstock onto the baseplate before you put your mirror down.
If you don’t do this, you’ll have laser lines appear on the mirror because of the way the light reflects through the glass once that mirror backing is removed.
Step three: place the mirror face down into the machine
Place the mirror face down onto the black paper and baseplate. Then, click the “Refresh Background” icon to get the image of the mirror into your canvas in xTool Studio.
Once that’s done, click the “Auto Measure” button to get the correct thickness entered.
Step four: enter the engraving settings
As I mentioned earlier, I tested settings several times before completing this project. These are the settings that worked for me, but I recommend that you also test before completing your project. Every machine is different!
- Setting: engrave
- Dot Duration: 650
- Power: 90%
- DPI: 500
- Pass: 1
- Frequency: 40
- Bitmap Mode: Jarvis
Step five: flip the image (if necessary)
If you’re engraving something like text or an image that needs to appear a certain way, make sure to mirror the image.
To do this, click on the image you’re engraving, and then click the “Reflect” button from the top toolbar. Choose “Reflect Horizontally” to flip it so that it appears the correct way in the mirror once engraved.
Step six: engrave the mirror
Now you’re ready to process the image and have the F2 Ultra UV work its magic.
These mirrors each took around six minutes to engrave.
When I pulled them out of the machine, I gave them a quick wipe-down on both sides, and the engraved images were perfect!
I dabbed on some silver and black paint along the beveled edges to make them look antique, and I can’t get over how beautiful they are!
The detail on the flowers is perfect.
These engraved mirrors truly look much higher-end than Dollar Tree!
I love how this project turned out, and I can’t wait to try even more advanced engraving and cutting projects with the xTool F2 Ultra UV!
Leave a Reply