This post was updated in January 2019.
My favorite kinds of crafts are those that I can complete during my kids’ afternoon naps. Give me some quiet time and a glue gun and I’m a happy camper! This Easy DIY Ribbon Chandelier turned out to be one of those projects. It was quick and easy, and I love the way the finished product looks hanging in my daughter’s bedroom.

Supplies Needed to Make a DIY Ribbon Chandelier
For this project, you’ll need the following supplies:
- Hoop or wreath form (I used a 4″ grapevine wreath from Dollar Tree. You could also use an embroidery hoop or a styrofoam hoop);
- Variety of Ribbon (I used five spools of ribbon of varying widths, patterns and shades of purple)
- Glue Gun (You could also tie the ribbon to the hoop, but I think gluing the ends gives it a cleaner look)
- Fishing Line or Twine (for hanging once complete)
How to Make a DIY Ribbon Chandelier
Unfortunately I don’t have step by step photos of this project! This was the second blog post I ever wrote, and I didn’t know what I was doing! It’s so easy that I think you’ll be able to figure it out without photos though.
- Hot glue the end of a very long ribbon to your hoop.
- Wrap the ribbon around the hoop to cover the form.
- Cut ribbons of varying length, which will serve as your chandelier pieces.
- Loop a ribbon around the top of your covered hoop and hot glue the back piece to the longer front part of your ribbon.
- Repeat all around the hoop.
- Hang and enjoy!
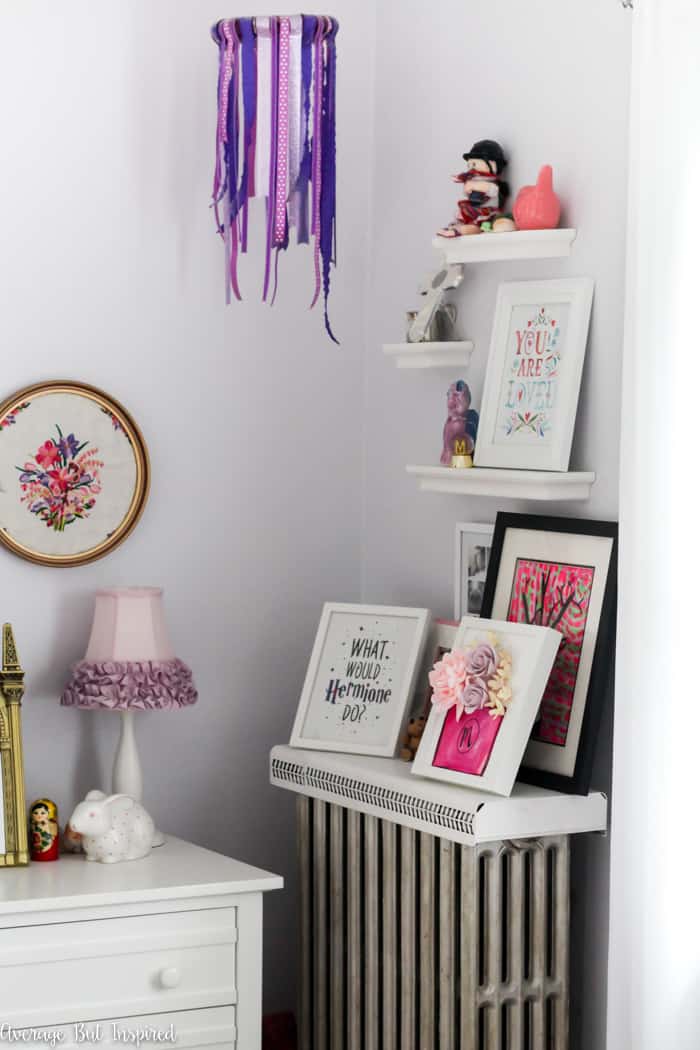
These DIY Ribbon Chandeliers would also look cute grouped together in varying sizes and/or colors. Another inexpensive variation for parties would be using streamers instead of ribbon.

It’s such an incredibly simple way to add a fun element to any room or event!
-Bre
amylovescrafts says
Mine too! I will have to get some!
amylovescrafts says
Very cool! This turned out great and is an inexpensive way to decorate a corner or for a party! Love the ribbon! Any secret to where you find such great ribbon?