Wood slices are all the rage amongst crafters these days, so it’s no surprise that I had to make some type of wood slice craft!
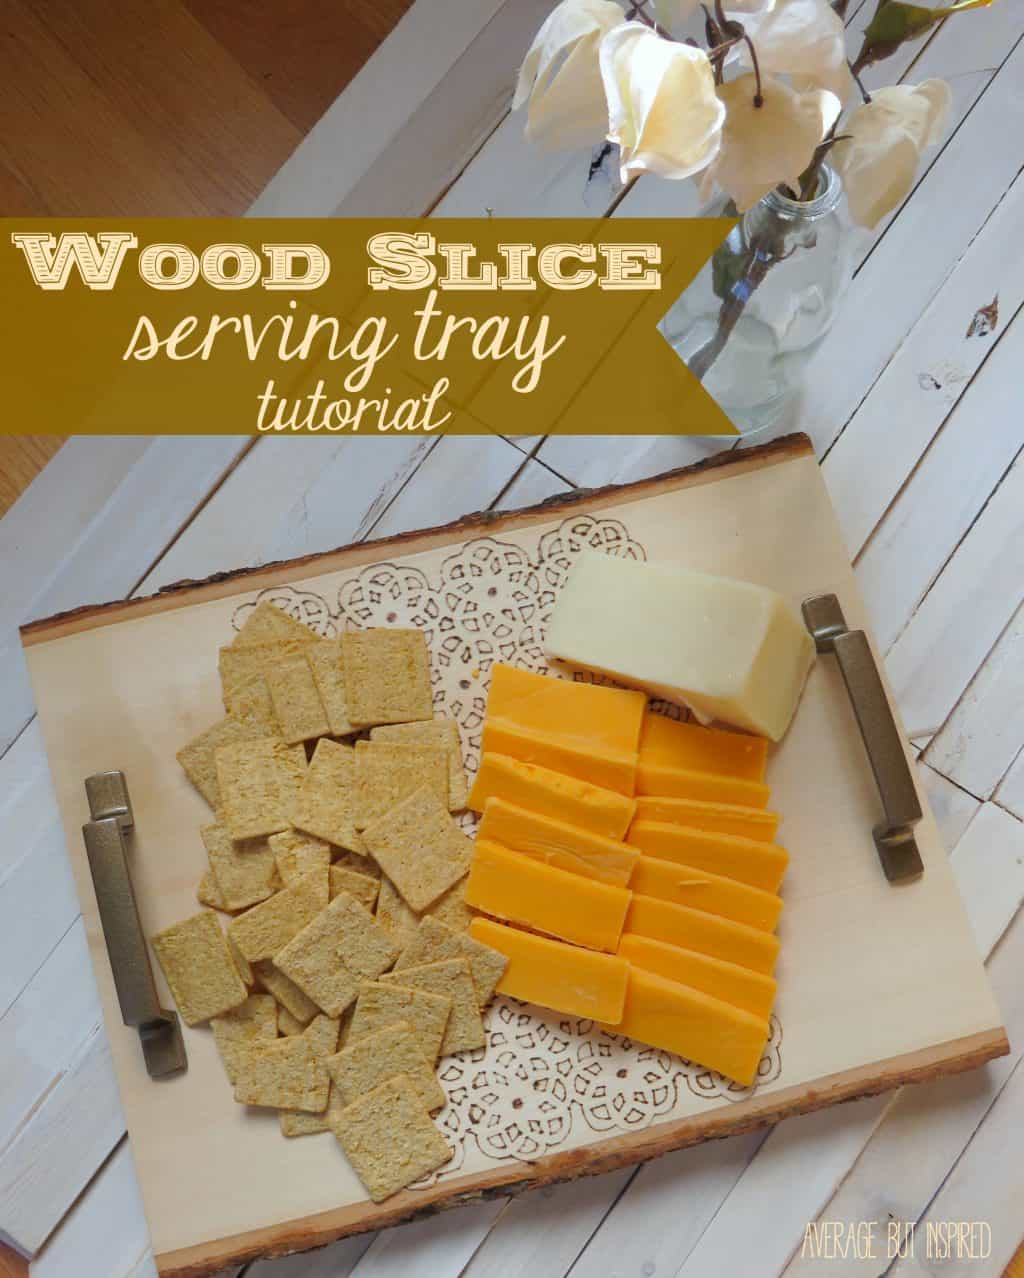
I turned mine into a rustic wood slice serving tray with wood burned detailing. Tres chic! (Or should I say “tray” chic in this case?)
Wood Slice Serving Tray Supplies
This post contains affiliate links. For more information, please read my disclosure policy.
I loved this project because it allowed me to work with materials I’d never used before, and to create something that I actually have a need for! The supplies I used were the following:
- Walnut Hollow Basswood Country Plank
- Creative Woodburner Value Pen
- Watco Butcher Block Oil & Finish
- Stencil (and pencil)
- Drawer pulls (and drill)
How to Make a DIY Serving Tray
Step One:
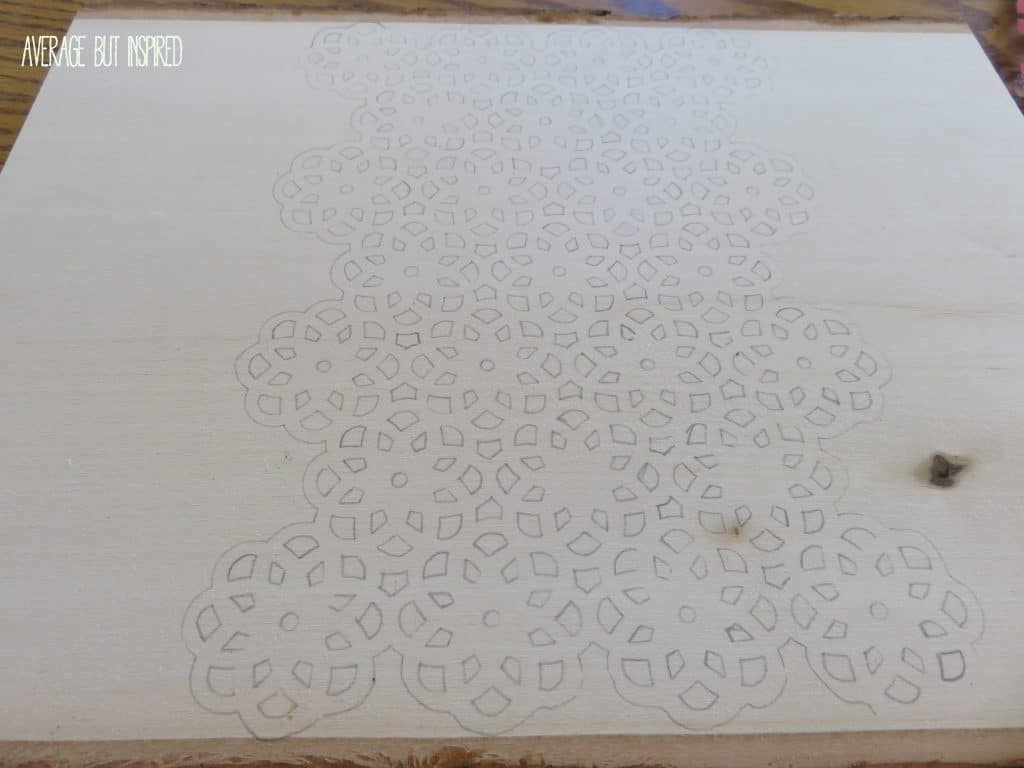
Once I had my supplies together, I started by lightly sanding my wood slice and then taping a stencil to it.

Step Two:
I traced the design onto my wood slice in pencil.

Step Three:
I plugged in my woodburning tool and anxiously waited for it to heat up.
I had never used one of these so I was a little nervous about starting something on fire. (If you know me at all, you know this is a legitimate concern. For real.)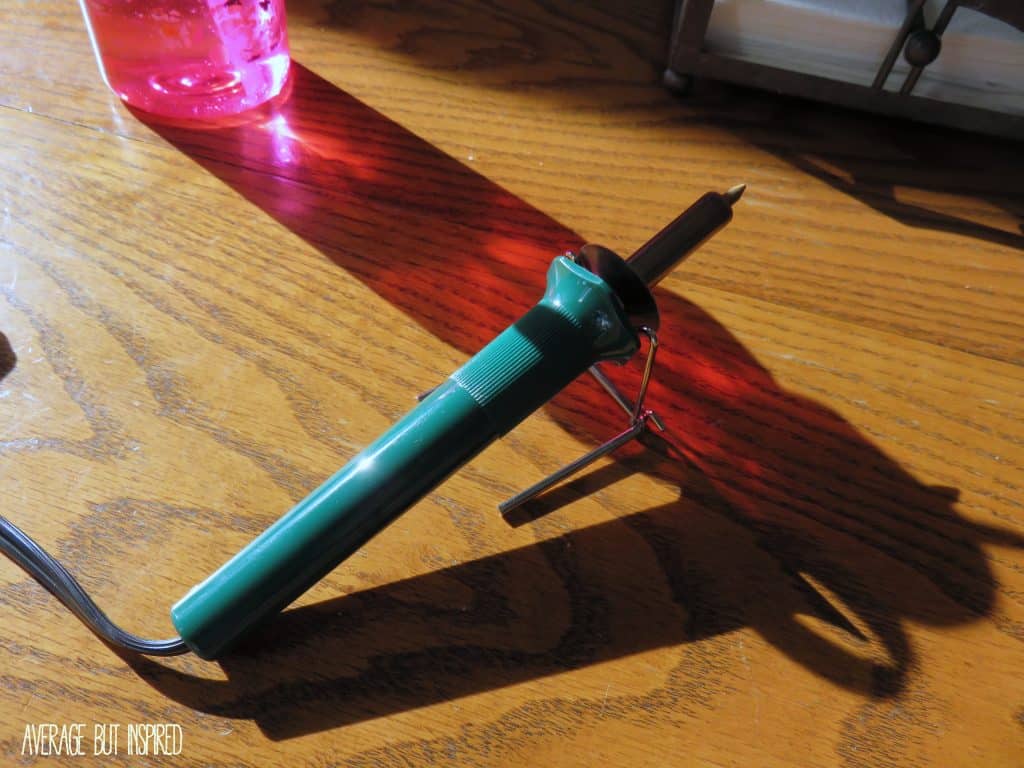
DIY Serving Tray Step Four:
Once I got started burning my design into the wood slice, I found that it was really easy to do! The tool does get hot to hold, however, so I had to take little breaks here and there.
It didn’t take long and the smell wasn’t too bad – thank goodness! I did NOT want to set off the fire alarm during my son’s naptime! 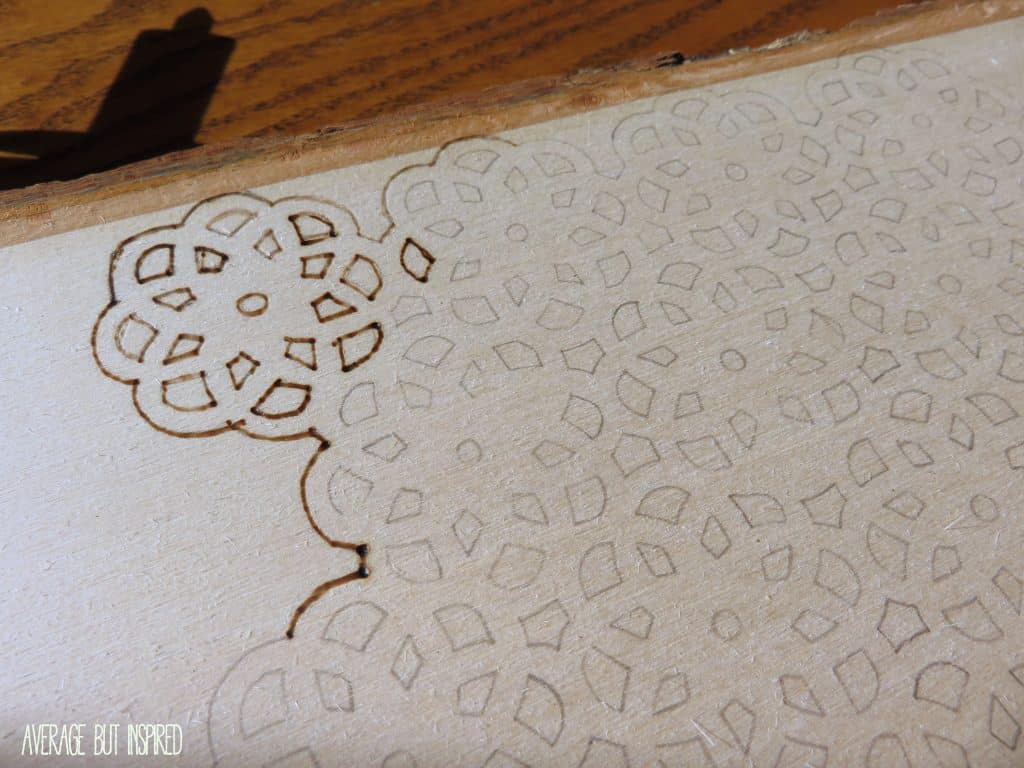
Step Five:
After I finished burning the entire design, I let the wood slice sit for a while. Then I drilled holes into the piece so that I could screw in the drawer pulls for handles.
Step Six:
Next, I coated the entire wood slice with butcher block oil to help seal the piece. Butcher block oil is completely food safe and FDA approved, so I was confident using it on something that I knew I’d be putting food on.
As with the previous step, I forgot to take a picture of the butcher block oil application, but trust me, it’s nothing exciting. It tints the wood ever so slightly, but it doesn’t change the color in any dramatic way.
Wood Slice Serving Tray Step Seven:
Once the butcher block oil dried, I went to screw in my hardware. At that point, I noticed that the pulls I’d purchased were two different finishes. ANNOYING!
Since I didn’t have the receipt, I decided to spray paint them so they’d look the same.
Step Eight:
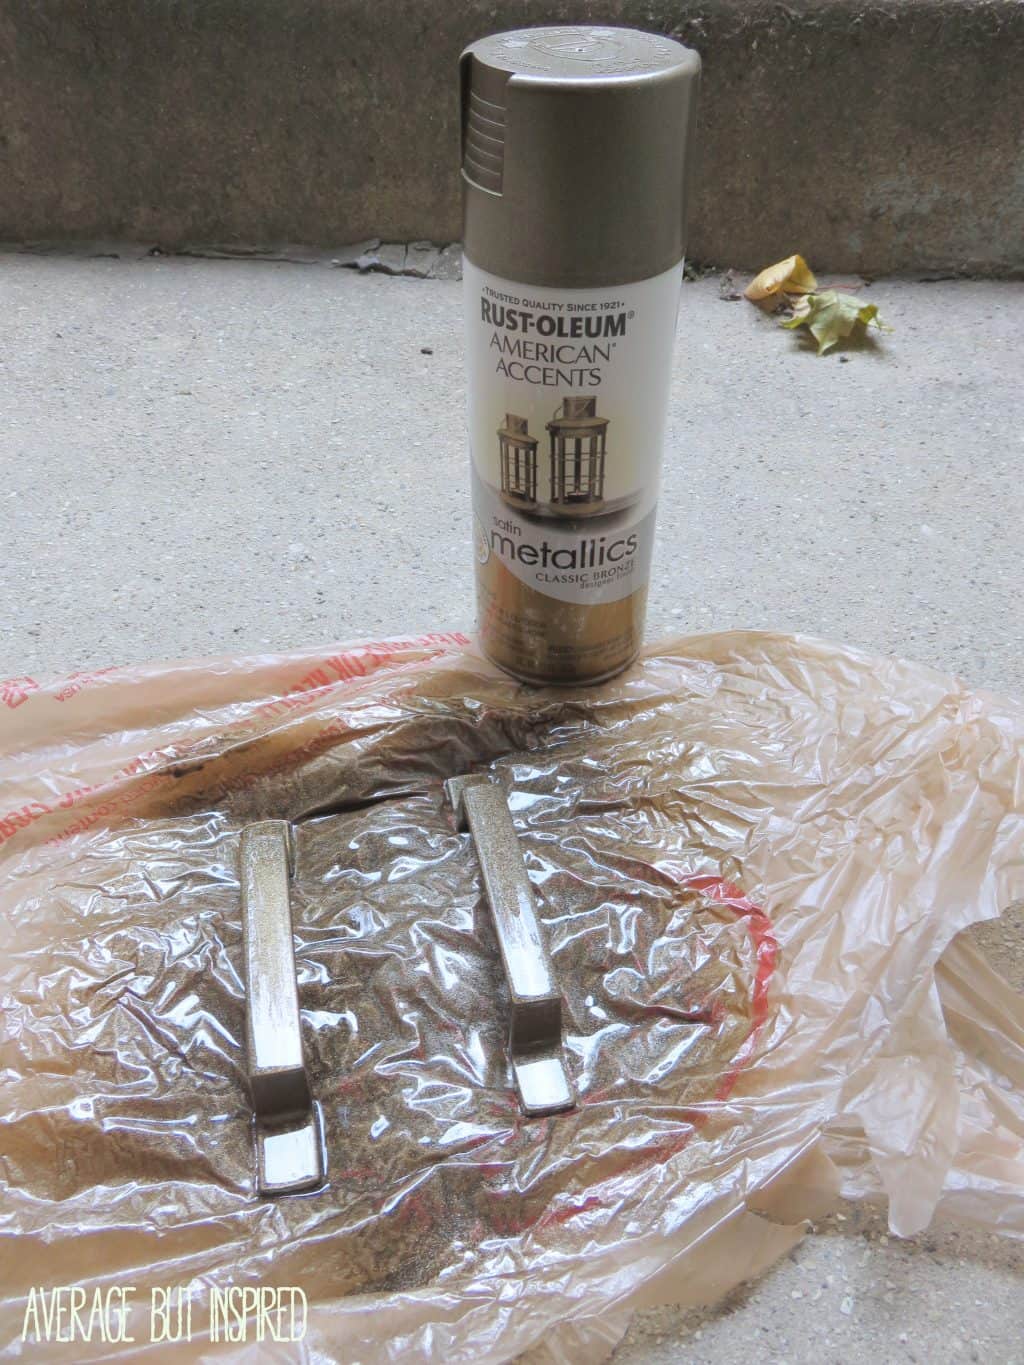
After the hardware dried, I screwed the handles onto the wood slice and admired my rustic wood slice serving tray!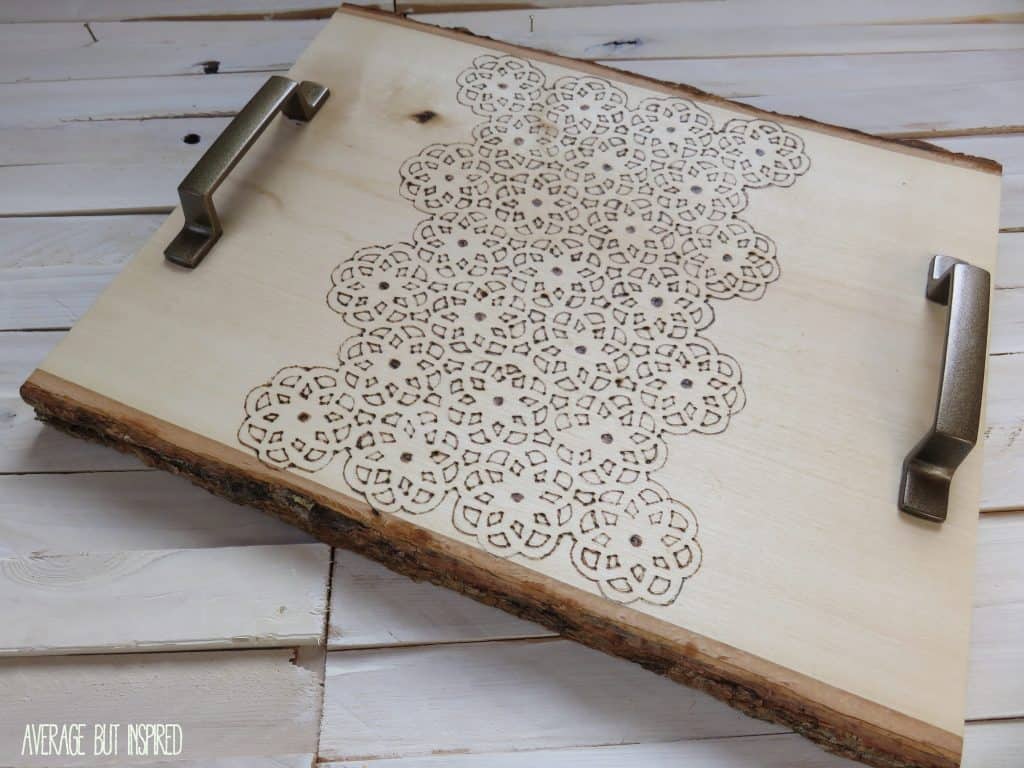
Then I served my kids a “fancy snack” of cheese and crackers. (Trust me – this is way nicer than the animal crackers or raisins I usually toss into a bowl for them every afternoon.) 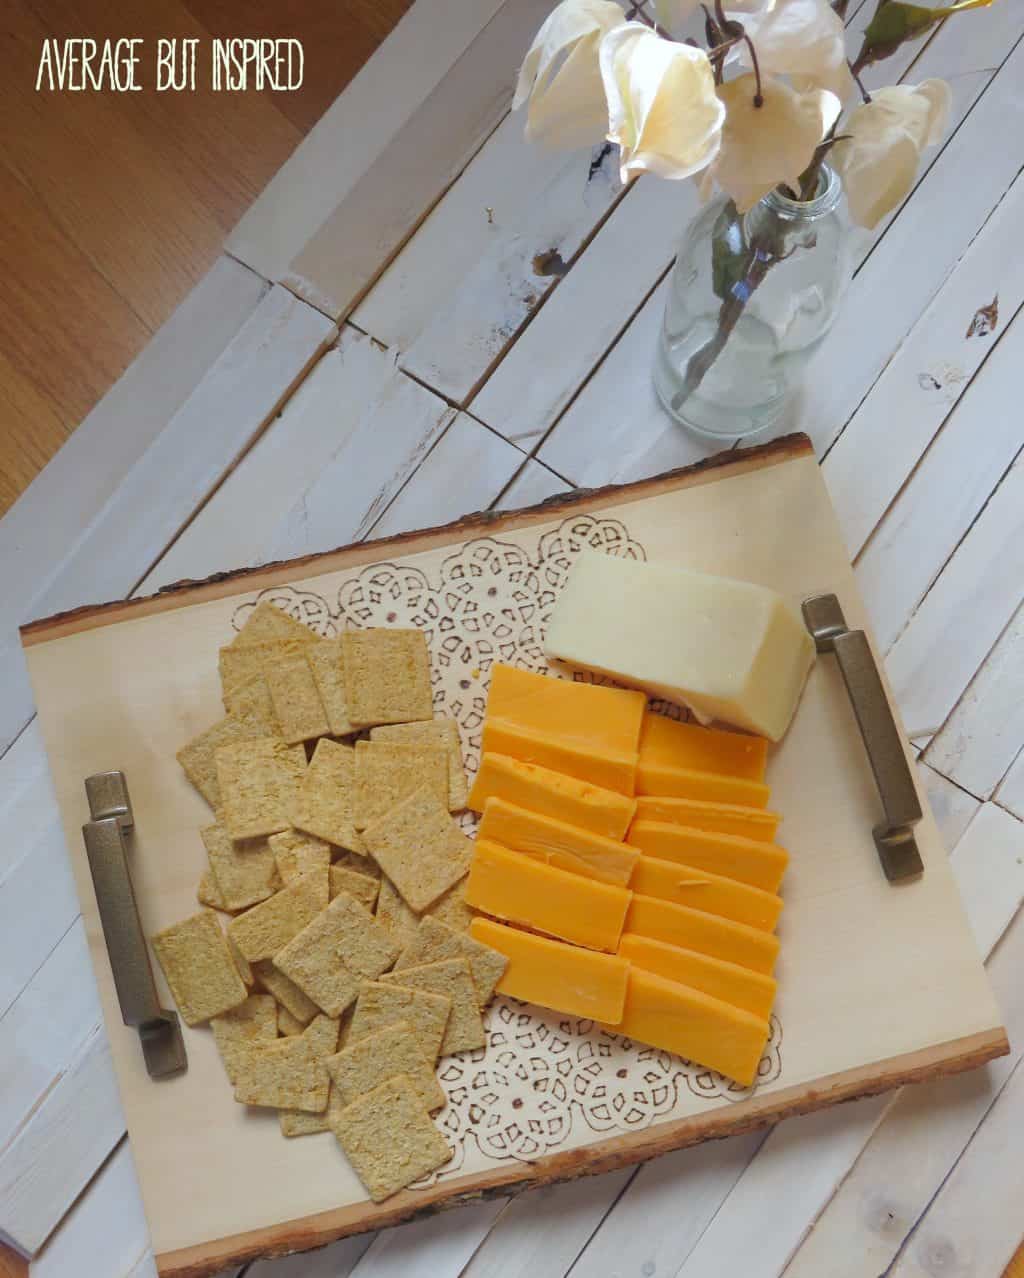
I think this is a perfect DIY gift, and one that can easily be personalized with a monogram, quote, or other meaningful design.
You could also add some cool hardware for handles to really make your wood slice serving tray unique!
Danielle says
Thanks so much for linking up at the Motivational Monday link party! Hope you’ll join us again this week!!
Danielle
SewMuchCrafting.com
Bre says
Hi, Danielle! Thank you for hosting! I will be back!
Carrie @ Curly Crafty Mom says
This is so neat! We eat cheese and crackers over here a lot and I would love to make my own personalized tray. That stencil design you selected is so pretty! Thanks for linking up with us at Motivational Monday, hope to see you back next week!
Bre says
Thank you, Carrie! I will be back for sure!
Carmody says
Freaking Beautiful Bre!!!!!!!!!!!!!!!!!!!!!!1
Bre says
Hahahaha, thanks, Carmody! 🙂 You gotta try wood burning. I know you would come up with something AMAZING!!
Nicole B. says
Love it! And you must have a lot of patience! That looks like a lot of wood burning!!! Fun though, isn’t it? 🙂
Bre says
Thanks friend! It really didn’t take that long! I can’t wait to try text like you did on your cutting board!
Erin says
Holy Moly! The pattern!!! Super stylish!!!
Bre says
Hahaha thanks, Erin!
Amanda @ Dwelling in Happiness says
OOOoh, So pretty!! I love how it came out!! Looks like a piece of lace under the cheese. So feminine! 🙂
Bre says
Thank you, Amanda!!
Lindi says
I love how this turned out!! I think I would be too inpatient to tackle the wood burning, but it turned out amazing!!
Bre says
Hi Lindi, thanks so much! The wood burning really didn’t take that long, I swear! :-). Thanks and have a great rest of your day!
Christina @ Operation Home says
Trays unite!! Haha! We need a secret handshake or something. 😉 I love that we had similar ideas but completely different results!! The wood-burning technique is so cool!! And I love the stencil you chose!! Well done, lady!! 🙂
Bre says
Hi! Yes, I think that is my favorite thing about these challenges! It’s so amazing how you can think the same way but so differently at the same time! 🙂
Michelle Lepak @ Dandelion Patina says
Wow. Now, that is some detail on the wood burning pattern! Looks great.
Bre says
Thanks so much Michelle! I hope you have a great weekend!
Tara @ Anything & Everything says
Great idea, Bre! Love the stencil that you used! Hope you have a wonderful weekend!
Bre says
Thanks, friend!! Hope you’re having a great weekend as well!
Erica says
Oh wow, this turned out GORGEOUS! I love that lacy stencil – it just pairs so perfectly with the wood of the tray and the handles! Totally the perfect gift 🙂
Bre says
Thanks so much, Erica! Hope you have a great weekend!
Amy | Canary Street Crafts says
I adore this cute tray, Bre!! So pretty!
Bre says
Thank you so much, Amy!!
Kristi says
WOW!!! I am in LOVE with the stenciled burning! SO pretty!!!
Bre says
Thank you, Kristi! 🙂
Breanna says
LOVE this Bre! I’m glad you didn’t burn down your house 😉 I need to try my hand at some wood burning soon, I always love how it looks! Awesome job!
Bre says
Hey girl, thanks!! I cannot even imagine what you could do with a wood burning tool. I bet you could turn a junky old furniture piece into something truly amazing (as usual)!
Chloe Crabtree says
Just beautiful! I have never tried anything like this with a wood burning tool. Okay, I didn’t even know there was a wood burning tool, but you are inspiring me! This is truly lovely.
Bre says
Aw, you’re making me blush! Thank you! These wood burning tools are so cool! I could see you making all kinds of cool and personalized party decor with them! A bonus is that they’re really inexpensive – I think mine was $12! Have a great weekend!
Kendra @ www.joyinourhome.com says
Such a great idea Bre! Love the detail of your design! I defiantly want to try making one too! Hope you have a great weekend 🙂
Bre says
Hi, Kendra! Thank you!!! Really, this project could not be easier. Hope you have a great weekend, friend!
Marie@The Interior Frugalista says
Love your serving tray!. I’ve been wanting one of those woodburning kits for sometime. Maybe I should add it to my list for Santa. lol
Bre says
Thank you so much, Marie! Yes, you should definitely get one of those kits! They are shockingly inexpensive and I really think they can be used in so many different ways to create unique things! I can’t wait to try mine out in other ways. Thanks for your nice note and I hope you have a wonderful weekend!
Leigh Anne says
This is beautiful Bre! You did a great job on it!!
Bre says
Thanks, Leigh Anne! I am glad I didn’t burn a massive hole through it with the wood burning tool. A+ for that. 🙂