This festive DIY holiday card display can be made in a snap and treasured for years to come!
One of the best times of the holiday season is when the holiday cards start arriving! Finding actual greetings – sprinkled amongst the typical bills and marketing postcards – brings excitement each time you open the mailbox!
And the best way to extend the fun of receiving Christmas cards is to actually display them. Don’t just put them in a basket, or even worse- toss them in the trash (pssst check out this Upcycled Christmas Card Garland project for an idea of what to do with those cards once the holidays are over).
Instead, let me show you how to make this easy DIY holiday card holder. You can display Christmas cards and holiday greeting cards, and enjoy the smiles of your friends and family all season long.

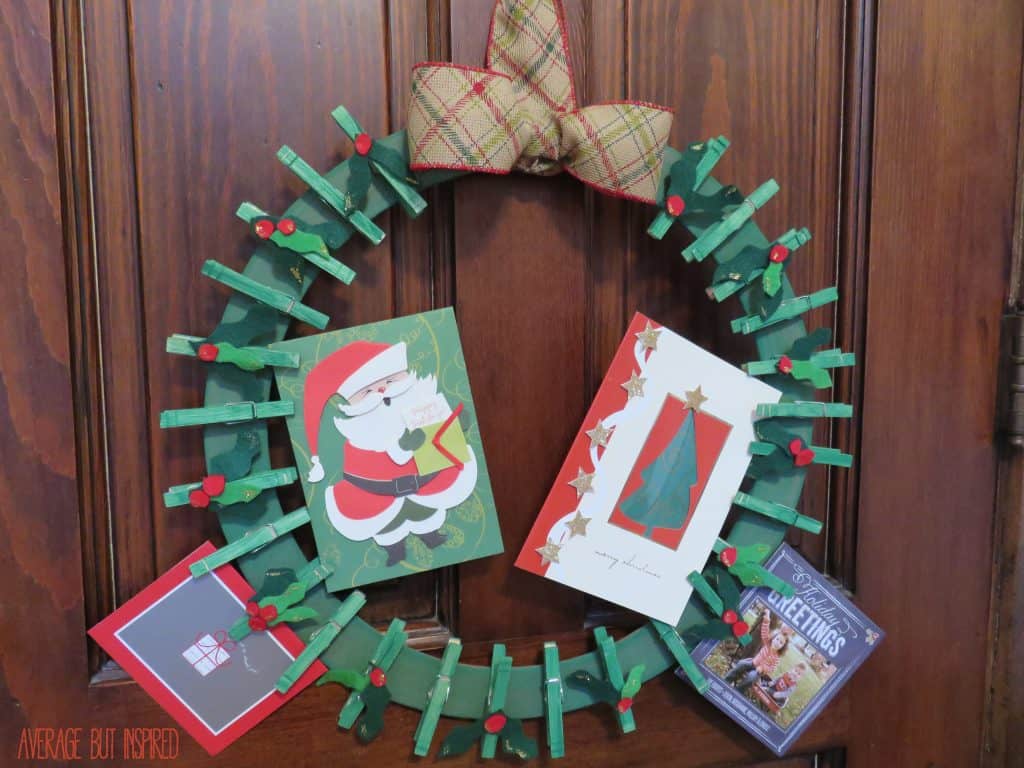
I mean really, how festive is this wreath holiday card holder?
DIY Christmas Card Holder Supplies
This post contains affiliate links. Please read my disclosure policy for more information.
- 18″ wood wreath form (or 18″ chipboard wreath form, if you can find one)
- Clothespins (I used 25)
- Wired ribbon
- Wood glue
- Hot glue (and glue gun)
- Gold glitter paint
- Green acrylic paint
- Paint brush (a foam brush works great)
- Green craft felt (in two shades); red craft felt
- Sharp fabric scissors
How to Make a DIY Holiday Card Holder Display
You’re going to love how easily this adorable Christmas card display goes together!
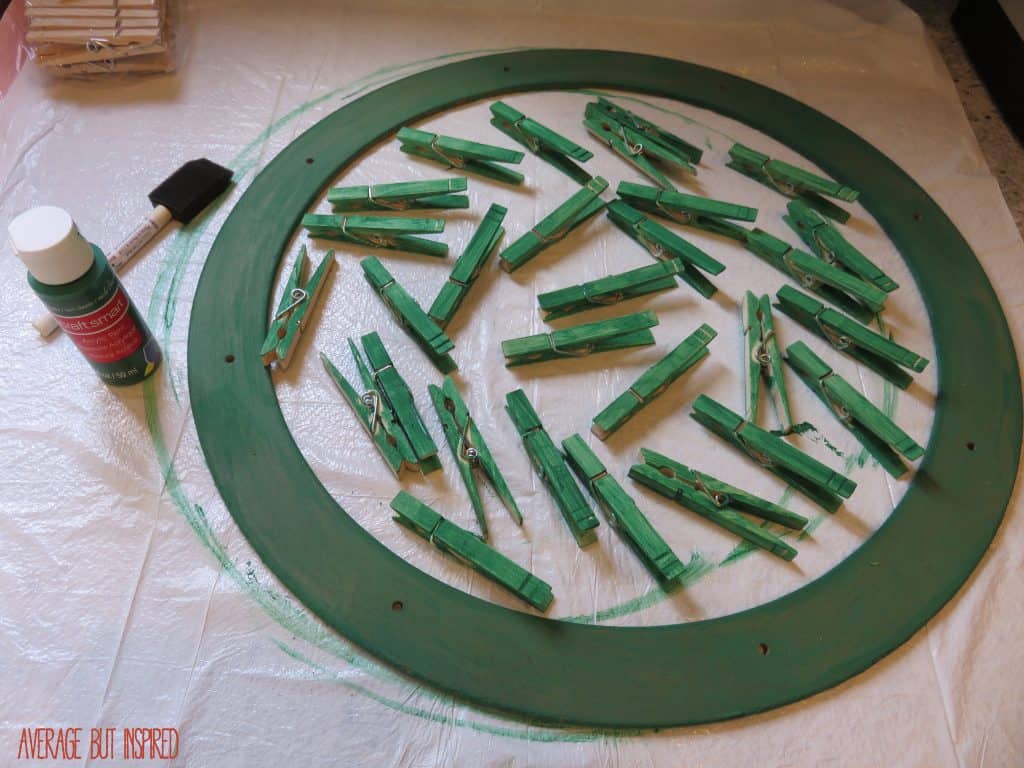
Step One: Paint the Wreath Base and Clothespins
First, paint the wreath form and clothespins green using regular acrylic paint.
Alternatively, you could use green spray paint for an even quicker project! (However, remember to spray paint outdoors or where there is a lot of ventilation. That could be tough at this time of year!)
Step Two: Create a Hanger for the Holiday Card Holder
Once the paint dries, tie a ribbon into a loop at the top of the wreath. This will allow you to hang the card holder anywhere you like: on a blank wall or empty wall, on a vintage window for an antique look, or even on the back of a door.
Then, make a bow out of the same ribbon and hot glue it to the front. This adds a decorative touch and helps hide the knot in your ribbon hanger.
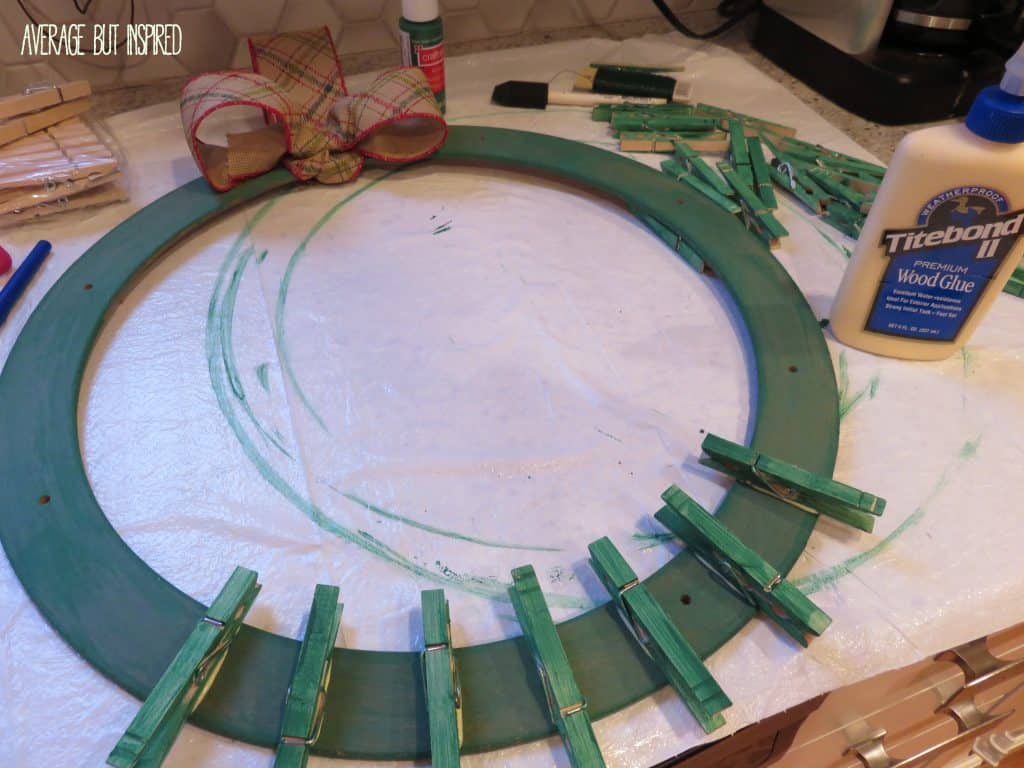
Step Three: Glue Clothespins to the Wreath Base
Next, it’s time to attach the clothespins! Glue them around the wreath form with wood glue, alternating the opening ends on the inside and outside of the wreath form.
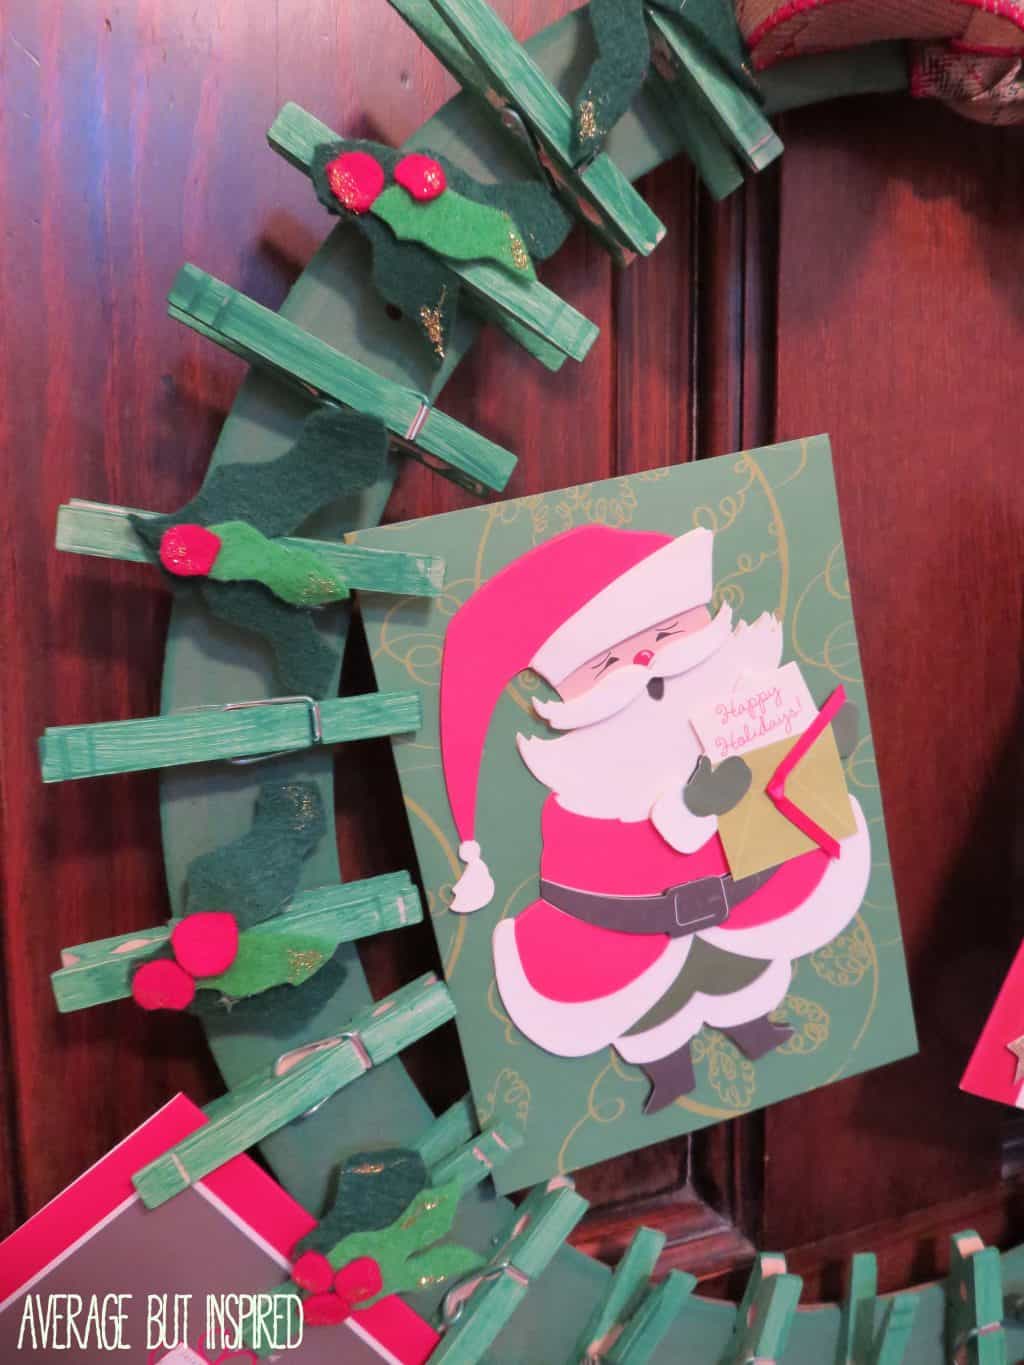
Step Four: Embellish the Card Holder with Felt Leaves and Berries
After the glue has dried, cut holly leaves and berries out of felt. These don’t have to be perfect – don’t stress about this! The key is to have sharp scissors.
Glue the felt leaves and berries to some of the clothespins, and add some gold glitter paint to some of them for some sparkle.
Not only is this a beautiful way of displaying Christmas cards and holiday greetings, but you’ll have the pleasure of knowing you made it yourself!
This easy way to hang Christmas cards will last for years to come, and will be the perfect way to display those cherished holiday greetings.

Now tell me in the comments below – how do you usually display your Christmas cards?
Carolyn Pollock says
Where do you buy the chipboard? I’ve never seen one?
Bre says
Hi, Carolyn! You can get them on Amazon! Here’s an affiliate link to one: http://amzn.to/2nFR6g7. Thanks and have a great day!
Michelle from Weekend Craft says
Super cute! Thanks so much for linking up at Creative Spark Link Party last week. Hope you link up again today! http://bit.ly/1wg0JNp
Bre says
Thank you!! I will definitely be linking up again later today. Have a wonderful day!
Lindsay Eidahl says
Cute! This would be a great craft to do with the kids too! Thanks for sharing on Show Me Saturday!
Bre says
Hi, Lindsay! Thank you! Yes, definitely a great craft to have the kids involved in! Have a great night!
Crystelle says
Wow! That chipboard wreath form really makes it an easy project!! Wishing you a merry Christmas 🙂
xox, Crystelle
CrystelleBoutique
Bre says
Hello, Crystelle! Yes – this project is SO easy! Ridiculously easy! I’m so glad I have some Christmas cards floating in now to fill it up, too! Thanks for stopping by today! 🙂
Chelsea - Mommie and Wee says
How clever! I was thinking of doing something similar with a garland, but this is so much cuter! Thanks so much for sharing we me and my Pin Worthy Wednesday co-hosts! I’ve pinned this!
xo Chels
Mommie and Wee
Bre says
Thank you so much for pinning it! I really appreciate it!! 🙂
Danielle says
What a cute idea! Thanks for sharing it at last week’s Motivational Monday party! Hope you’ll join us again this week…
Danielle
SewMuchCrafting.com
Bre says
Hi, Danielle – thank you!! Yes, I already linked up this week and love your party! Have a great week!
Amanda @ Dwelling in Happiness says
Love this, Bre! A super cute way to display Christmas cards. I usually resort to just putting them on the fridge, but this is WAY cuter! 🙂
Bre says
Thank you, friend!! I hope you had a great Thanksgiving!
Amy | Canary Street Crafts says
So cute!! I always end up taping our cards to the back of the door because I don’t have any way to display them (lame, I know!). I need to make one of these!!
Bre says
Thanks, Amy! Hope you had a great Thanksgiving!
Breanna says
Such a great way to put those cards to use and display them!
Bre says
Thanks girl!
Kristi says
SUCH a cute project! I’m always looking for ways to display our cards!!!
Bre says
Thanks, Kristi! I’m glad you like it!