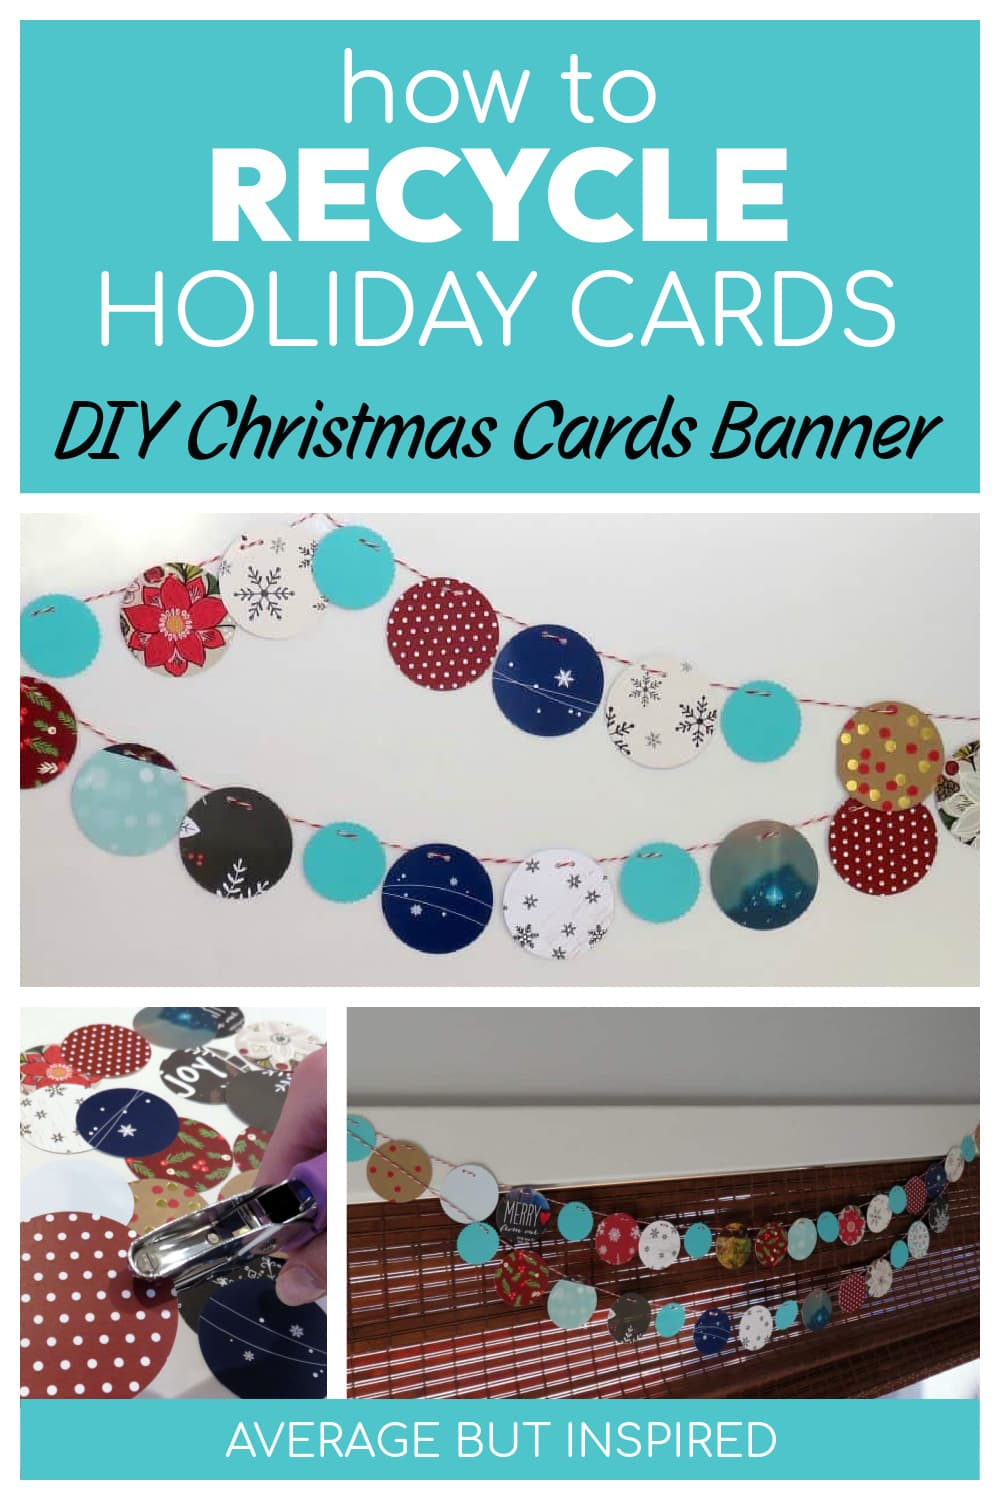
Looking for a way to recycle Christmas cards? Let me show you how to repurpose them into a decorative banner you can enjoy all winter long!
I received so many gorgeous Christmas cards this year! It was as if everyone I know decided to send out their best card ever. Seeing all of the beautiful holiday greetings displayed throughout my home helped make Christmas even more special!
Because of that, it was really hard to part with the holiday cards when putting away the Christmas decor (like my DIY Holiday Card Holder).
So I got to thinking . . . instead of throwing them out, why not extend the fun and recycle the holiday cards into something else? And that’s when I decided to upcycle my Christmas cards and turn them into a decorative banner to enjoy all winter long.
This was a totally mindless project that only took about 20 minutes to put together – perfect for when you’re watching those reruns at night!
Recycled Christmas Card Banner Supplies
This post contains affiliate links. Please read my disclosure policy for more information.
All you need in the way of supplies are the following items:
- Christmas cards or holiday cards (photo cards with printed backs worked best for me!)
- Large shape punches in the shapes and sizes of your choice: I used a 3″ circle punch. (Note: you could use a Cricut machine to cut shapes, too!)
- 1/8″ hole punch
- Bakers twine or thin string
- Optional: extra cardstock if you want to substitute in some non-Christmas card pieces
How to Make an Upcycled Christmas Card Banner
First, spread out all of your holiday greeting cards and separate them into piles arranged by color scheme and/or style. Then, pick the colors that work with the overall look you’re going for.
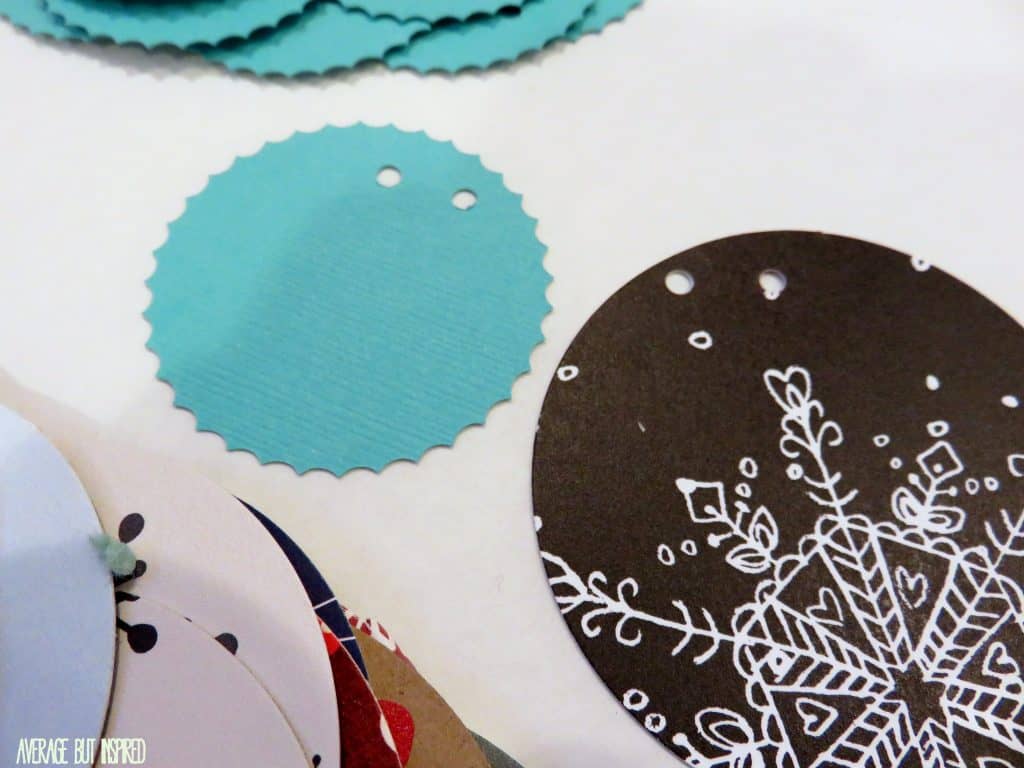
Once you have selected your Christmas cards (and supplemental cardstock, if you’re using it), use your large hole punch to cut out lots of circles.

Next, use a small hole punch to put two holes in the top of each circle.

Next, thread bakers twine through the holes in the top of each circle to create your bunting or banner.

Hang it up and you’re all set! You may need to adjust the placement of some of the shapes on your banner or bunting, but that’s an easy fix.
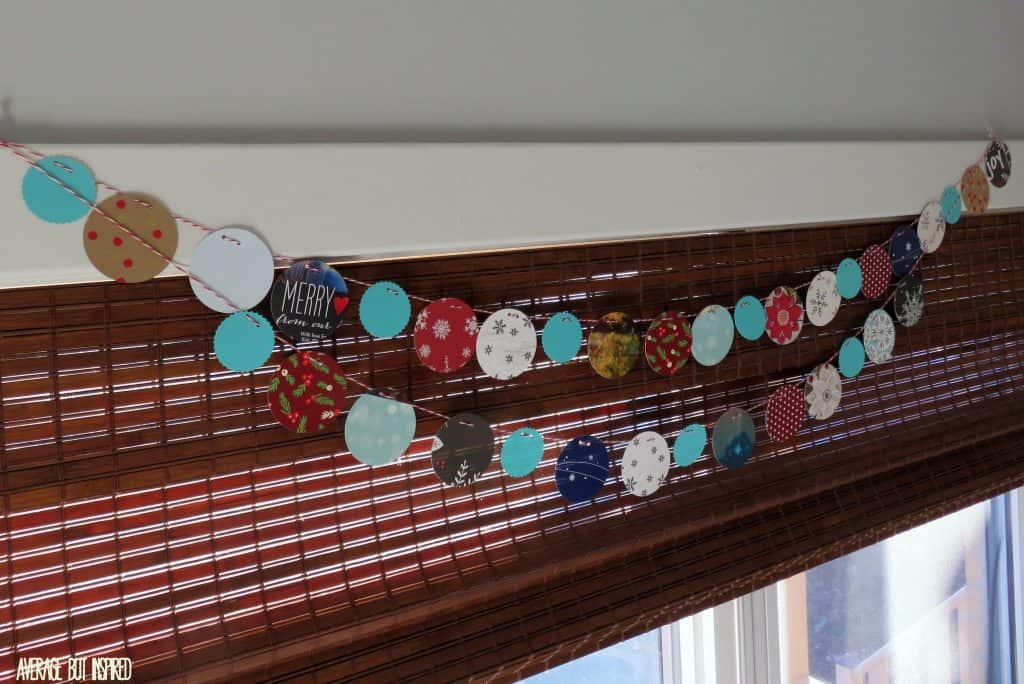
This DIY banner made from old Christmas cards is such a great way to recycle holiday greetings! It adds a fun pop of color wherever you hang it, and helps brighten some of those gray winter days!
I must say that it’s also a nice way to ease some of the pain of putting away all of the Christmas decorations.

What do you do with the Christmas cards or holiday cards once the holidays are over? Tell me in the comments below!
Audrey says
PINNED! I have a huge stack of saved cards from the years and needed something else fun to do with them. Just wish I had a cool circle cutting tool.
found on Pin Worthy Wednesday
Bre says
Hi, Audrey! THANK you!! You can get those circle punches at Michaels for like $5 – seriously! Thanks so much for stopping by!
Carrie @ Curly Crafty Mom says
This is such a creative idea and I would love to make this next year with my old cards!
Bre says
Hi, Carrie – thank you! Yes, keep it in mind for next year. It is such a happy way to bridge that gap between Christmas and Valentine’s Day when your house feels all sad and bare. 🙂 Thanks for your note!
Erica says
Oh my goodness, this is a BRILLIANT idea! I always end up throwing mine away and wish that I hadn’t this year! What a great way to keep those memories 🙂
Bre says
Hi, friend! Thank you!! 🙂 Have a great weekend!!
Megin says
This is a wonderful idea! I hate tossing Christmas cards.
Thank you for sharing your post this week at Brag About It Link Party on VMG206. I’m featuring you at Next Weeks Brag About It Link Party, Monday at midnight!
~ Megin of VMG206
Bre says
Hi, Megin! YAY! So fun! Thank you very much for featuring this project!! I really appreciate it!
Jenny @ Refresh Living says
Great idea! I was just looking at my pile of cards, feeling guilty about getting rid of them. I’m glad I didn’t do it yet – putting this on my to-do list and pinning it as well!
Bre says
Hey, Jenny! Awesome!! Thank you! I hope that if you do use your cards for this project, or something else, it helps to ease the guilt of throwing them away. Ha! Have an awesome weekend!
Shirley Wood says
Very clever repurpose project! Pinned it 🙂 Stopping by from Creative Spark.
Bre says
Hi, Shirley! THANK YOU!!! 🙂 I appreciate you stopping by and pinning! You rock. Have a wonderful weekend!
Marie says
Loooove this idea! Thanks so much for sharing! I always save my cards and never have any idea what I should do with them. Is it Christmas 2015 yet???!!! EEK!
Bre says
Hi, Marie! Thank you!! You are so good that you save them. I feel so bad because I always throw them away, even though they’re so beautiful! At least this year it’s a little different! Thanks for stopping by and Happy New Year to you!
Marie says
Happy New Year to you, as well! 🙂
Sarah Nenni Daher says
This is such a good idea! We made ours into party poppers (crackers) for New Year’s this year, but I’m pinning this to my Christmas crafts board for next year.
Thank you for sharing this – I love quick crafts!
Bre says
Hey, Sarah! Oh my gosh, I would love to know how you made them into party poppers! That is SO fun!!! Thanks for your sweet note and Happy New Year! xo
Aspen Jay says
What a simple yet clever idea! This will be pinned and I am doing this for next year! Oohh this would also work well for really any holiday cards-like Valentines or birthday cards would really be fun. Thanks so much for sharing!!!
Bre says
Hello there!! Thank you so much for your sweet note and for pinning this! I really appreciate it! And you’re right, you could really use any cards to make these! Happy New Year!
Elizabeth Dietz says
This is so cool!! I may have to give this a try!!
Bre says
Hi, Elizabeth! How are you?! Thanks for your note. Hope all is well with you!
Julie says
That is such a lovely idea Bre, I always make next years gift tags from our Christmas cards but I feel sure we have enough to try this too.
Bre says
Hi, Julie! Thank you! Making them into gift tags is such an awesome idea! I will have to try that next year. Hope you and your family had a wonderful Christmas!
Emily @ Table + Hearth says
Sooo kicking myself for throwing ours out this year :/ I love this! Pinning for next year!
Bre says
Aw, thanks for pinning this, Emily!! I really appreciate it! 🙂
Amanda @ Dwelling in Happiness says
Bre, you’re a genius. This is SO CUTE!! I was just looking at all my beautiful Christmas card and thinking, “what the heck should I do with these?” This is such a great idea! 🙂
Bre says
Hey girl, thank you!! Can I quote you on that? I don’t hear “you’re a genius” too often and I would like to be able to point this now fact out to my husband from time to time. 🙂