After posting my changing table upcycle project, I got some questions about how to apply fabric to furniture.
I am by no means an expert on this subject (my expertise centers on things like any of the Real Housewives franchises and the latest shipment of inventory at the Target Dollar Spot), but I do think I did a pretty darn good job with this, so I’m happy to share my tips on how to Mod Podge fabric to wood (or any other type of furniture, for that matter)! 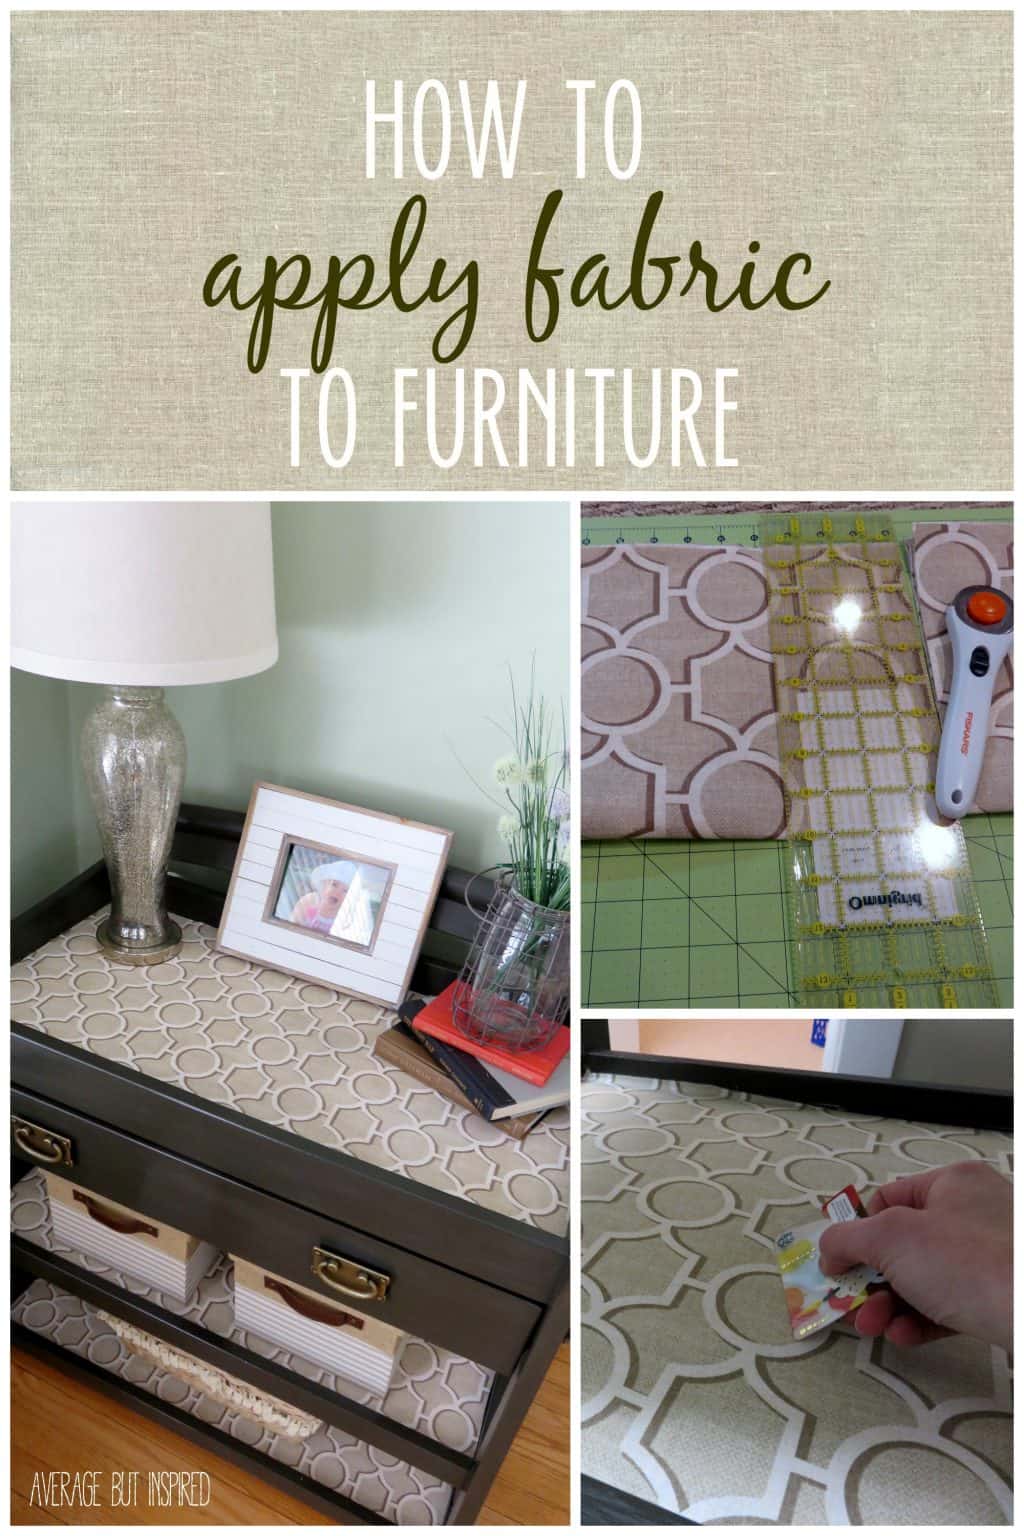
Supplies Needed to Apply Fabric to Furniture
This post contains affiliate links. If you purchase through these links, I will receive a small commission at no added cost to you. To read my full disclosure policy, please click here.
Here are the supplies I used to make this fabric application a successful one.
- Mod Podge in matte finish (you can use any finish, actually; I just like matte for wood projects personally)
- a large foam brush
- cotton fabric (mine was a canvas-type fabric, but any type should work just fine)
- a rotary cutter
- a fabric cutting mat
- a clear fabric ruler
- an X-acto knife
- a credit card or gift card
How to Mod Podge Fabric to Wood or Other Types of Furniture
First, I measured the shelves to which I was planning to apply the fabric. I did this twice because you know the old adage “measure twice, cut once” was on repeat in my head.
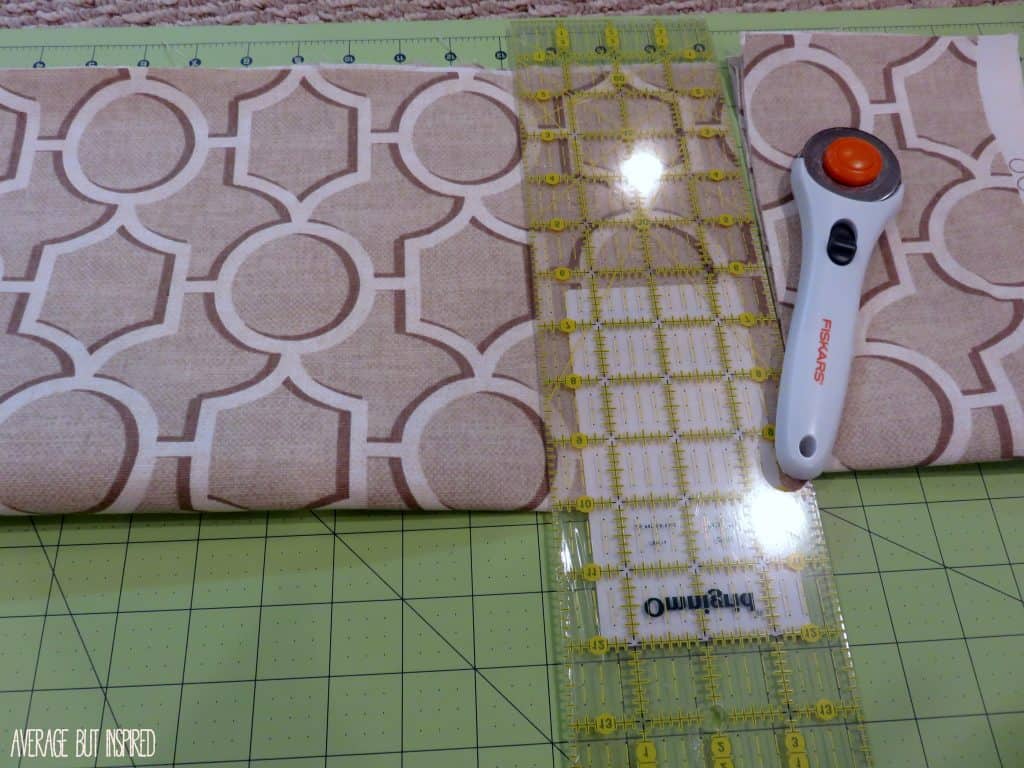
Next, I cut my fabric to be slightly larger than the size of my shelves. (I did this to ensure that the fabric would totally cover each shelf. I didn’t want any gaps at the edges, and planned to trim it to fit after I applied it to each shelf.)
I found it very easy to cut the rectangular shape of my fabric with the rotary cutter and clear ruler on top of the cutting mat because the measurements were right there in front of me. It also made it really easy to cut straight lines.
I think that if I would have tried to cut a straight line freehand, I probably would have messed that up big time. The large-scale pattern on the fabric I chose made it especially important that my cuts were straight!
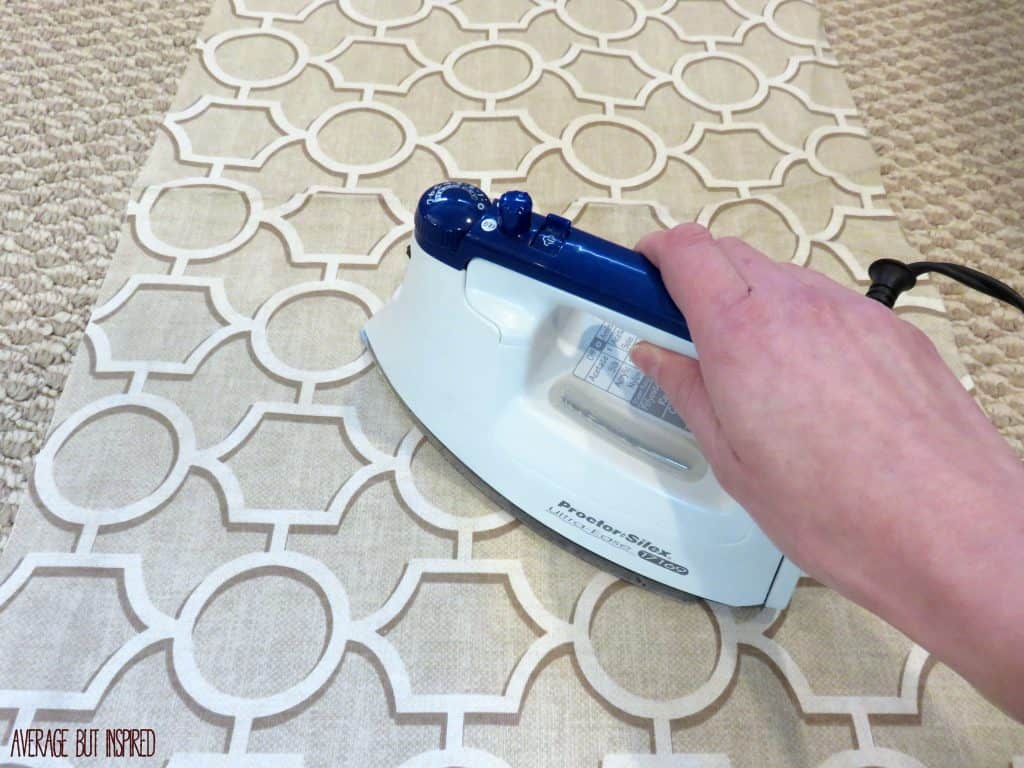
After I had all of my fabric cut out, I ironed it really well to ensure there were no folds or wrinkles left.
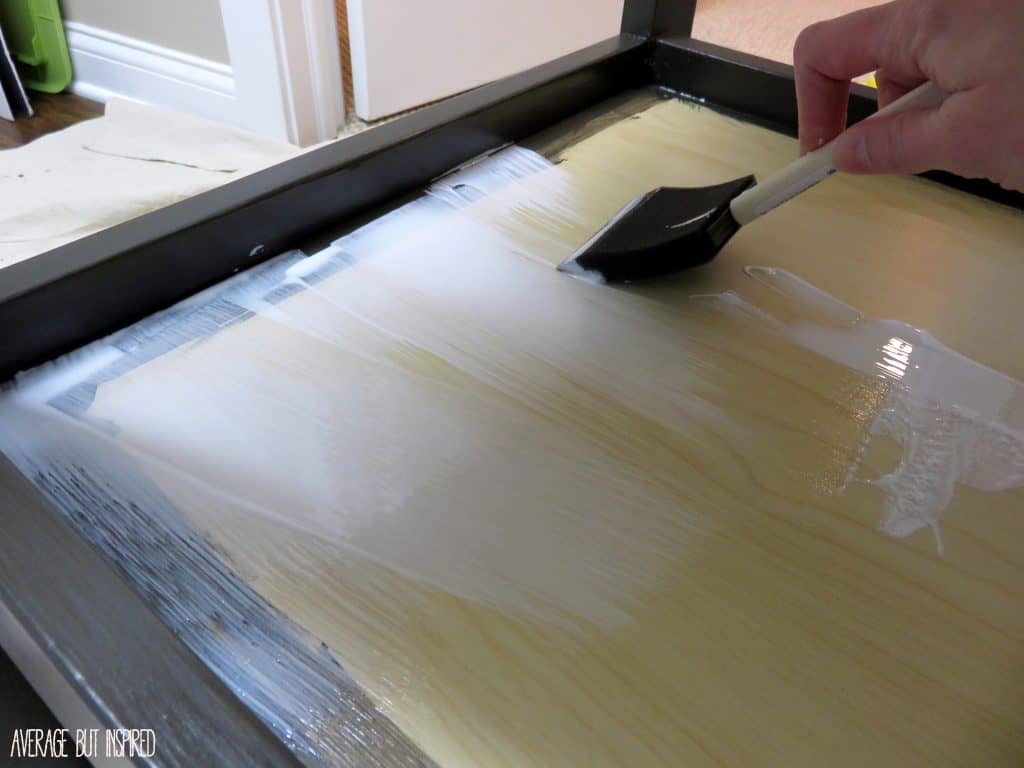
Then it was time to really get down to business! I grabbed my large foam brush and applied a thin, even layer of Mod Podge to an ENTIRE wood shelf. I had to work rather quickly to make sure that the Mod Podge wouldn’t dry out before I got the fabric on.
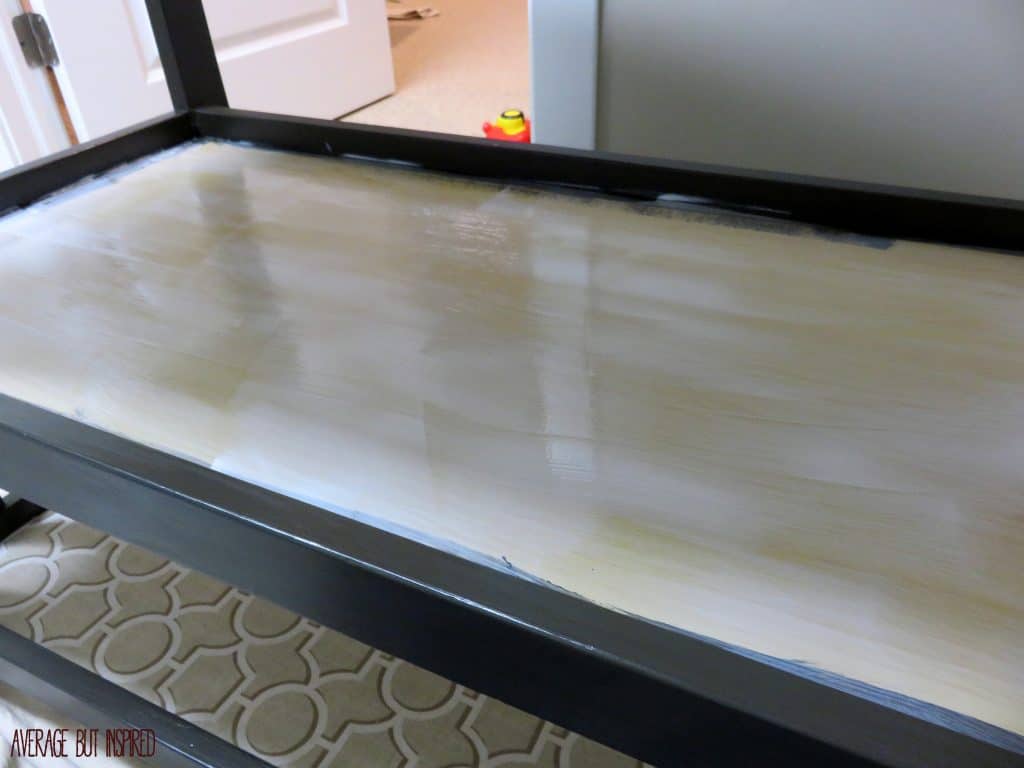
Once the shelf was coated with Mod Podge, I held my breath and laid the fabric on top of the shelf. I had to move it slightly to get it into the correct place, but once it was where I wanted it, I breathed a sigh of relief and pressed it down.
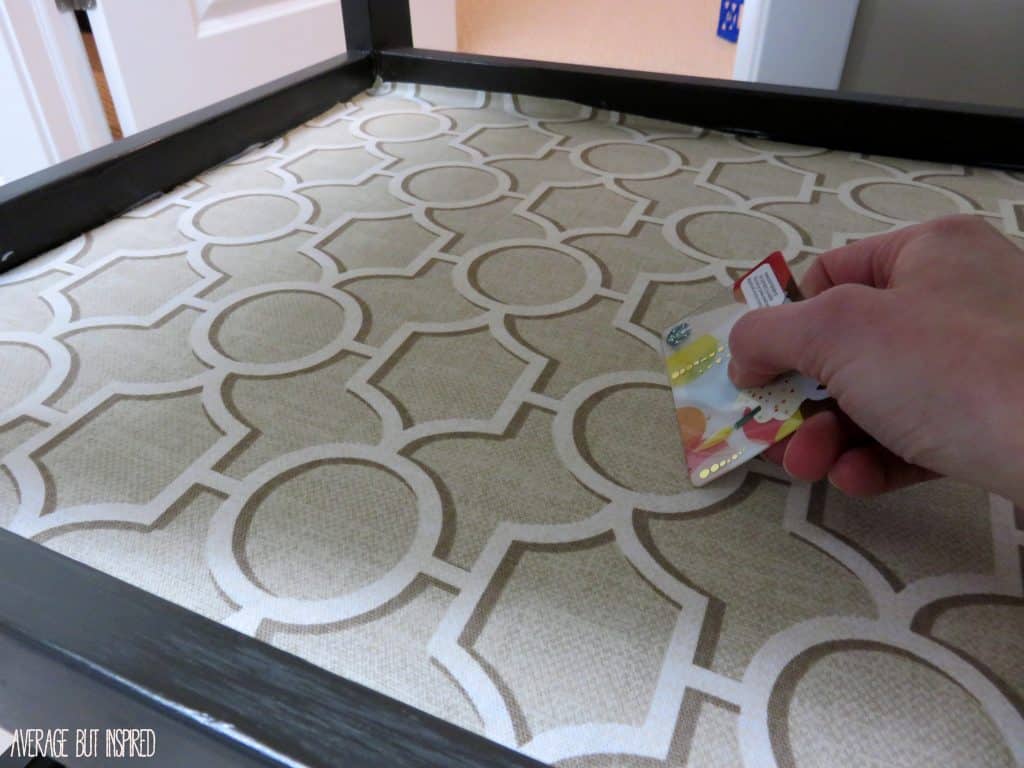
Then I took a gift card and began using it to remove any wrinkles or gaps. This was essential in getting a smooth finish! I gently pushed the gift card all over the fabric to press wrinkles and gaps out toward the edges.
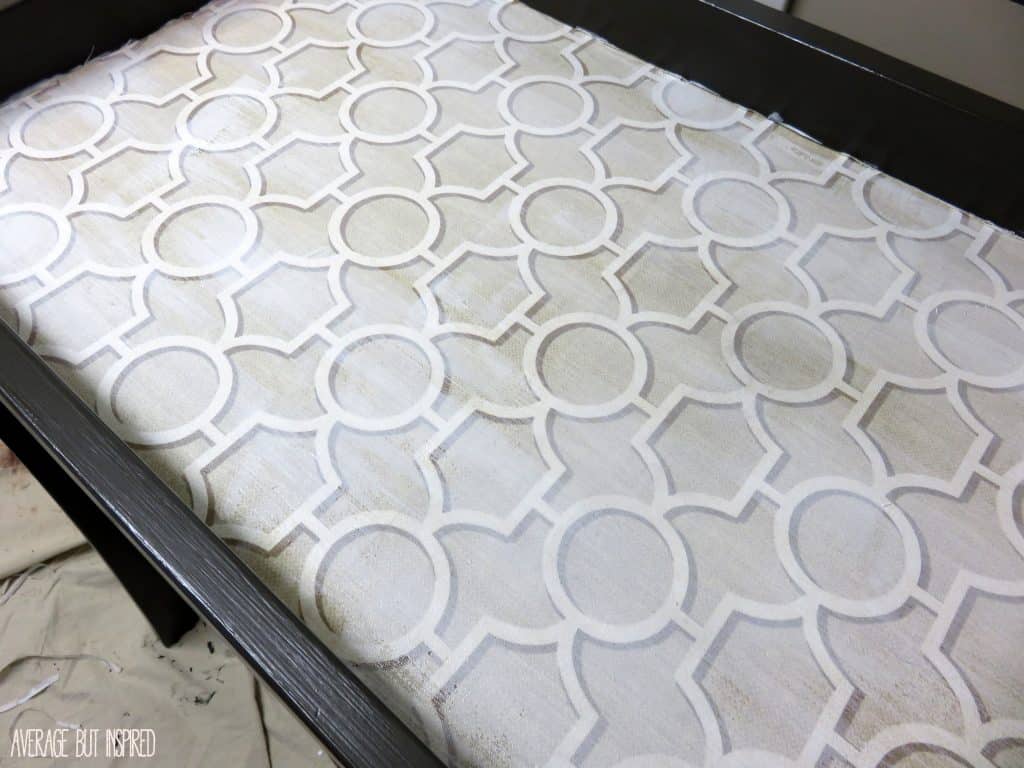
I let this sit for about 30 minutes to ensure that the Mod Podge was dry. Then I began removing the excess fabric from the edges of each shelf. I used a combination of my rotary cutter and an X-acto knife to do this.
You will want a VERY sharp razor for this step. My X-acto knife was really dull and made the process much more difficult than it should have been. If it had been sharp, I probably would not have needed to use my rotary cutter at all for this step.

Once this somewhat tedious step was finished, I applied a thin, even layer of Mod Podge to the top of the fabric to seal it all off. It goes on murky but dries clear.
Once it’s fully dry, you’re all finished! It’s so easy to Mod Podge fabric to wood – can you believe it?
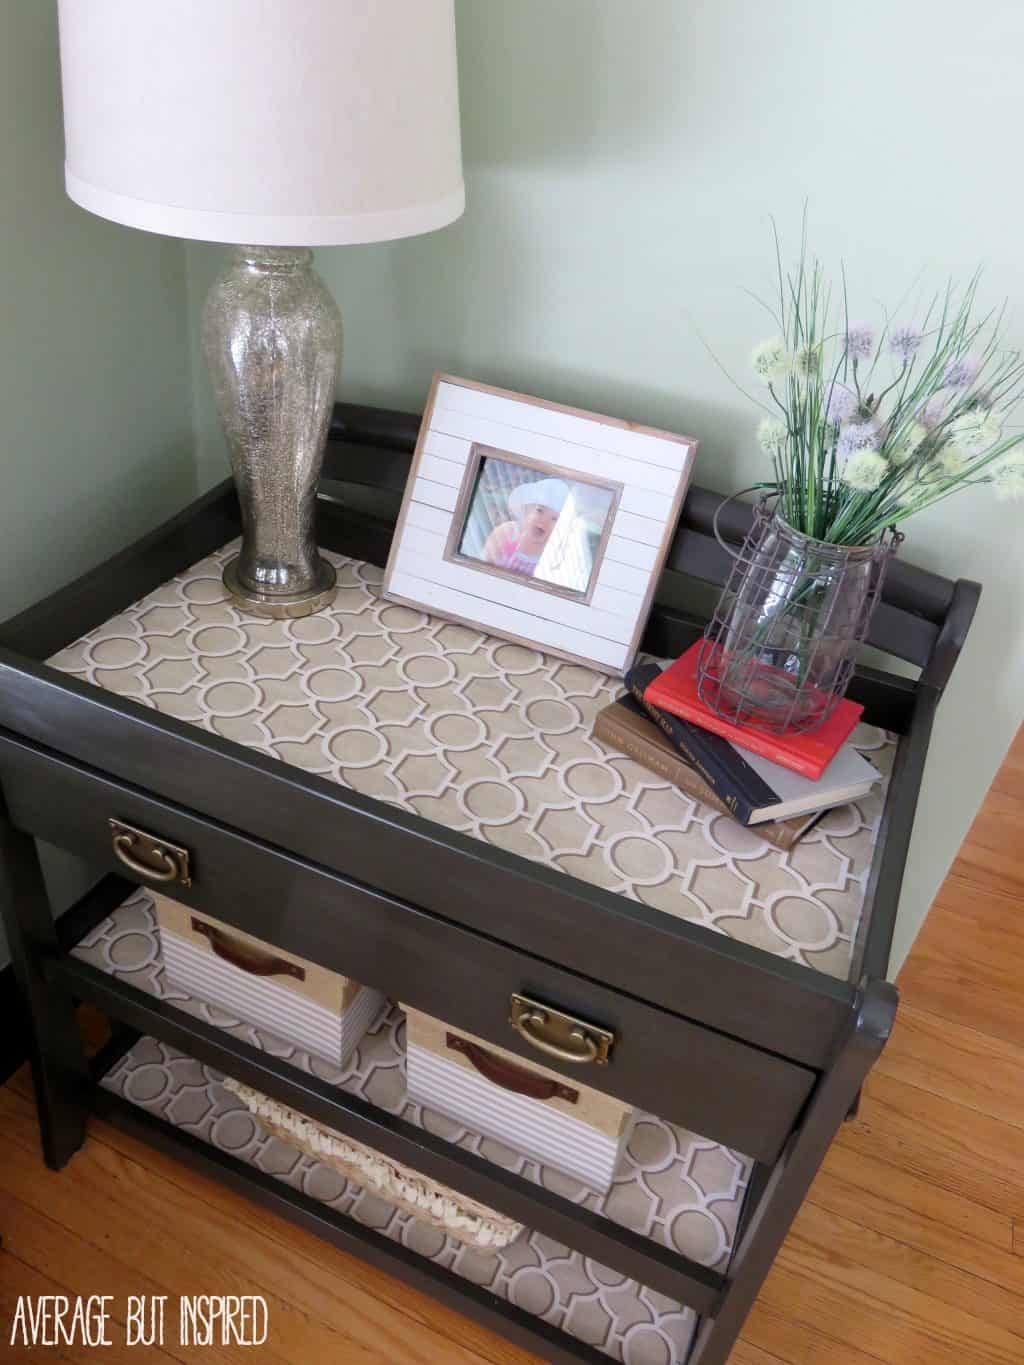
I will admit that this whole process was a little nerve-wracking. I was scared that I would ruin my newly-refinished console table, but I think that the risk was worth it.
Adding fabric to furniture gives it a really unique, custom look – one that isn’t totally achievable with paint alone. And, learning how to Mod Podge fabric to wood is a skill that you can use in all kinds of crafts and decor projects!

– Bre
Rama says
Wow, it’s really beautiful!
I would love to try this 🙂
Bre says
Thank you, Rama!! Definitely give it a try! Worst case scenario, you pull off the fabric, sand the piece down and paint over it. Thanks for your note!
Selene Galindo says
Your piece turned out beautifully! Thanks for the tips!!
Bre says
Hi, Selene! Thank you! I hope you’re having a wonderful weekend!!
TwoPlusCute says
I really like the idea of fabric on furniture. Your walk through makes it easy for everyone who wants to try this craft to get it right. Thanks. 🙂
Bre says
Aw, you’re so sweet! Thank you!! If you ever try it, I hope it works out for ya! Enjoy the rest of your weekend!
Carol Stratford says
I just tried decoupage with fabric on some laminate nightstands and love this technique! Just like you, I was biting my nails hoping it would turn out. Now I see new potential in less than perfect furniture. Its easy and a great way to add interest when you may lack the time, money and ability to be that creative! Nicely done!
Bre says
Hi, Carol! Thank you for your nice note! Aaaah isn’t it so scary when you’re doing this for the first time!?! I bet your nightstands look amazing! Thanks so much and hope you’re having a wonderful weekend!
Kristi says
LOOOOOVE this!!! I would really like to add fabric into some drawers in an old dresser we have, will definitely be pinning this for later! Have a great weekend friend!
Bre says
Thanks, Kristi! It is such a fun way to add detail! Hope you’re having an awesome weekend!