• Skip to primary navigation
  • Skip to main content
  • Skip to primary sidebar
Average But Inspired logo - DIY and craft

Average But Inspired

Craft a home you love. DIY and craft tutorials.

  • About
    • Contact Me
    • Disclosures
    • Privacy Policy and Copyright Policy
  • DIY
    • Furniture
  • Crafts
    • Dollar Store Crafts
    • Seasonal
      • Patriotic & Summer
      • Valentine’s Day
      • Easter & Spring
      • Fall & Halloween
      • Christmas & Winter
  • Home Decor
    • Organization
  • Shop
    • DIY Swag
    • DIY Guides
  • Home

Wood Trim Corner Block Pumpkins

September 14, 2015 by Bre 12 Comments

So the other day I was aimlessly wandering the aisles of Home Depot, looking for nothing in particular.  (Do you ever do that?  They have some cool stuff there!)  I happened upon these little wood trim corner blocks that people typically use to fancy up their doorways.  I snagged a few of them in various sizes and knew they’d make the perfect pumpkins!  Have you ever seen wood trim corner block pumpkins before?  These wood trim corner block pumpkins are SO EASY to make! Get the full instructions and video tutorial from Average But Inspired.
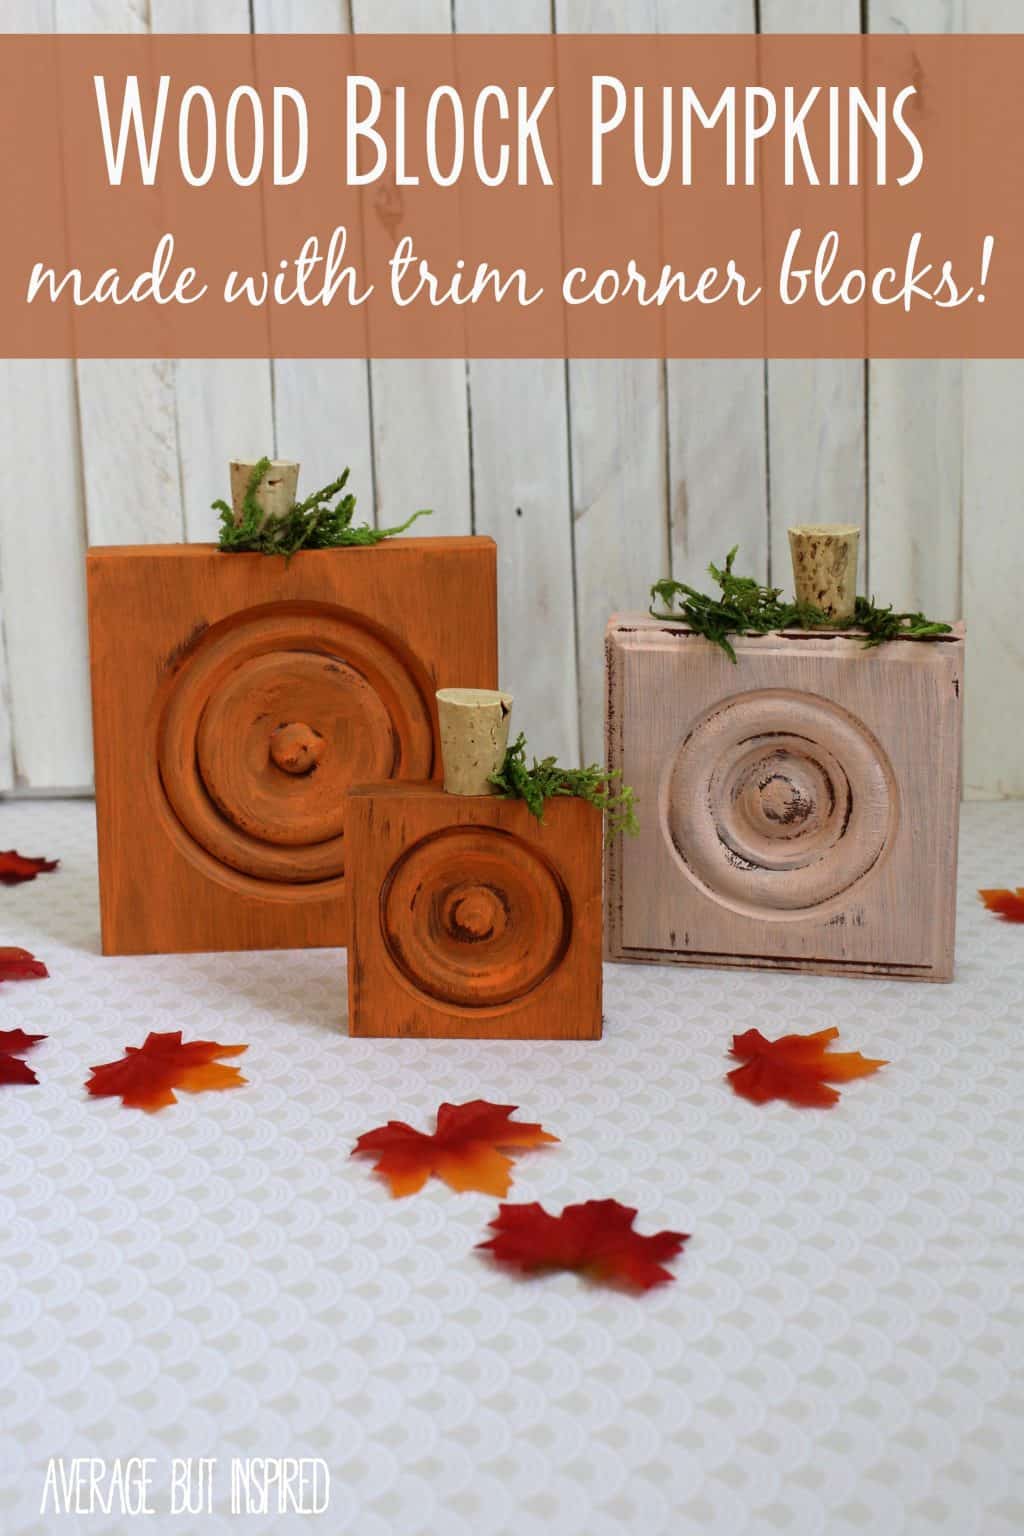
I think these little guys turned out SO cute!  Maybe I’m crazy, but I just love that they’re a little different than your typical fall decor!  These wood trim corner block pumpkins are SO EASY to make! Get the full instructions and video tutorial from Average But Inspired.

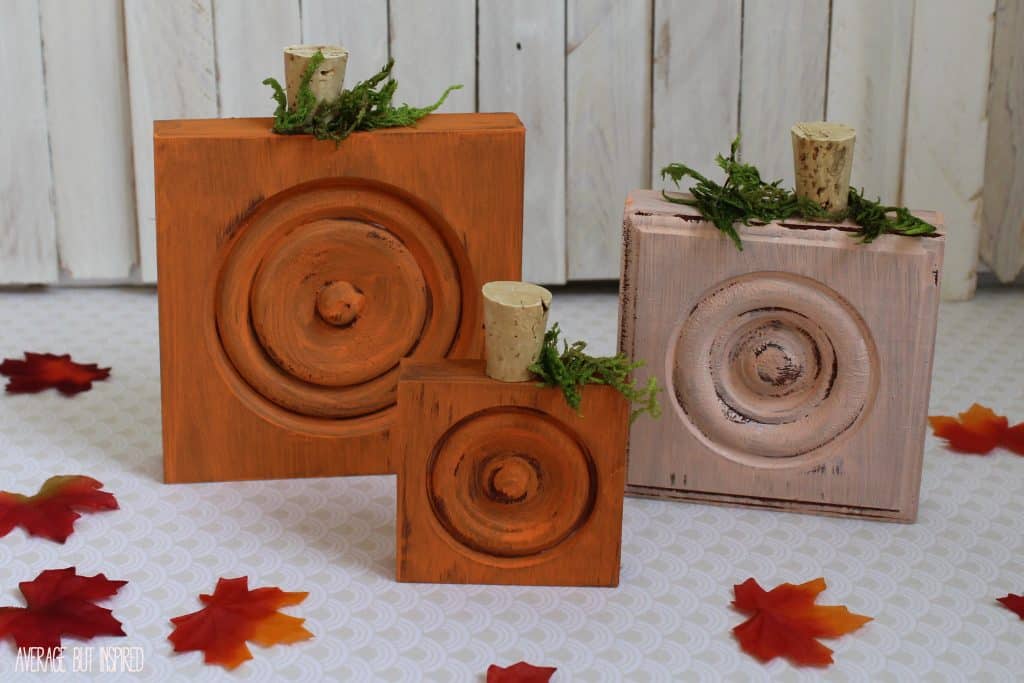
Wood Trim Corner Block Pumpkins Supply List

Some of these links are affiliate links.  To read my complete disclosure policy, please click here.

  • Wood trim corner blocks in various sizes
  • Brown, orange, and cream acrylic paint
  • Small paintbrush
  • Small corks
  • Craft moss
  • Wood glue

How to Make Wood Trim Corner Block Pumpkins

So guys, I’ve typed out this tutorial in typical fashion.  But I’m also trying something new and exciting for this post – – I created a short VIDEO TUTORIAL that shows you exactly how to make this project!  I’ve posted it on my Facebook page, so if you’d like to watch it, please click here!  

If you’re taking the old-school route on directions (which is great, too!), here’s what you need to do!  First, apply a light coat of brown paint to the corner block.  If you’re impatient, use a hairdryer to speed up the paint drying process.  These wood trim corner block pumpkins are SO EASY to make! Get the full instructions and video tutorial from Average But Inspired.

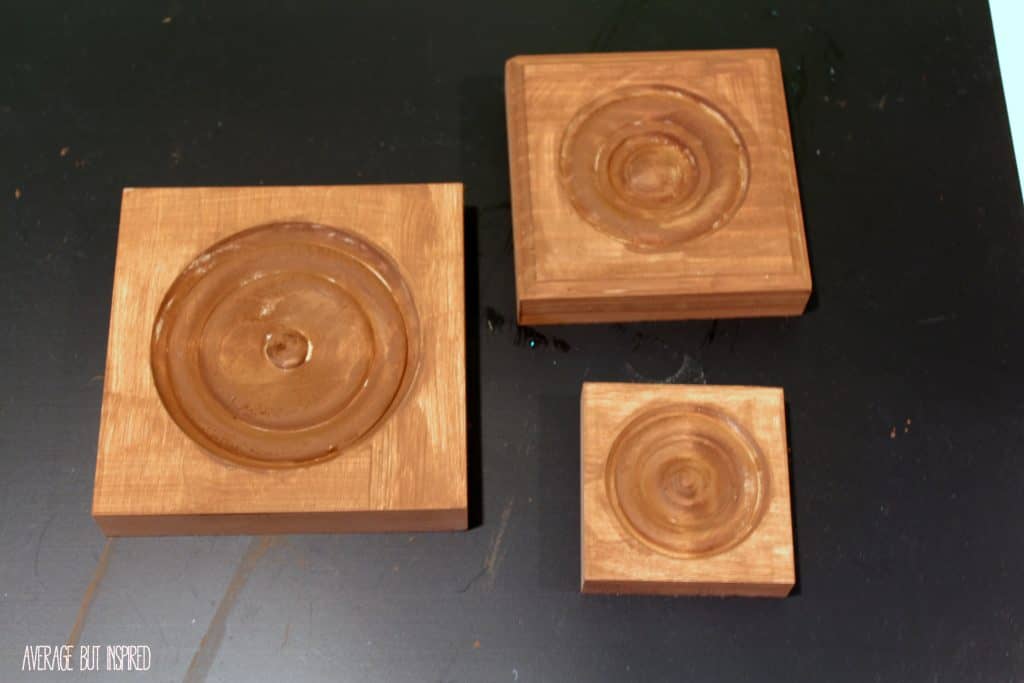
Next, apply a brushy coat of orange paint to the corner block.  I added a little cream paint to my orange paint because it was SO bright, but feel free to mix your colors however you like!  These wood trim corner block pumpkins are SO EASY to make! Get the full instructions and video tutorial from Average But Inspired.

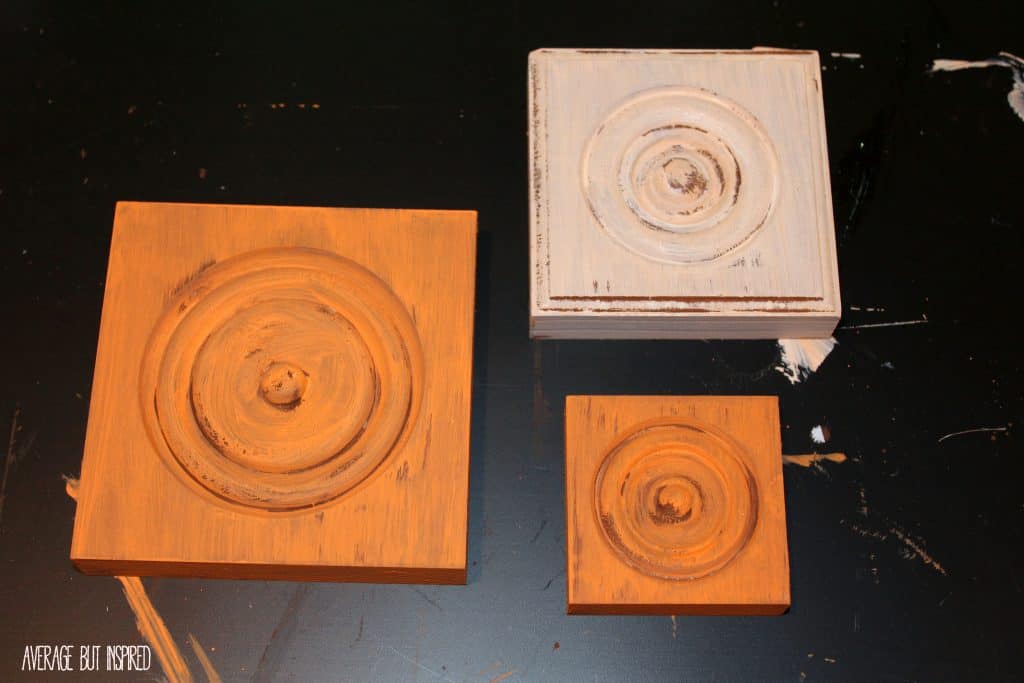
Once the corner block has fully dried, apply a thin coat of wood glue to the bottom of the cork.  Glue the cork to the top of the wood block.  Finally, add a little more wood glue to the top of the wood block and stick some moss on top of the glue.  These wood trim corner block pumpkins are SO EASY to make! Get the full instructions and video tutorial from Average But Inspired.

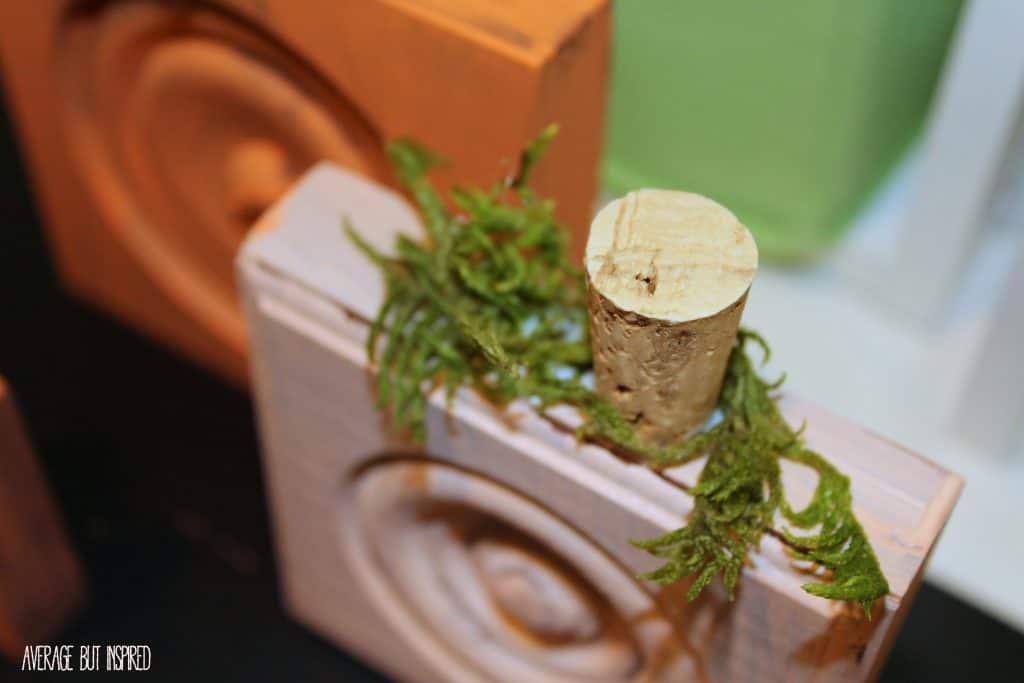
How EASY is that?  Whip these up for yourself and your friends!  Pronto!  These wood trim corner block pumpkins are SO EASY to make! Get the full instructions and video tutorial from Average But Inspired.

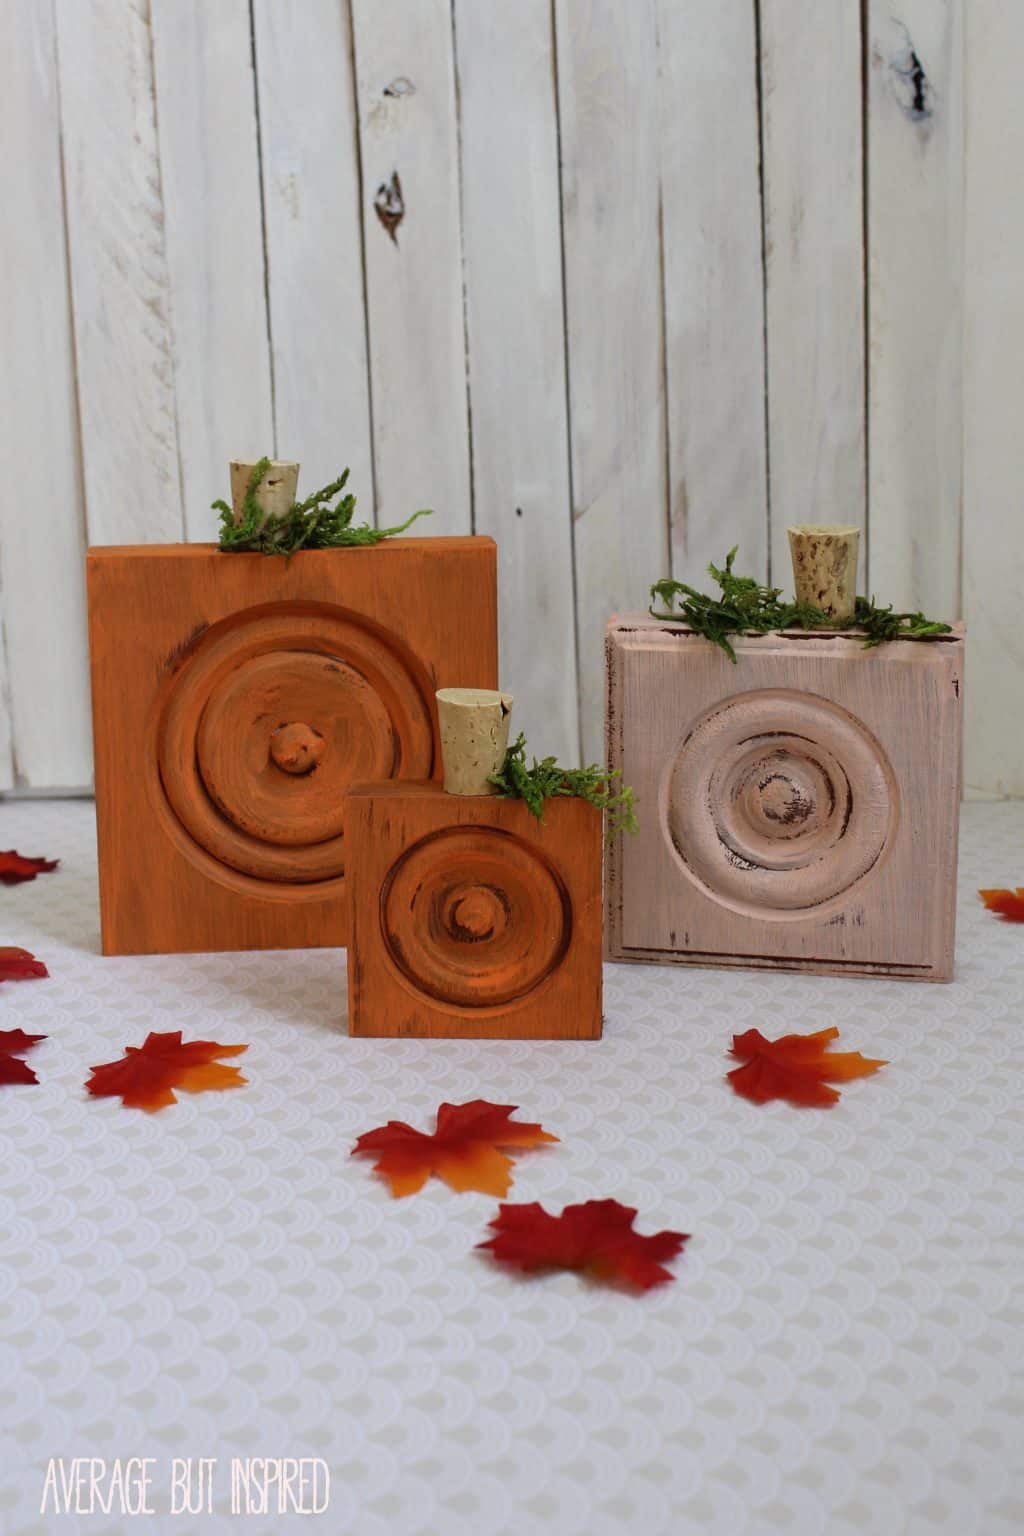
What other fun things can you think of to make with wood corner blocks?

-Bre


Filed Under: Fall and Halloween, Holiday

Reader Interactions

Comments

  1. Carole West @ Garden Up Green says

    September 18, 2015 at 7:48 pm

    Cute Pumpkins, I really like the cork stems. Great idea!

    Reply
    • Bre says

      September 21, 2015 at 8:16 pm

      Hi, Carole! Thank you!! 🙂 They’re SO easy to make, which is the best part! Have a great night.

  2. Shannon Churchill says

    September 15, 2015 at 11:30 pm

    Adorbs, Bre!! And so clever.:) Hope you’re real little pumpkins are doing well is school!

    Reply
    • Bre says

      September 21, 2015 at 8:13 pm

      THANK you Shannon! Oh gosh, I hope you guys are adjusting to school, too! It’s a crazy transition! Hope you’re well!

  3. April R @Uncookie Cutter says

    September 14, 2015 at 12:36 pm

    These are adorbs! So different than the usual pumpkins I see, I love them!

    Reply
    • Bre says

      September 21, 2015 at 8:13 pm

      Thank you, April! 🙂

  4. Cassie @ Little Red Window says

    September 14, 2015 at 10:03 am

    Sooooo cute Bre!!

    Reply
    • Bre says

      September 14, 2015 at 10:55 am

      Thanks, Cassie! xo

  5. Kristi says

    September 14, 2015 at 7:35 am

    SO super cute!!!

    Reply
    • Bre says

      September 14, 2015 at 10:55 am

      Thank you, friend!

  6. Katie @ Little House of Four says

    September 14, 2015 at 6:25 am

    Ooh, these are so cute and creative! Love, love, love them!

    Reply
    • Bre says

      September 14, 2015 at 10:56 am

      Thanks, Katie! Can you imagine if your pallet pumpkins got together with my trim block pumpkins? Ooooh the cuteness! 🙂

Leave a Reply Cancel reply

Your email address will not be published. Required fields are marked *


Primary Sidebar

Let’s Connect!

Hi, I’m Bre! Thanks for visiting Average But Inspired, where I show you how to work with what you’ve got to create a home you love.

Bre of Average But Inspired - a DIY and craft blog

Love DIY? Subscribe to Get Posts E-mailed!

How Can I Help You?

blank

How to Paint a Countertop to Look Like Marble!

blank

How to Create a Faux Antique Brass Finish with Paint

blank

7 Tips for Hosting a Party on a Budget

blank

How to Paint Over Tile

Looking for Something?

Copyright © 2013-2022, Bre Eggert (Average But Inspired). All rights reserved.
  • Home
  • DIY
  • Crafts
  • Home Decor
  • Privacy Policy and Copyright Policy
  • Disclosures
  • Contact Me