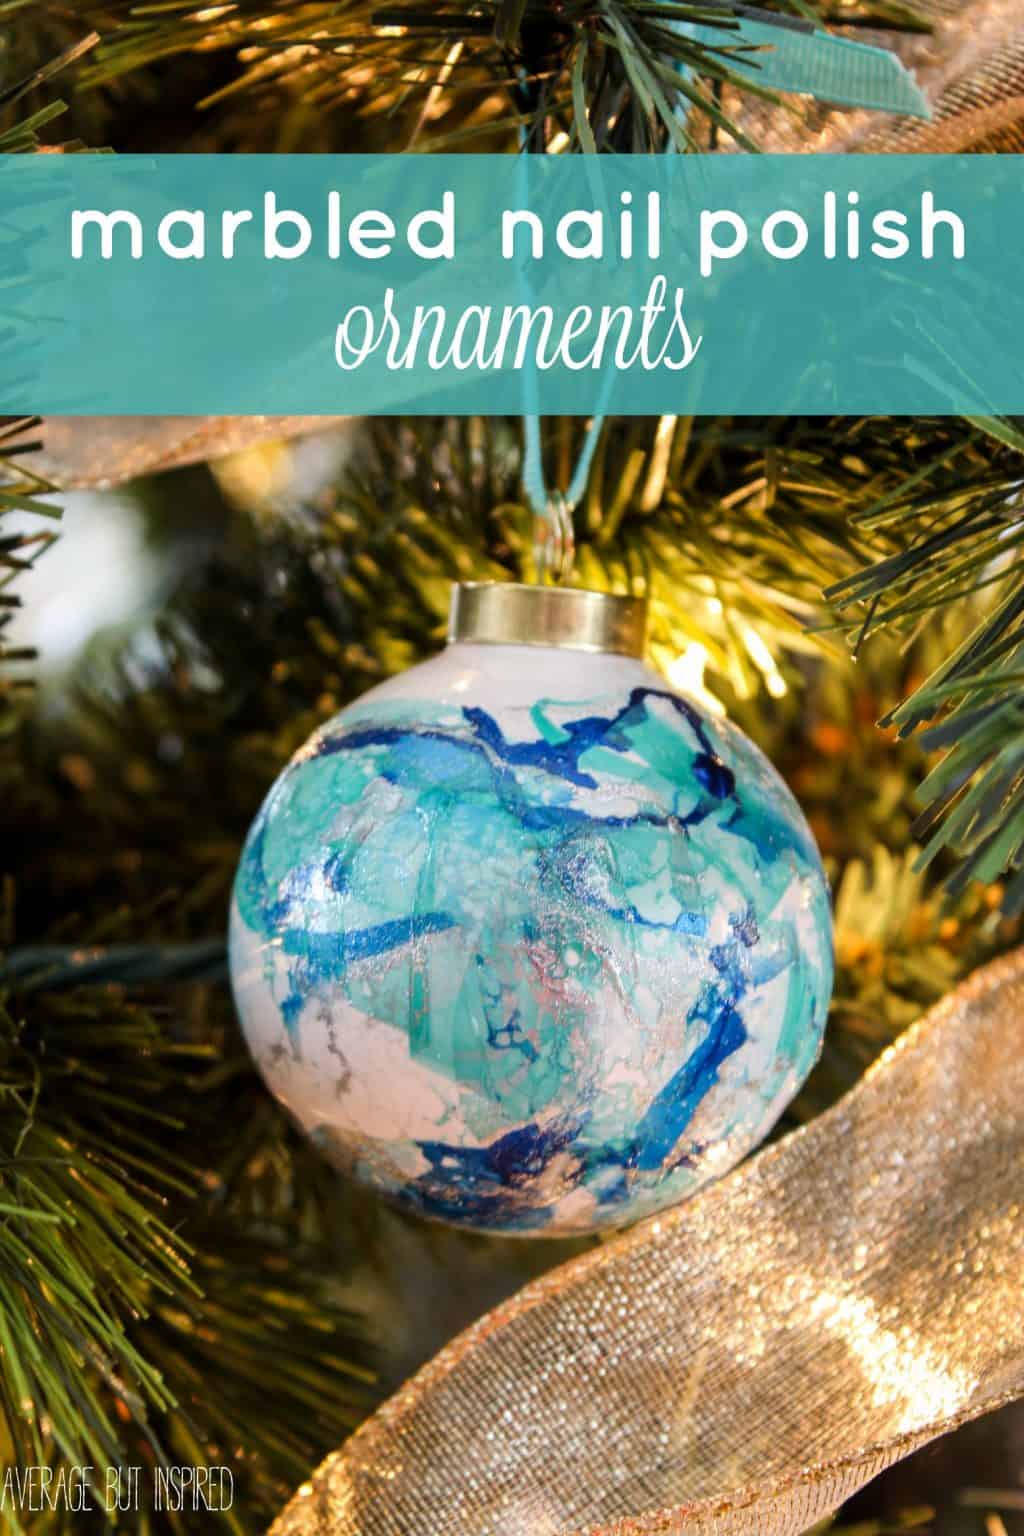
If you want to make gorgeous DIY Christmas ornaments, you must make some DIY marbled nail polish ornaments!
Nail polish marbling has been floating around Pinterest for a long time now, and it’s one of those things that I’ve always wanted to try. But it kept getting pushed down the list because I couldn’t find just the right thing to marble. (Or really because I just kept forgetting to do it.)
But then I found some plain ceramic ornaments and I finally had a reason to give the old nail polish marbling technique a try.
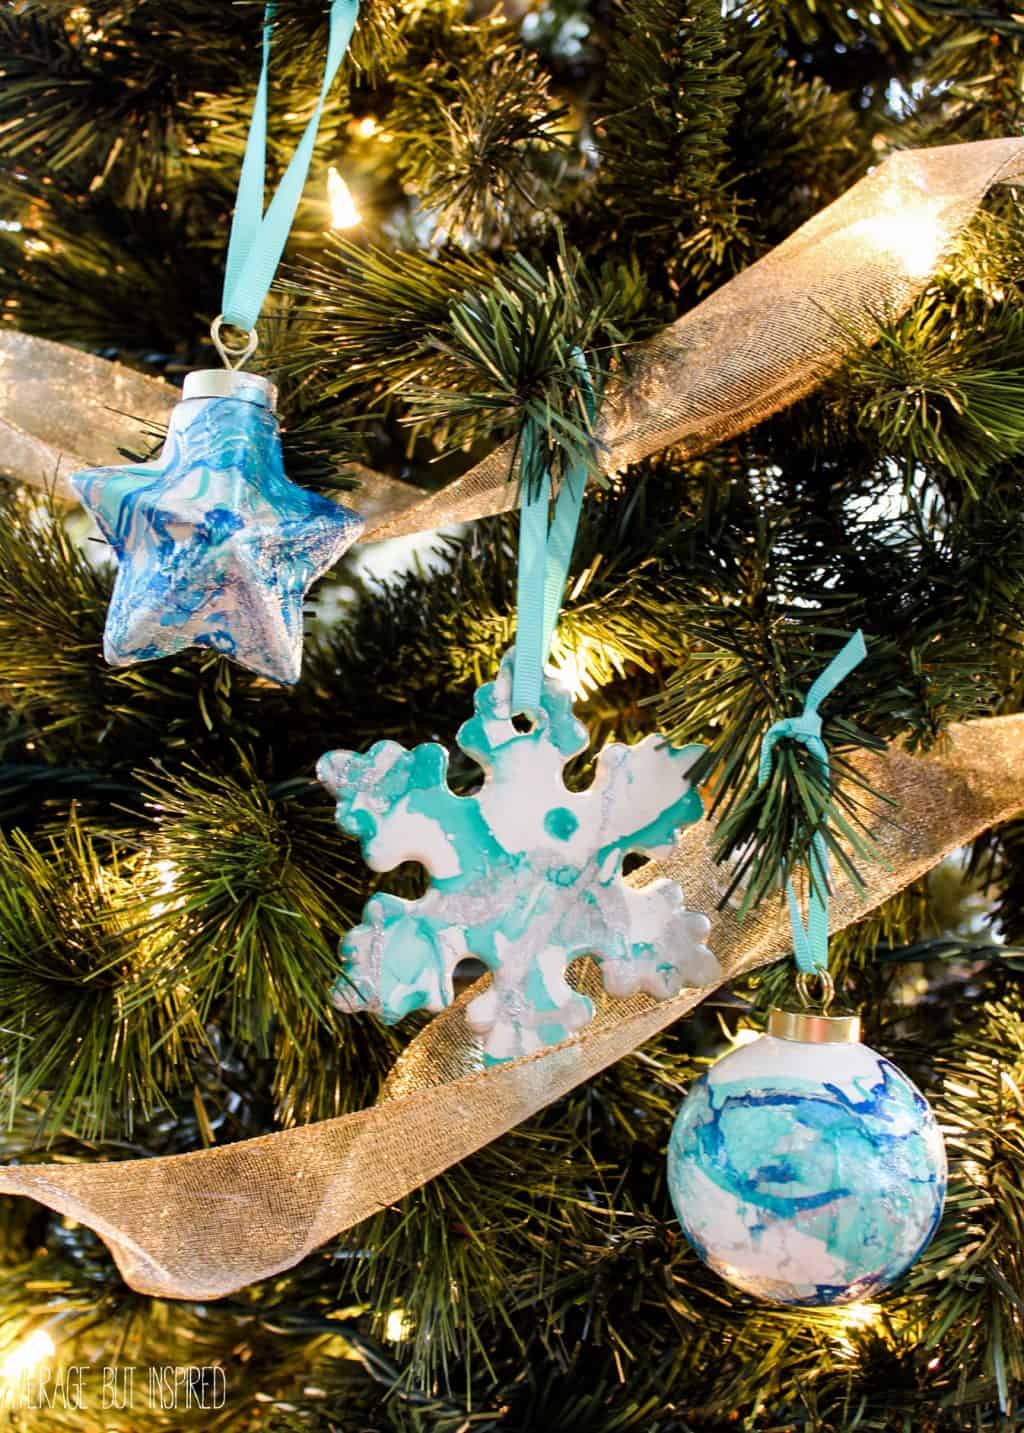
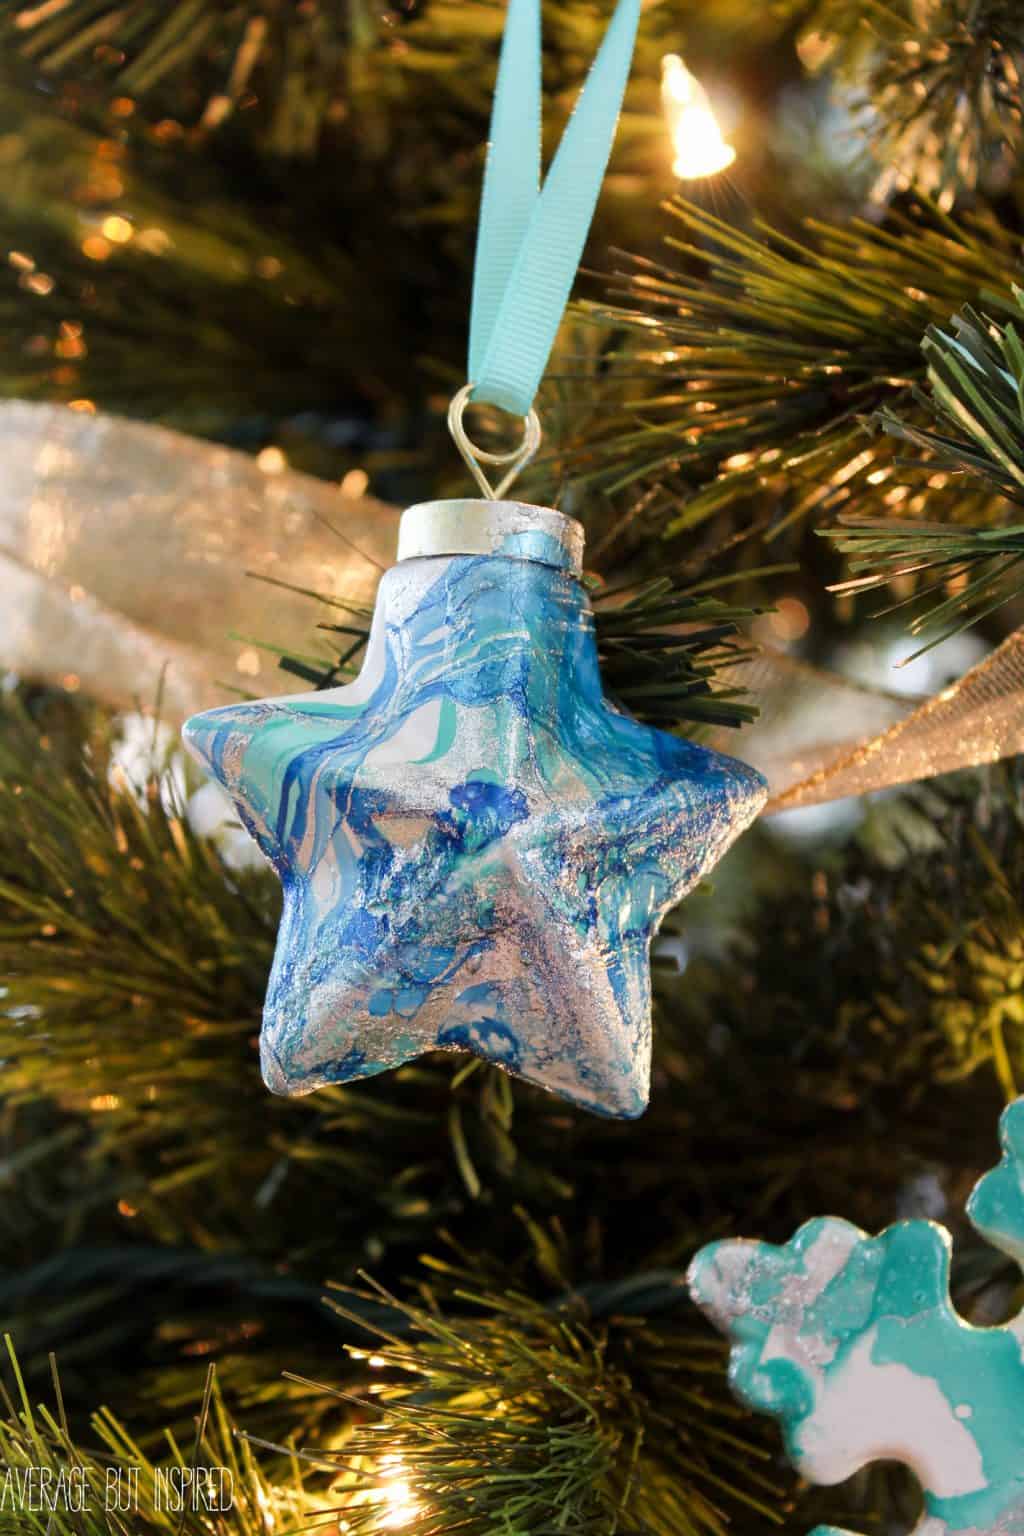
Now I have some GORGEOUS nail polish ornaments adorning my tree, and I love them!
I have to tell you that this project was SO fun, although a bit stinky. I recommend doing it outdoors, if at all possible, but at the very least in a well-ventilated space. Otherwise, you’re going to feel like you were trapped in a nail salon – minus the pretty nails.
DIY Nail Polish Ornaments Supplies
With that caveat, here’s what you need to nail polish marble your own ornaments! Please note that this post contains affiliate links – you can read my full disclosure policy.
- Nail polish – NOT quick dry!
- Blank ceramic ornaments
- Popsicle sticks (or other stirring tool that can be thrown away)
- Pretty ribbon
- Disposable gloves
- Plastic soaking tub or container
- Rubbing alcohol
- Paper towels
- Water
How to Make DIY Nail Polish Ornaments
First up, wipe off the entire ceramic or porcelain ornament with rubbing alcohol. This will ensure that it doesn’t have anything on it that will prevent the nail polish from sticking.
Next, fill a plastic container with water. (And hey, you might want to also watch my “how to do nail polish marbling” video tutorial!)
Holding the nail polish close to the surface of the water, gently pour it onto the water.
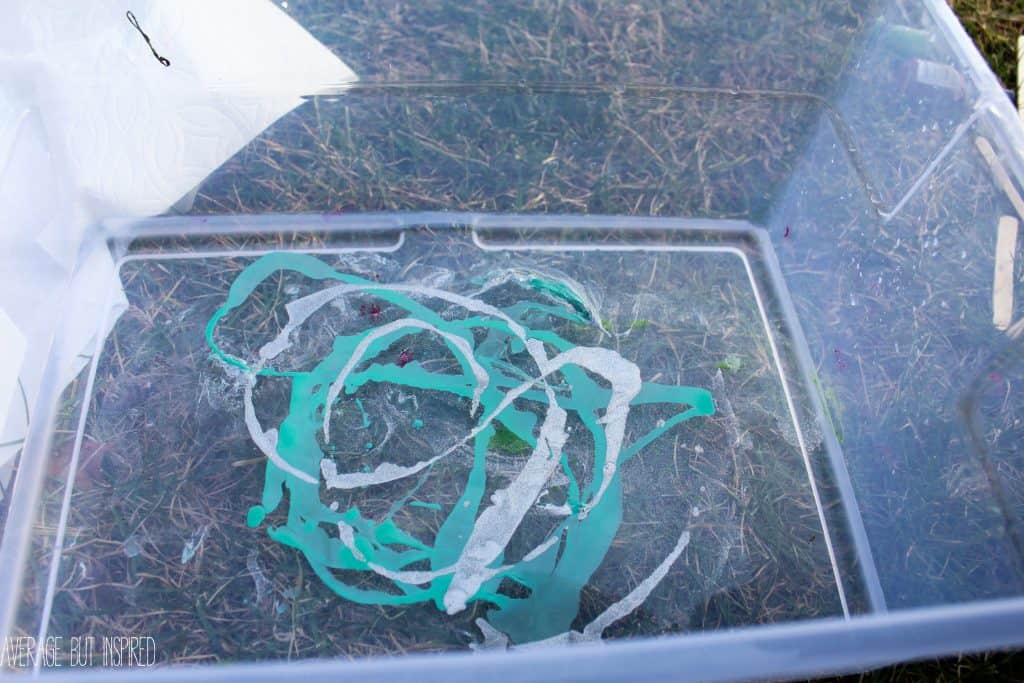
TIP: do not pour the nail polish from too high above the water, as it will hit the water too hard and sink to the bottom of the plastic container. You want it to stay on the surface.
Next, use the popsicle stick to gently stir the colors together to create a marbled effect.
Quickly place the clean ornament onto or into the nail polish.
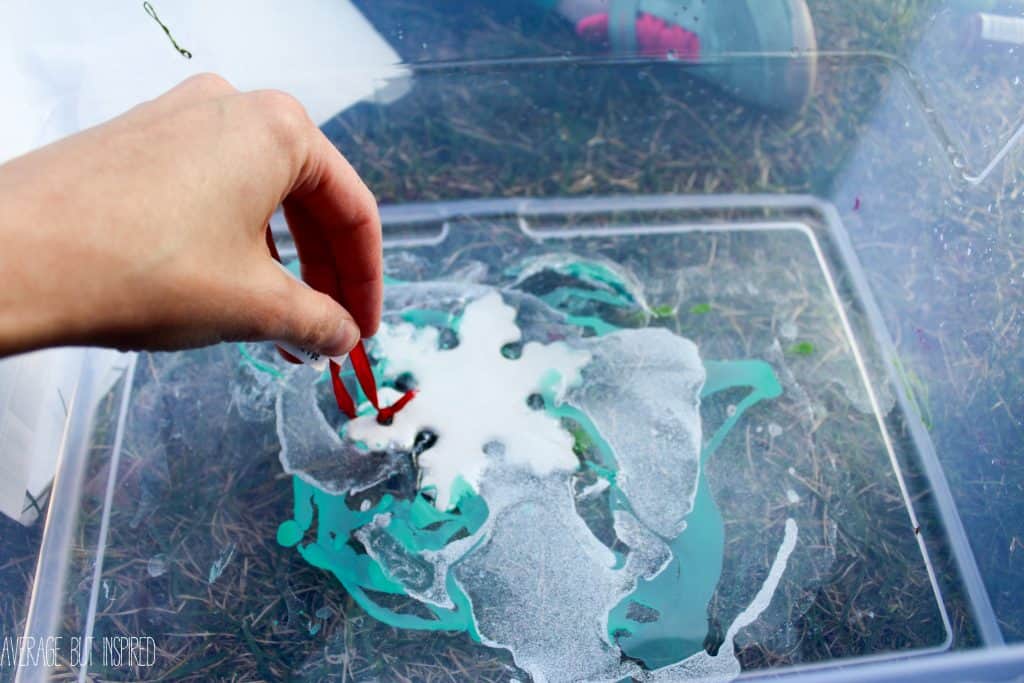
Remove the ornament from the plastic container and try to shake off the water.
Once it’s had a couple of minutes to dry, use a paper towel to gently blot off the excess water droplets. BE CAREFUL because the polish will not be totally dry yet, and you don’t want to ruin your beautiful marbling!
Hang the ornament to dry somewhere.
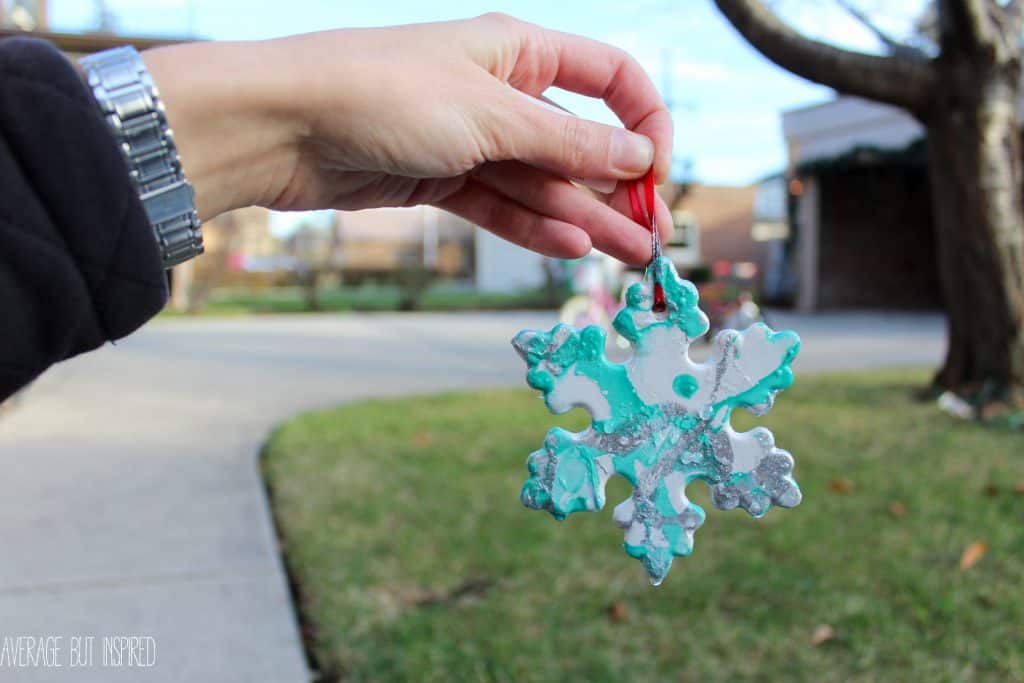
Cut off the ribbon that came with the ornament and replace it with a pretty ribbon or ornament cording that matches the colors used in the nail polish marbling.
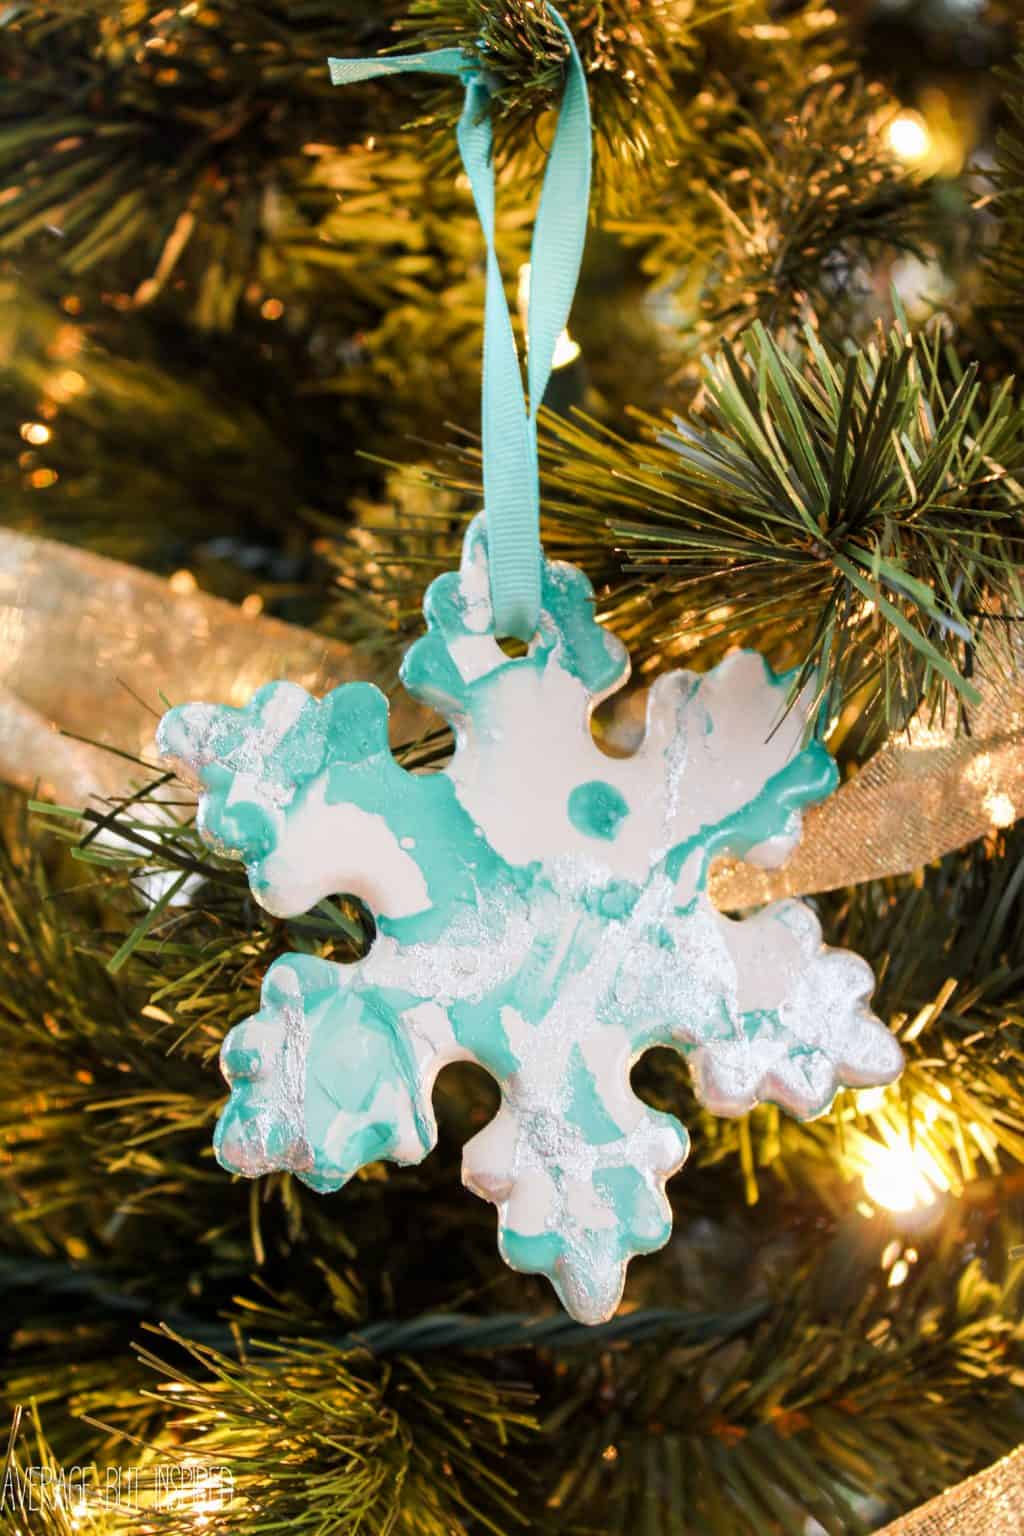
TIP: For my snowflake, I used two colors. My kids used three colors – including a really bold blue – and I think theirs look better. I would recommend three colors in the same family, as I think that’s what works best!
ANOTHER TIP: If you plan to give these as a gift, give yourself a couple of days’ lead time. They need to air out a bit before gifting.

These nail polish ornaments are really pretty though. I think the best part about them is that each one is totally unique!
This project would also be a great way to use up some of that old polish in your stash!
Lana says
I made these a couple of weeks ago and they are still stinky…I’ve had them in the garage to air out but they stink too much to give away as gifts or hang them on my tree. Is that smell supposed to go away?
Laura mc says
Totally going to have to try this. And why didn’t I know you had a blog? Love it!
Bre says
YAY! It is SO fun, though seriously stinky. And you didn’t know because I’m super cool mom by day, undercover nerdy blogger by night. HAHAHA. 🙂
Breanna says
These are so cool, Bre! Love them!
Bre says
Thanks, friend!
Kristi says
SO pretty Bre! I’ve been dying to try some marbling, absolutely love how these turned out!
Bre says
Thank you, Kristi! Marbling is SO fun! I wish I wouldn’t have waited so long. Now I will marble everything! ;-P