I’ve been working hard to wrap up my playroom to office makeover, so I haven’t had a lot of time to put toward other projects. But that doesn’t mean that I haven’t been squeezing in some fun crafts when I can!
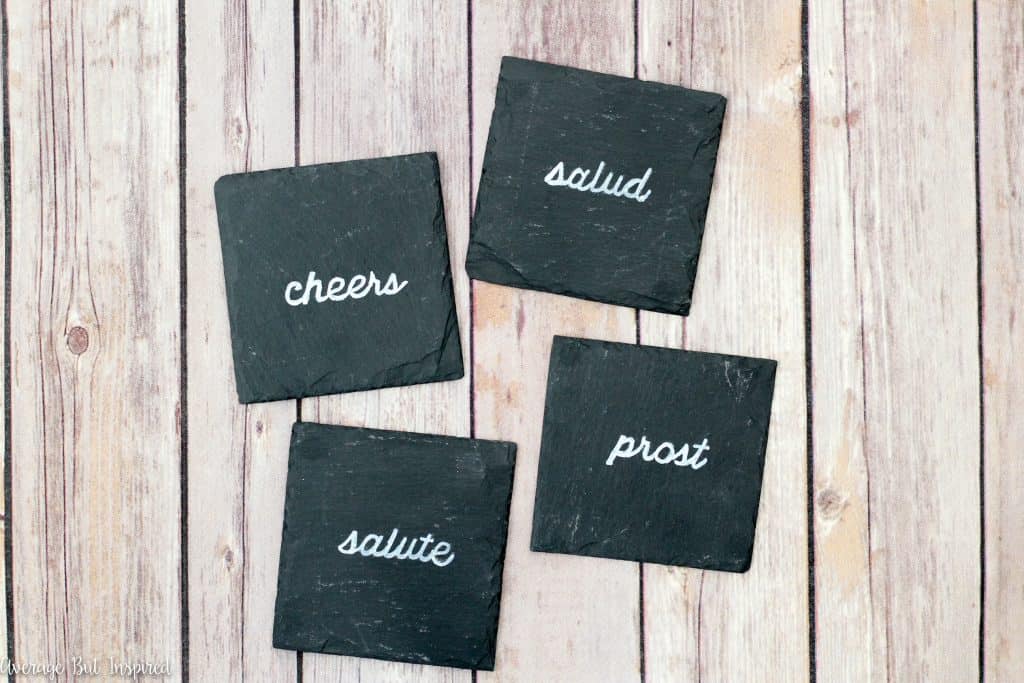
Most recently, I made these DIY slate coasters by personalizing them with celebratory greetings in different languages: cheers, salud, prost, and salute, my friends!
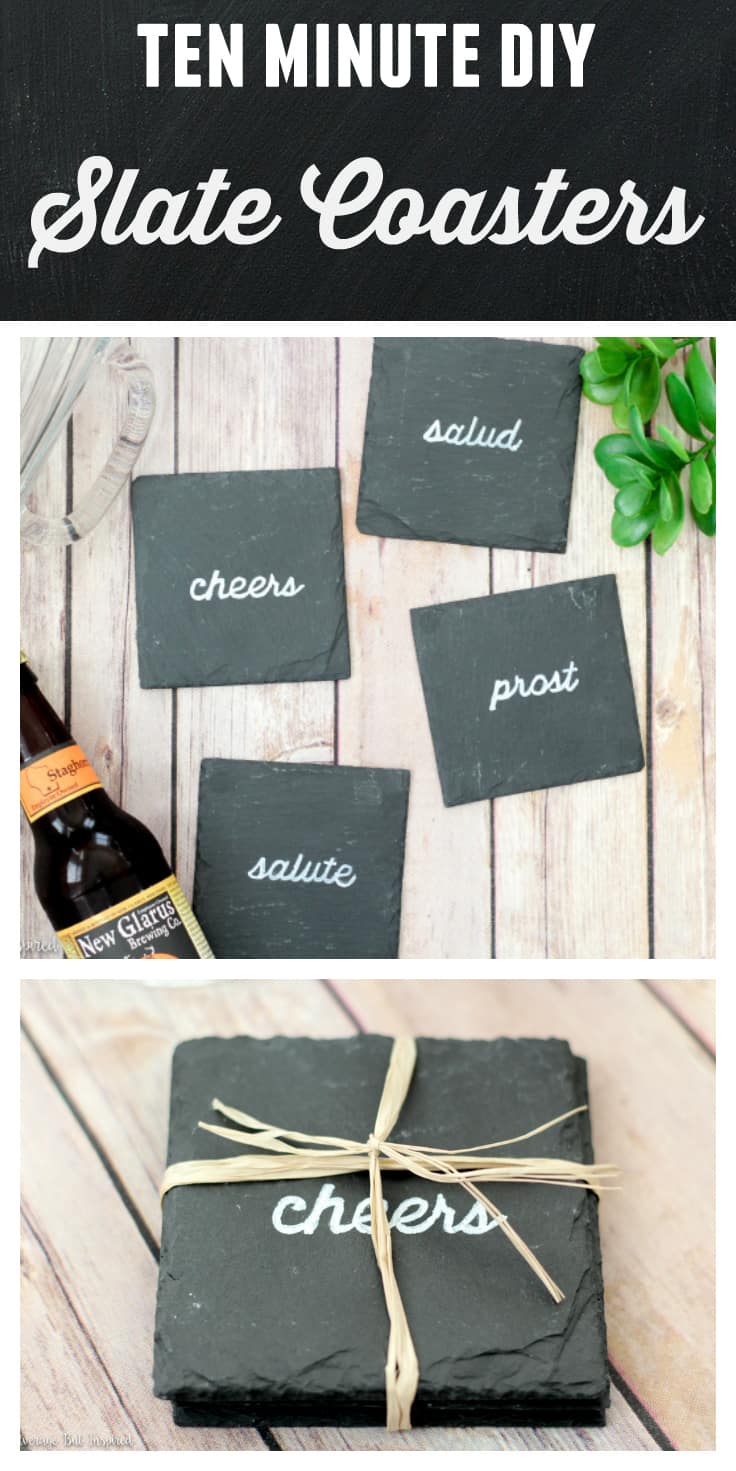
These DIY coasters are so fun, are the quickest things to make, and would be really awesome as a holiday gift for anyone on your list (well, maybe not the kiddos).
You can personalize them any way you want, too, so let your creativity flow and make these slate coasters for everyone you know!
Supplies Needed to Make DIY Slate Coasters
This post contains affiliate links. To read my full disclosure policy, please click here.
- Slate coasters
- White paint pen
- Chalk
- Pencil
- Computer and printer
- Strongly Recommended: Mod Podge matte sealer
How to Make Slate Coasters
The technique I used to write on these coasters can be used on many types of crafts – especially signs! So even if you choose to decorate coasters a different way, you may want to remember this method for future projects!
Step One: Print Out the Mirror Image of Your Text
I started by typing the words I wanted to use into my word processing program (like Google Docs, for example).
I reversed the text so it was a mirror image and printed it out. (If you want to do this, do a Google search for how to mirror image your text. It’s different in every program so it doesn’t make sense for me to write it out here. :-))

Step Two: Get the Text on the Coasters
Next, I colored over the printed out word with white chalk.
I flipped the paper over and pressed it onto the front of one of the slate coasters (so, in the below photo the coaster is underneath the paper that has ‘cheers’ written on it).
Then I carefully wrote over the printed word with my pencil.
When I picked up the paper, the word was visible on the coaster, written in chalk!
I think you’ll also like this DIY Photo Coaster project!
Step Three: Go Over the Words with Paint Pen
Of course it wasn’t perfect, but it was clear enough that I could easily fill it in with my white paint pen and get really nice writing.
If you don’t have a computer or printer, you could obviously just write the words on your coaster, or use a stencil, too!
And that is ALL I did for each of the coasters I made!
How to Seal Slate Coasters
To be safe, I will seal these slate coasters before using to protect them! I will use at least three coats of matte Mod Podge to seal and keep the writing looking good.
If you don’t want to use Mod Podge, you could also use a matte polyurethane.
Slate is non-porous, but the writing makes it so these coasters should be sealed.
If you like this idea but don’t love the greetings I personalized my coasters with, substitute in a monogram, last name, or design!
You could really do anything with these DIY coasters.
Make sure to “PIN” this post to save it. This would be a great handmade gift for the upcoming holiday season!
Jen says
Hi,
These are great! I just wanted to point out something important, though. Slate is very non-porous. Sealing them is still good to do, especially to protect the design. But it has a natural water resistance which is why it is used for things like roofing, walkways, floors, and things like charcuterie boards.
Bre says
Jen!! Thank you so much! I fixed that mistake in the post content. Really appreciate you pointing out that error. Thank you and have a great day!
Sabrina says
These coasters are so cute and they are so easy to make. What a great idea!!
Bre says
Thank you, Sabrina! I appreciate it! You are right – they are SO easy to make! Seriously could not be easier. 🙂 Have a great day!