These DIY photo coasters make a perfect personalized gift! They’re an easy tile craft that can be made for any occasion.
In this day of all photos living our our phones, printed pictures take on extra significance. And, this is especially true when the photos are presented in a way other than in a traditional picture frame.
Making these DIY photo coasters from inexpensive tiles is a wonderful way to make memories and see memories! These picture tile coasters are an easy craft and make an absolutely wonderful gift.
Let me show you how to make your own set of photo coasters!
Supplies Needed to Make DIY Photo Coasters
This post contains affiliate links. Please read my disclosure policy for more information.
- Plain ceramic tiles
- Mod Podge Dishwasher Safe Formula
- Acrylic multi-surface paint in the color of your choice
- 1″ foam brushes
- Photos printed on a laserjet or inkjet printer
- Spray sealer
- Scissors
- Felt bumper pads
- High-temp hot glue gun or multi-surface glue
How to Make Photo Coasters from Tiles
I put together these photo coasters as a DIY Father’s Day gift, so you’ll see that the pictures on these coasters are all of my husband and kids. But . . . this isn’t just a Father’s Day craft. You can make photo coasters for any occasion!
I happen to think these could make a great DIY Christmas gift, for example!
Step One: Prep the Tiles
Start by choosing ceramic tiles that are flat across the surface and measure approximately 4″ x 4″. Ceramic tiles will work great for this – not something like travertine or marble with divots and dimension.
Rinse off the tiles and let them dry.
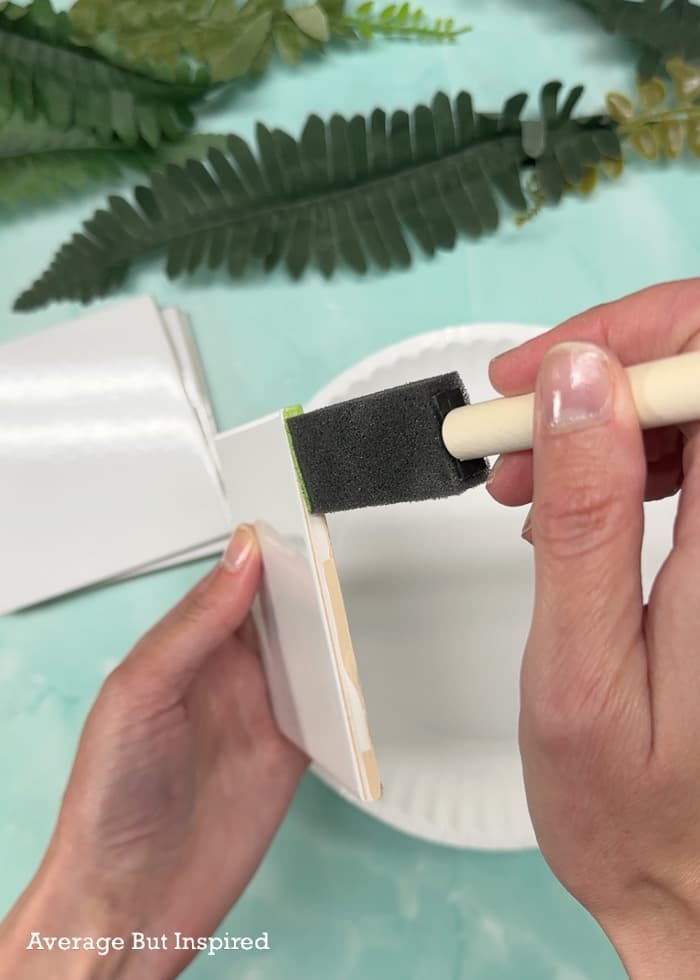
Once dry, paint the unfinished edges of each tile with multi-surface acrylic paint. Use any color you like! Then, set the tiles aside to dry.
Step Two: Prep the Photos
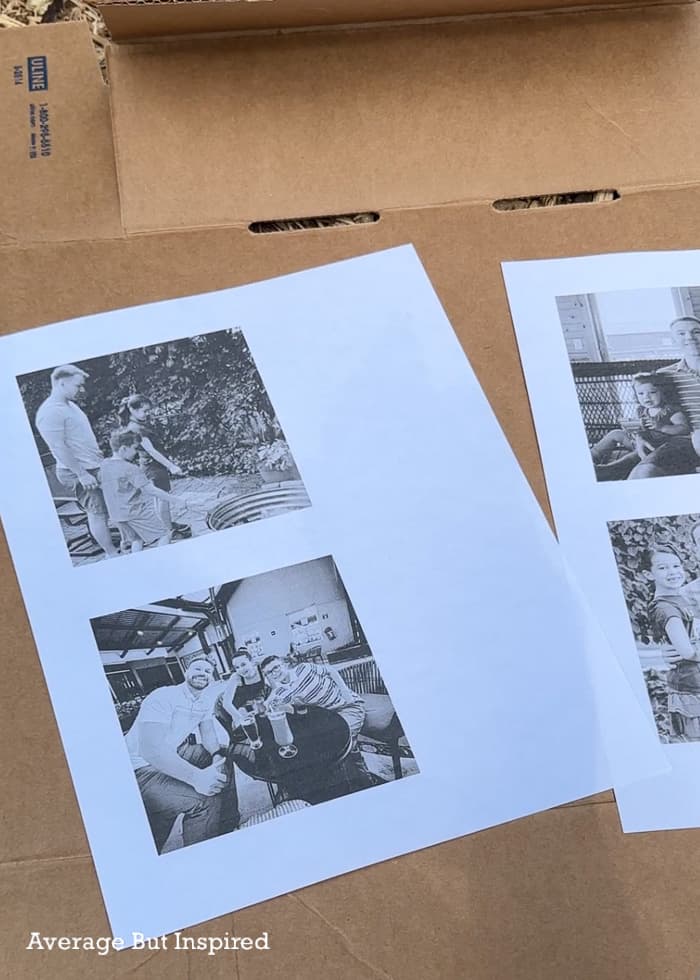
Now it’s time to print out the photos of your choice! I recommend printing the pictures on an inkjet printer or a laser printer because the thin copy paper is easy to work with.
You can crop and resize photos before printing them in an online design program like Canva. (Or, you can print them out, trace the tile onto the photos, and cut them that way.)
Before you cut any photos, spray a light coat of sealer onto the photos. This is essential because otherwise your ink will run when you apply the Mod Podge in the next step.
Once the sealer has dried, cut the photos to size.
Step Three: Apply the Photos to the Tiles
Apply a thin, even coat of Mod Podge to the back of a photo that’s been cut to size, and then press it onto the face of a tile.

Carefully smooth out the photo so that it’s flat on the face of the tile. Be careful so that you don’t tear the photo while doing this!
Repeat the process with the other pictures and tiles, and let the photos dry on the tiles.
Once they’re dry, apply two to three thin coats of Mod Podge on top of the photos and all the way to the edges of each tile. (Let the Mod Podge dry in between coats!)
Set the coasters aside to dry.
Step Four: Apply Felt Bumpers to the Coasters
Once the coasters are totally dry, attach felt bumper pads on the back of each coaster, in all four corners, so that the tile doesn’t scratch any surfaces.
If you’re giving these sweet photo coasters as a gift, wrap them up with a bow and present them with the recipient’s favorite beverage!
Since I made these for Father’s Day, I had to give Dad’s Root Beer – obviously!
You May Like These Other Photo Craft Ideas, Too!
Handmade and sentimental gifts or projects are always appreciated! So take the time to make some photo coasters for someone you love today (even if they’re just for yourself)!
Leave a Reply