Last November, I shared my Office Space Makeover with you. I’m happy to report that I am 100% in love with this space, and since I’m working from home now, the timing of that makeover could not have been better!
Part of that makeover involved me adding bookcases to flank the window on the west side of the room. We needed some additional storage in there and thought bookcases seemed like the right choice. Smart people seem to have a lot of bookcases in their homes. Before these, we had one . . . in my son’s room. So yeah, read between the lines . . . we needed some bookcases.
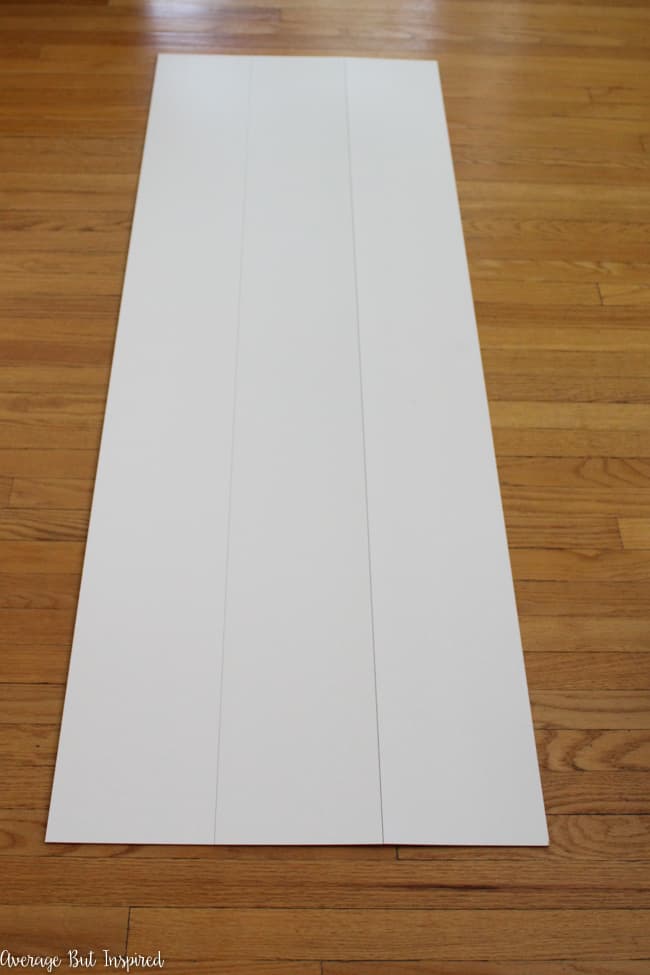
Anyway, I found the perfect-sized bookcases at IKEA. The IKEA Gersby bookcase is almost too good to be true! Now I’m not going to pretend like these are pretty bookcases. They are not. There is nothing interesting about them; the screws are exposed on the sides, and the bookcase backing is cardboard that has big seams running down it.
But they’re a good value, so I decided to upgrade them a little bit by doing the easiest IKEA hack ever – adding wrapping paper to the backing to hide those seams and bring up the style on the Gersby bookcases. If you have plain Jane bookcases in need of some style (Gersby or not), this idea will be perfect for you!
Supplies Needed to Upgrade the Gersby Bookcase
Some of these links are affiliate links, which means I earn a small commission at no added cost to you, if you purchase through them. To read my full disclosure policy, please click here.
- Wrapping paper (make sure the wrapping paper you choose is thick, and wide enough and long enough to cover the entire backing of the bookcase)
- Spray adhesive
- Rotary cutter
- Self-healing mat
- Dropcloth
How to Line a Bookcase with Wrapping Paper
These instructions assume you’re adding the wrapping paper to the bookcase during the assembly process. If you’ve already assembled your bookcase, search on Pinterest for tutorials that deal with after-the-fact upgrades. There are great ways to do that with paper that’s been mounted to poster board.
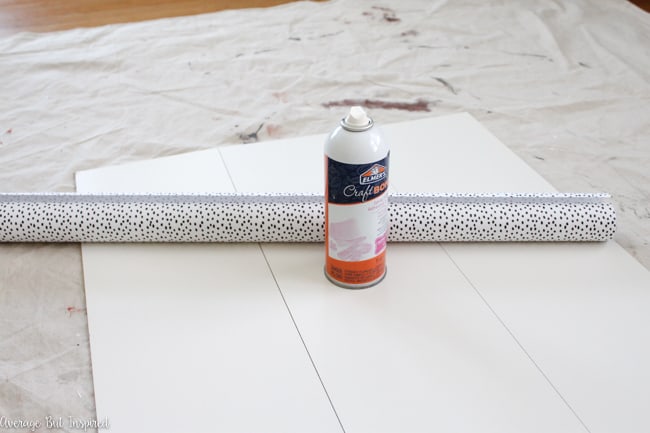
Anyway . . . moving right along. Protect your workspace and lay the wrapping paper face down. Once it’s as flat as you can get it, spray the first third of it with spray adhesive.

Starting at the top, carefully place the unrolled end of the wrapping paper onto the bookcase backing. Then slowly roll it down the first third of the bookcase backing where you’ve applied the spray adhesive.
If you go slowly, you will minimize any bubbling or wrinkling. Also, the thicker the wrapping paper, the easier this will be.
Once you’ve reached the end of the first spray adhesive application, gently lift the wrapping paper roll and spray the next part of the bookcase backing. Gently roll the paper down the bookcase backing. Repeat this process until you get to the end of the bookcase backing.
Once you’ve covered the entire bookcase backing, flip the backing over. Use the rotary cutter on the self-healing mat to remove the excess paper from all sides of the backing.
You could try to do this with scissors, but I think it would be pretty difficult, and I’d be worried about pulling the paper up from the backing. The rotary cutter makes removing the excess paper really easy!
Once all the excess paper has been removed, you can attach the bookcase backing to the assembled bookcase per IKEA’s instructions. Add your bookcase essentials and enjoy your pretty new bookcase!
And that is just how easy it is to give a bookcase a pretty new look with wrapping paper! Can you believe it?
I bet you have a plain bookcase in your home that is waiting for some wrapping paper attention, am I right? Get to it!
-Bre
Also Try Updating Built-Ins with Peel and Stick Wallpaper!
Kathy Gill says
Hello! Thank you for posting this tip for using wallpaper to dress up the Ikea Gersby bookcases. I see it’s been a few years since your project but I am wondering whatever the interior width is on the Gersby. I am planning on using textured, printable wallpaper on the backing. Because it is a thicker paper and will not allow sliding the backing into the slots provided, I will need to place it after assembly. I’d like to avoid vertical seams if I can, so would like to know what width of paper might work. Thank you for any tips.
Bre says
Hi! Sounds like a fun project ahead! I just measured and the inside is measuring 22 5/16. I did purchase these several years ago, so it could be good to see if IKEA has updated dimensions on the website, just in case! Also, when you install here’s a tip – cut the paper slightly larger than that size and once you place it, cut it with a utility knife. It’s easier to do it that way than to cut it precisely before installation. Hope that helps!!
Gail says
what do you do if the shelves aren’t removeable
Bre says
You could mount the wrapping paper onto poster board with spray adhesive, cut to size to fit the backs of the shelves, and put into place with repositionable mounting tape.
Angie ~ ambient wares says
Great idea Bre! Can’t beat $25 for sure. Love the beautifully thrifty approach!
Bre says
Thanks, Angie! Yeah, for $25 they were hard to turn down! 🙂
Marcie Lovett says
What a great idea! I have a rather unattractive bookcase that I’m trying to improve. I also happen to have a roll of beautiful wrapping paper. Score!
Bre says
Hi, Marcie – oh that would be great if you could pretty up that bookcase with paper you already have! I hope it turns out amazing for you!
Lidia says
Ok that is fabulous! $25 is crazy talk!! Love the paper you chose!
Bre says
I know, right?!? How can they even make any money off of them? Anyway, thank you for your sweet comment! Have a great day!
Sarah Cook says
Such a genius idea and it looks SO cute!
Bre says
Well thank you my friend!
Kristi says
LOVE the paper! What a fun way to add some personality to a plain old piece!
Bre says
Thanks, Kristi! 🙂