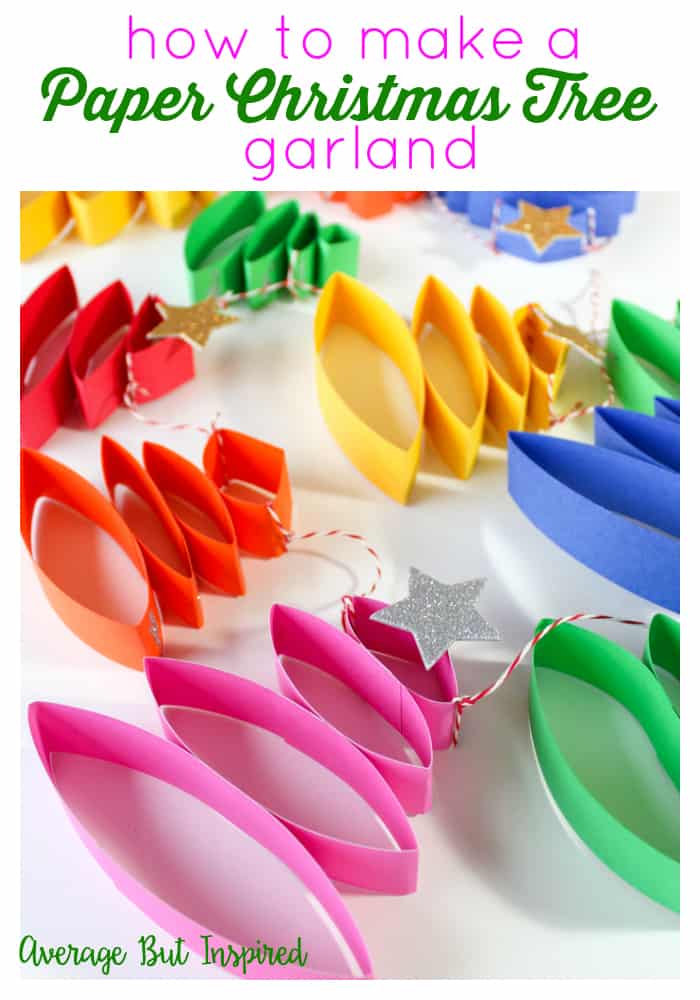
Learn how to make a paper Christmas tree garland. This Christmas paper craft is a great craft for all ages!
I don’t know about you, but Christmastime brings out my desire to craft like no other time of year! Whether it’s making decor for my house or gifts for someone else, I just want to make make make!
Unfortunately the added time constraints of this season can leave little time for crafting, but as creative people, WE MUST MAKE!
So, let’s take time to indulge our inner craft gods and goddesses and create something special – even if it’s a super quick craft like this adorable Paper Christmas Tree Garland.
(And check out my other Christmas and Winter Crafts in the linked project gallery!)

Taking a little bit of time to create will help you feel more fulfilled and less stressed – trust me.
Supplies Needed for a Paper Christmas Tree Garland
This post contains affiliate links. Please read my disclosure policy for more information.
- Colored cardstock (make sure to buy cardstock that’s colored on both sides – unlike scrapbook paper, which is usually white on the back.)
- Paper cutter (or scissors and a ruler)
- Glue Dots (optional: you could also use a hot glue gun for this part!)
- Glitter stars
- Hot glue gun and glue
- Twine or string
How to Make a Paper Christmas Tree Garland
Okay, I was creatively uninspired and sorting through my craft supplies to see what I could make for a Christmas craft. I found a whole bunch of 8.5″ x 11″ rainbow cardstock that I bought for who knows what reason.
I grabbed it and my paper cutter and started messing around. A little while later, I figured out how to make these adorable paper Christmas trees and I decided to make this garland. It’s so easy!
Step One: Cut Cardstock Strips
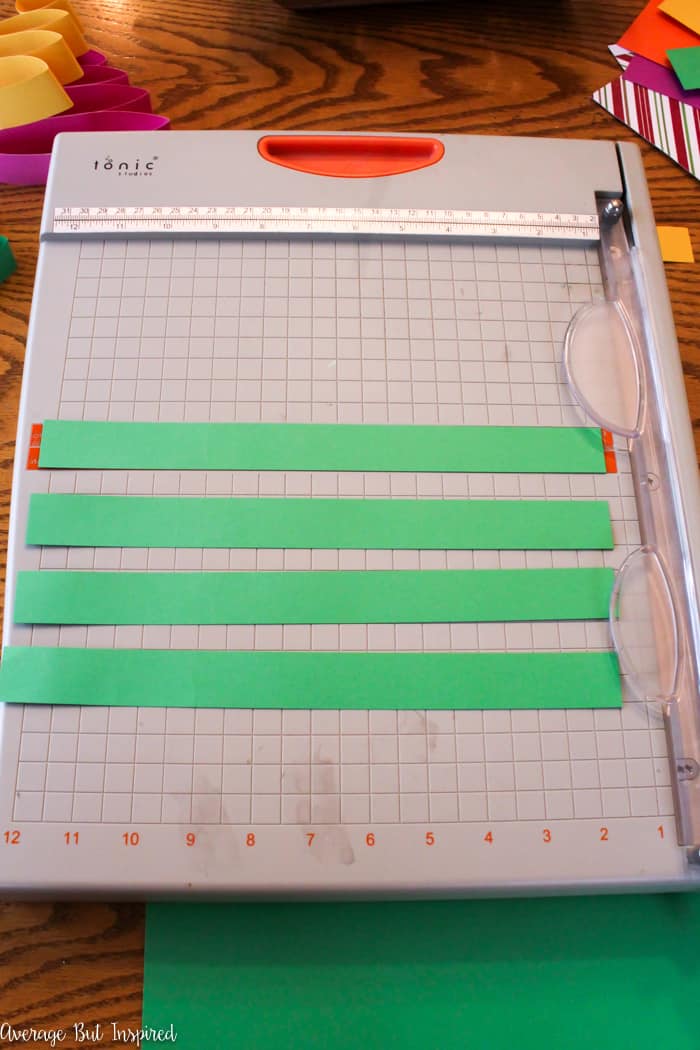
Begin by cutting four, 11″ long and 1″ wide strips of cardstock. If you have a paper cutter, this is SUPER easy!

If you don’t have a paper cutter, you need to get one! I bought mine back in 2005 when I was wedding planning and I have used it so much since then! If you don’t have a paper cutter, you can either measure with a ruler and cut with scissors, or just eyeball it and cut freehand.
Next, shorten these strips of paper as follows:
For larger paper Christmas trees: keep one strip 11″ long, cut one down to 9″, cut another down to 7″, and cut the last one down to 5″.

For smaller paper Christmas trees: cut one strip down to 9″, cut one down to 7″, cut another down to 5″, and cut the last one down to 3″.
Step Two: Create Paper Rings
Next, use the Glue Dots or double-sided tape to attach each strip together at the ends to form rings. Alternatively, use hot glue to create the paper rings.

Then, take the largest ring and press it down in half, so that the folds are crisp.
Place more of the Glue Dots, double-sided tape, or hot glue in the middle.

Repeat this process with the other rings and stack them one on top of the other. For the smallest ring, push it into a point at the top so that it looks like the top of a Christmas tree!
Repeat this process until you have a forest of paper Christmas trees.
Step Three: Embellish the Paper Trees
At this point, adorn the tops of the trees with chipboard stars, add glitter to the edges to look like snow, glue on sequins to look like ornaments – whatever you want!

Step Four: Tie Together with Twine
After the trees are complete, tie them together with twine or string to create a darling paper Christmas tree garland.

This garland is so unique! I haven’t seen any like it online, and I love the festive touch it adds in my kitchen.


This simple project did not take much time at all, and I’m so glad I made it a priority because crafting is what lessens my stress!

Taking time to do things I enjoy is part of what helps me keep my head on straight during the hectic holiday season. I hope you will do the same for yourself!


Annisweet says
Hi, I am like you, doing craft to take away the stress. I liking your ideas, thank you
Bre says
Hi there! Thank you so much for stopping by my blog and leaving this nice note! Us crafters have to stick together! 🙂
Marie says
How are the trees attached to the string? They look to be individually tied one by one.
Thank you
Bre says
Hello! Sorry for my late reply! Anyway, yes I just tied them together one by one – super easy! Thanks and happy holidays!