This IKEA bathroom vanity hack is the perfect solution for small bathrom storage and countertop space. Learn how to hack the IKEA Silveran.
Like many bathrooms in old homes, our upstairs hall bathroom is small! We just renovated it (check it out in this 1920’s bathroom renovation post), and knew we had to work in as much storage and countertop space as we could, while getting the period-correct look we wanted.
That’s where our IKEA bathroom vanity hack comes in!
We hacked the IKEA Silveran sink cabinet and turned it into the perfect bathroom vanity and bathroom storage solution for a small bathroom!
This IKEA bathroom storage hack might be perfect for your small bathroom, or it might inspire you to modify a different IKEA piece for your bathroom!
NOTE: As of 2024 the Silveran line has been discontinued, but this IKEA bathroom cabinet could be a good substitute!
There are so many possibilities if you think creatively about how to use IKEA furniture in your space.
This post contains affiliate links. To read my full disclosure policy, please click here.
Before I show you what we did here, I want to thank Marti at Project Palermo (also a Chicago girl!), who previously posted an IKEA Silveran hack, and who gave me the inspiration to also hack this piece!
Although my hack is slightly different from hers, she definitely deserves credit for being the hacking pioneer!
OK, so anyway, I desperately needed a shallow depth vanity to fit this tight spot next to the console sink, and my Google searches revealed the Silveran.
At just 9 7/8″ deep, it was the perfect fit! It comes just like this – white, and with no legs or countertop. It’s super basic, and meant to work with legs and a sink you purchase separately from IKEA! 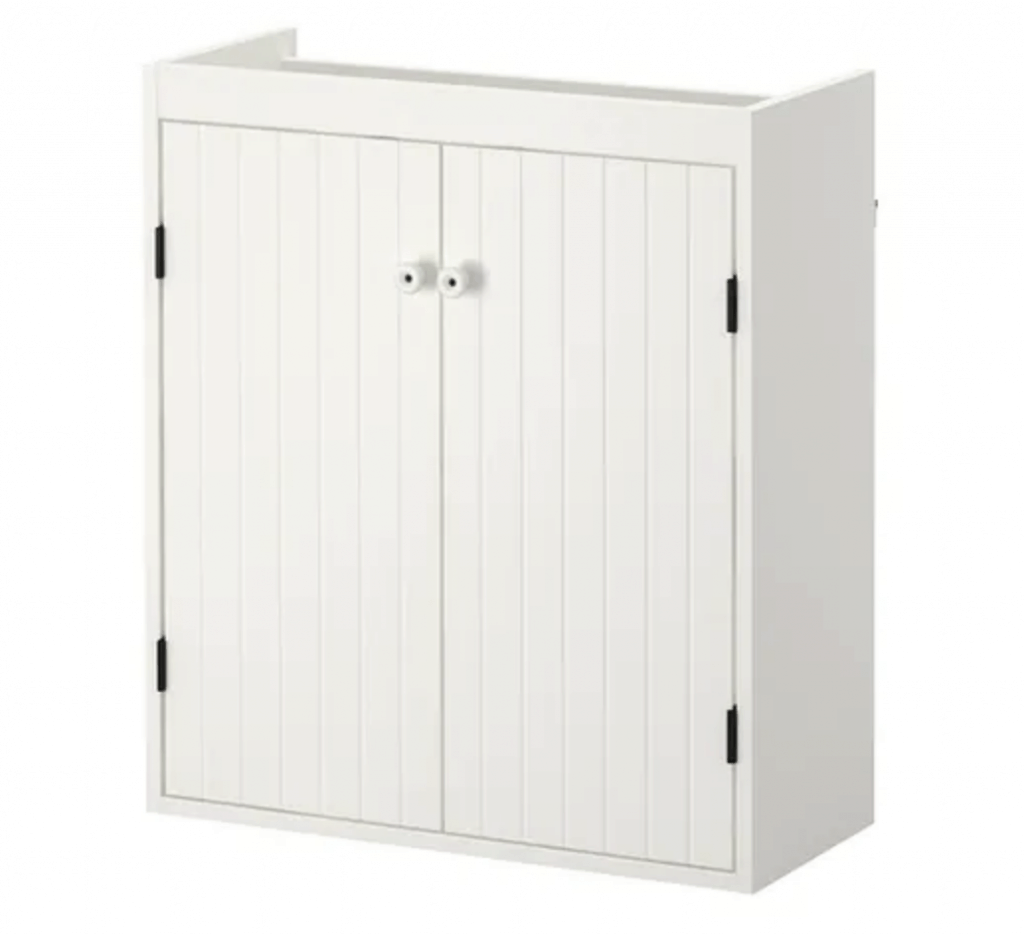
When assembled, it doesn’t even have a back! 
We started by cutting a piece of plywood to fit the back and the bottom, and used my brad nailer to secure both pieces into place.
TIP: Some of the nails went in crookedly and poked out in places we didn’t want. No problem! We used a metal file to sand and smooth them, making them a non-issue.
We also secured the back part of the cabinet with the wall mounting hardware provided with the sink cabinet.
Once the back and bottom were mounted to the vanity, we attached these 6″ unfinished wood table legs using the corresponding furniture leg mounting plates.
We initially attached these 9″ legs, but they were too tall and made the vanity quite unsteady, so I went back and got 6″ legs instead. Those worked much better!
Next, we attached trim pieces along the bottom front and sides, where the plywood meets the Silveran cabinet. We used wood glue only for this!
Once that dried, we attached trim pieces at the joint of the back plywood and the cabinet, also in order to give a more finished appearance.
While the glue on those trim pieces dried, I ran up to Sherwin-Williams and got my own custom IKEA white paint color made! I brought one of the pre-finished doors with me and they color matched it. Brilliant!
I got to work priming and painting all of the newly-added unfinished wood pieces, and was so happy that the white was a super close match to the original finish of the Silveran cabinet.
Because of that, I left the original cabinet the color it came to me, and just painted the pieces we added. Less work = happier me.
Although the Silveran came with an interior shelf, it was shallower depth than the cabinet, and not very functional. Because of that, I cut pre-finished Home Depot shelving to size and used that instead.
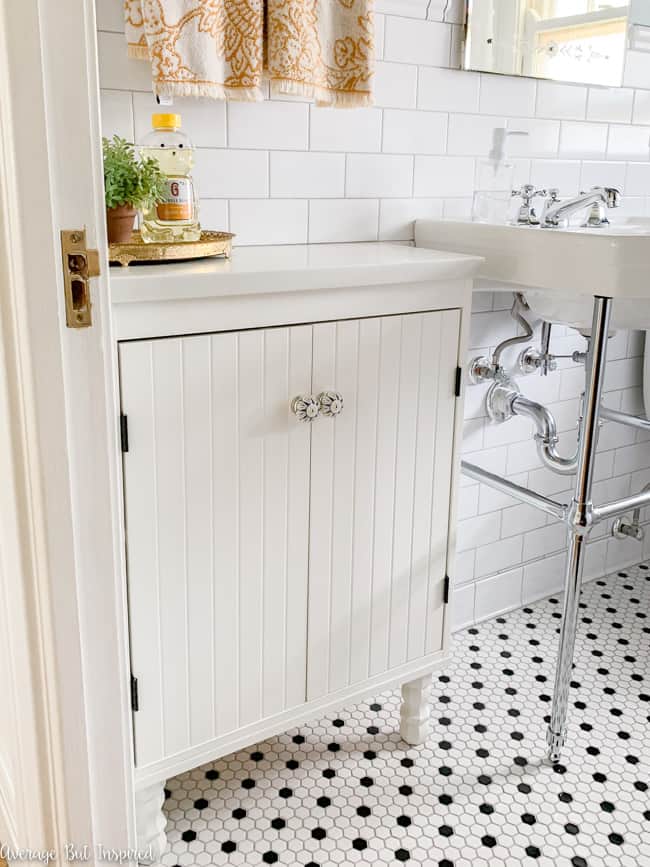
I added some cute blue and white ceramic knobs, and then the final step was getting a custom countertop made!
My contractor took the measurements to his “guy” and had a quartz scrap cut to size. He added it to the hacked Silveran vanity and got it into place in the bathroom. It is perfect for this tight bathroom spot!
TIP: Our contractor fastened the Silveran to the wall for maximum stability. Because he had to drill through the wall tile, we saved extra wall tiles so that if we ever decide to remove our Silveran vanity, we can replace the wall tiles with perfectly-matched tile.
It gives us just what we need in here – a place to store necessary supplies and a spot to set things while primping and cleaning up. 🙂
The perfect small bathroom storage solution!
Although this particular IKEA bathroom vanity hack might not be the perfect bathroom storage solution for your space, I hope it gives you some inspiration and ideas on how to modify IKEA furniture to fit your needs!
Don’t be scared – just get started and figure things out as you go along. We made about four separate trips to Home Depot for this project because we modified our plan as we went along. 🙂
You May Like This IKEA Bar Cart Hack, Too!
Laura Harrie says
Truly a wonderful transformation, looks great! Perfect for your bathroom.
Bre says
Hi, Laura! Thank you!! It really is the perfect little piece for this small bathroom. I just know my daughter will need that counter space when she hits the teenage years! ;-P