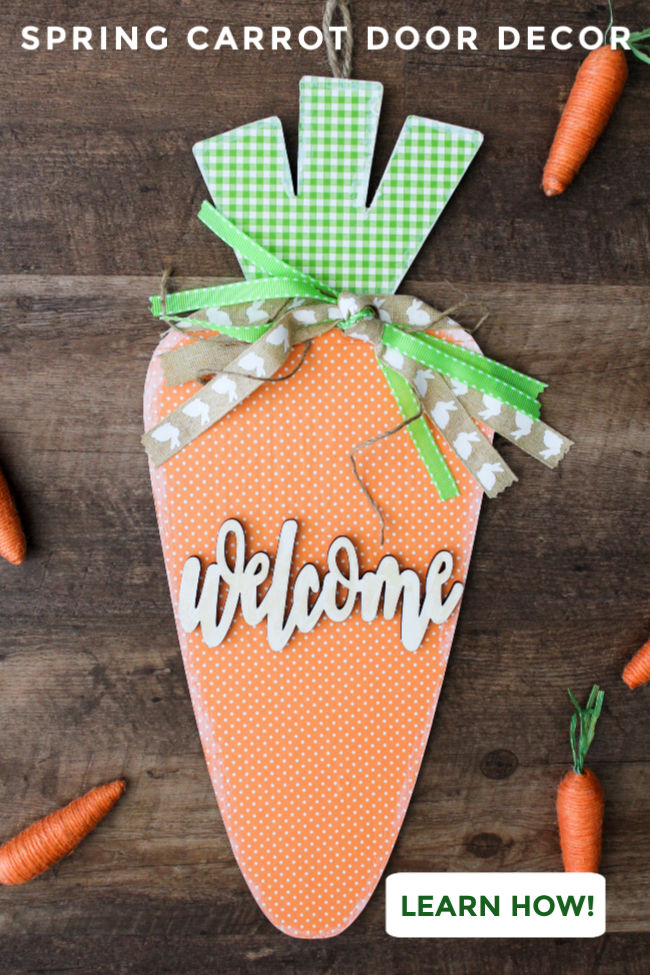
Want to make the cutest DIY spring door hanger for your front door? This adorable carrot door decor is it!
Have you gotten the spring decorating bug yet? It hasn’t hit for me, but I am feeling excited that spring will officially be here soon!
My crafty thoughts have turned to spring, and that’s why I just loved making this cute Carrot Door Hanger!
Before we go any further, I have a confession. “Carrot” is a word that I ALWAYS struggle to spell! “Are there two ‘r’s’, two ‘t’s’. . . two of both?” The struggle is real, my friends!
Alright now that you know I might not be the winner of the school spelling bee, let’s get down to business! I will show you how to transform a plain wood carrot cutout into this cute piece of spring decor!
(And if you just happen to LOVE carrots, check out this adorable DIY Easter Carrot Decor project you can make when you finish this one!)
Supplies Needed to Make a Carrot DIY Spring Door Hanger
I will show you what I used to make this project. I purchased everything in-store at Michaels, but I’ve linked to similar products on Amazon if you prefer to shop online. Some of these links are affiliate links, and you can learn more about those in my disclosure statement.
- Unfinished wood carrot cutout
- “Welcome” or “hello” word unfinished wood cutout (or wood craft letters)
- Scrapbook paper (orange pattern and green pattern)
- Mod Podge decoupage medium in matte finish
- White craft paint
- Small artist brush
- Foam brush
- Craft ribbon in a variety of patterns and colors
- Scissors
- Craft knife
- Hot glue gun
- Optional: brayer, fine grit sandpaper, hanging twine
Instructions for Making a Spring Door Hanger
This little carrot door decor project comes together really quickly, and the best part of it is that you can apply the techniques used here to lots of different projects going forward!
Start by spreading a thin layer of Mod Podge on the bottom part (the orange part) of the unfinished wood carrot.
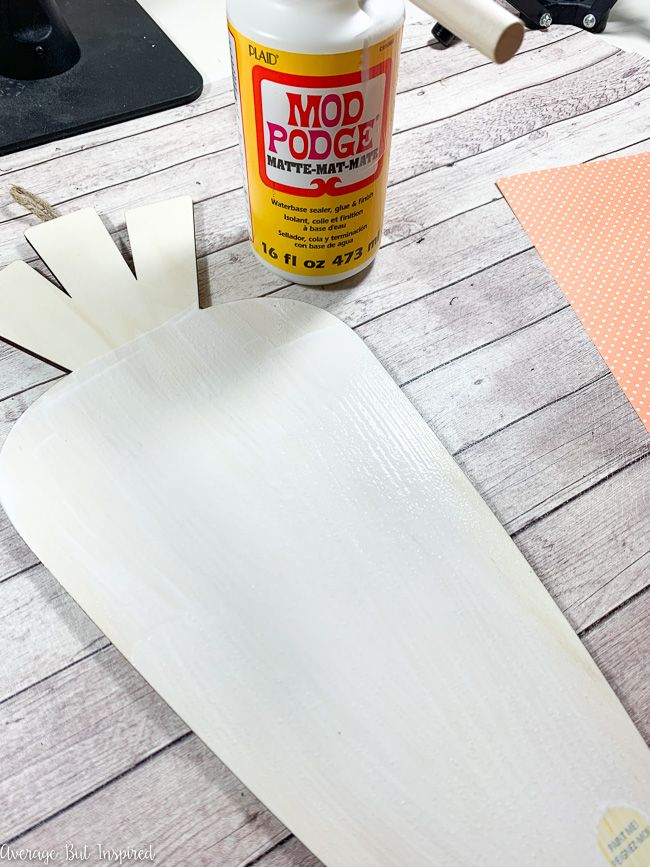
Then, press the orange scrapbook paper onto the Mod Podge. If you have a brayer, use it to smooth out any bubbles or wrinkles in the scrapbook paper.
If you don’t have a brayer, you can gently smooth out the paper with your hands.

Let the Mod Podge dry for about 20 minutes. When the paper feels like it is attached to the wooden carrot, flip it over and use the craft knife to cut the excess scrapbook paper from the outer edge of the carrot.
Flip it over and repeat this process with the green scrapbook paper on the top of the unfinished wood carrot. This will look like the carrot stem.
After the base layer of Mod Podge has dried, spread a thin layer of Mod Podge all over the top of the carrot.
Let it dry for at least twenty minutes. Once the Mod Podge is dry, lightly sand along the edges of the carrot to remove any pieces of scrapbook paper that didn’t get cut off with the craft knife.
Then, to add a little depth to the project, dry brush a little white craft paint along the edges of the carrot.
While you have the white paint out, dry brush a little on the “Welcome” word, and then hot glue that to the carrot.
Next, cut pieces of varying ribbon and tie them into a knot. Then, hot glue them onto the carrot where the orange part meets the green.
And with that, your adorable DIY spring door hanger / carrot door hanger is finished!
(NOTE: If you purchase a different wood carrot cutout than I purchased, you may need to add a hanger to the back. Simply staple or hot glue a looped piece of twine to the back!)
Hang it on your door alone, or add it to another wreath (like a plain greenery wreath) for a darling spring touch!
I gave this carrot wreath to my mother-in-law, but I think I might need to make another one for myself!
Please pin this post to help others find this great springtime craft.
Leave a Reply