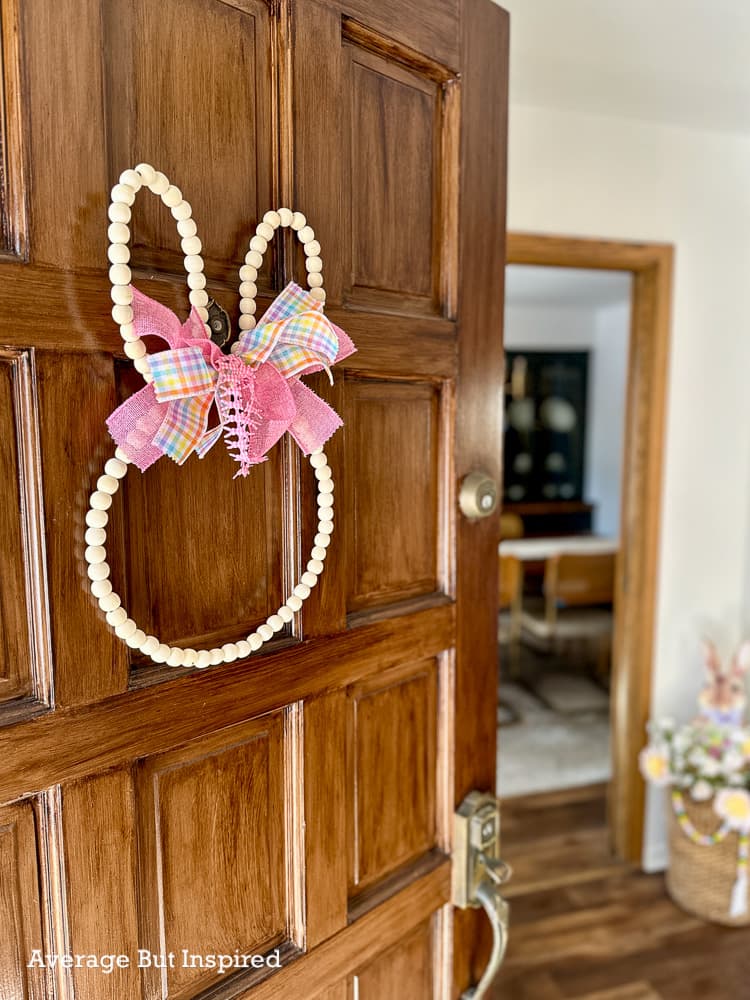
You can make the cutest DIY wood bead bunny wreath for your spring door decor. Let me show you how!
When wood bead hoops first appeared at Dollar Tree a few years ago, I purchased some without a plan. Typical me – lol.
I stashed them away and finally came up with the PERFECT idea for them: turning them into a DIY wood bead bunny wreath!

This simple spring door decor is perfect to leave up all the way through Easter! And, it’s a really quick project that’s easy on the wallet, too.
Here’s how you can make your own charming Easter bunny wreath.
DIY Wood Bunny Wreath Supplies
This post contains affiliate links. Please read my disclosure policy for more information.
How to Make a Wooden Bead Bunny Door Hanger
You’re going to love how easy this Dollar Tree spring craft is!
Start by using the needle nose pliers to take apart one of the wooden bead wreaths.
With that beaded wreath separated, fold it in half, and then bend both ends in toward the center of the beaded strand. This is how you make the bunny ears.

Use the needle nose pliers to bend the end wire pieces outward. Then fasten those ends to the wood bead wreath that’s still together.

Cut a piece of floral wire and wrap it around the center of the ears to attach the ears to the wreath in that center point.
Check Out My Other Spring Door Decor Ideas!
You can also make a loop with the ends of the wire so that you can hang the bunny wreath when it’s complete.

Now, make as simple or as elaborate of a bow as you like!
I cut six pieces of wired ribbon and stacked them on top of one another. Then I twisted floral wire around the center of that stack and cut the ends to make a bow without loops.

Once the bow was complete, I wired it onto the wood bead bunny.

Super simple but super cute! I love it when I find a reason to use supplies I’ve been hoarding for so long.
Like this bunny wreath idea? I’d love for you to “pin it”!


