Have you heard the expression “always never done”? That’s the perfect way to sum up my kitchen makeover project! Although I declared it finished last spring, I was wrong. (Shocker.)
I decided to add DIY cabinet end panels with shaker style trim to dress up the cabinet bases and tie into the kitchen soffit disguise.
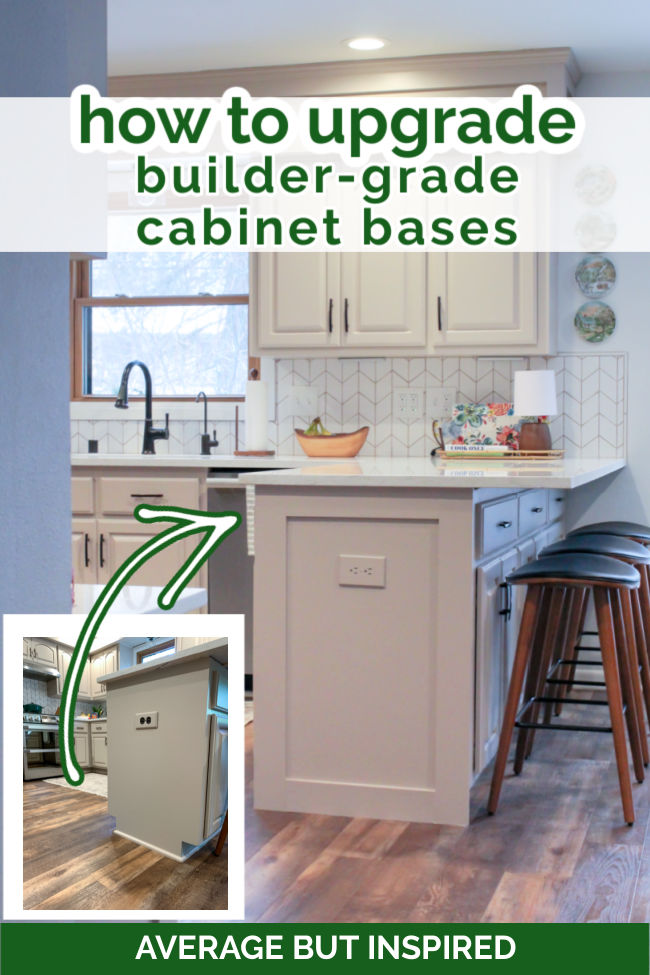
Adding trim to the cabinet bases to create the look of nicer end panels did a lot for the look of this kitchen, and I’m really glad I did this. It was actually very easy, and something even a novice DIY’er could accomplish.
Supplies Used to Create DIY Cabinet End Panels
These are the supplies and tools I used to do this project exactly as shown in this post. Some of the links are affiliate links, and you can read my full disclosure policy for more information.
- 1/4″ x 4″ select grade wood boards (note: if covering a gap at the bottom of the cabinet base, make sure the 4″ width will completely cover that. You may need to get a wider board if your gap is larger than mine.)
- Miter saw (alternatively you could use a circular saw or even a hand saw)
- Brad nailer
- Tape measure
- Speed square
- Contour gauge (if cutting wood to fit flush with baseboards)
- Jigsaw (if cutting wood to fit flush with baseboards)
- Pencil
- Caulk
- Wood filler
- Sandpaper
- Primer & paint
- Small crow bar or pry bar (if removing shoe trim or quarter round from cabinet bases)
How to Add Shaker Style Trim to Cabinet End Panels
While there was nothing technically wrong with my cabinet bases, they felt plain to me and they were pretty beat up along the edges. I brainstormed for a long time on how to make them look better, and I decided that making them look more like the soffit trim we previously added would be the best bet.

My cabinets had a pieces of shoe trim at the base, so I began by removing that trim along the bases where I was adding the trim or panels. I also had to remove the adjoining shoe trim pieces because they would stick out too far once the new base panels were complete.
With the shoe trim removed, I then measured the distance from underneath the countertop to the floor, and used my miter saw to cut one piece of 1/4″ x 4″ wood to that size. I then used my brad nailer to attach it to the left side of the cabinet base.
I repeated the measuring and cutting process, and attached another board to the right side of the cabinet base. The left and right measurements were slightly different, so it’s important to measure for each piece and not assume that they’ll be the same!
Next, I measured the top piece and bottom piece, cut those boards, and attached them with the brad nailer.
This first one was the easiest cabinet base to add paneling to because it only needed perfectly straight boards.
Cutting Trim to Accommodate Baseboards
The other two cabinet bases are attached to a wall and have adjacent baseboards, which meant that I either needed to remove (and replace) the baseboards, or cut two of the wood panel pieces to fit snugly with the curvature of the baseboards.
I chose the latter option and used a contour gauge to trace the profile of the baseboards onto the wood trim. I always wanted to use one of these tools because they remind me of those toys that look like nails and they make a perfect impression of your hand, face, whatever. But I digress . . . ;-P
Then I cut out that squiggly design (I’m sure that’s a technical way to describe it) with the miter saw, and it fit perfectly!
I added all of the trim just as I did for the first cabinet base.
Cabinet Base Panels Finishing Work
Once that was finished, I filled holes with the wood filler, caulked all along the edges, primed, and painted. I also added new shoe trim to the fronts of the cabinets where the toe kick remained.
Before finishing it all up, I popped on a new outlet cover that blends with the painted cabinets. It’s a special cover that goes over the existing outlet, so no electrical work is required and you’re not painting the actual outlet – just the decorator cover.
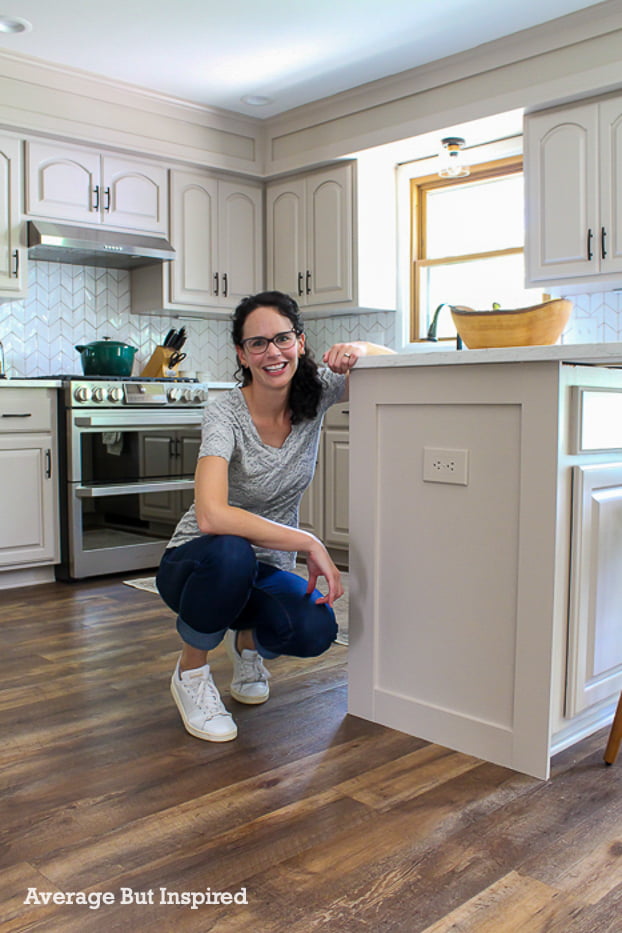
I’m so happy with how it all came together! And, I’m really proud that I did this 100% all by myself. Let me know if you have any questions in the comments below or by messaging me on Instagram!
Shane says
Hi Bre. Beautiful job! I have been wanting to do this in our kitchen. Can I ask what color your cabinets and end panels are? And did you paint your cabinets yourself?
Bre says
Hi, Shane – thank you!! Everything is painted Hampshire Taupe by Benjamin Moore. :-). And yes, I did paint my cabinets myself! It was a long process but totally worth it. Just in case you’re interested, I have a cabinet painting guide available here: https://unique-writer-2232.kit.com/products/diy-cabinet-painting-pro-digital-down
Samantha says
Hi! This looks great and has inspired me! My question is about the Brad nail size you used ? I’m guessing 1”? Thanks!
Bre says
Hi, there! Thanks for the question! Yes, that would’ve been a great detail to add here. I did use 1″ brad nails. Note that if you use wood that’s thicker than the wood I used, you might need a longer brad nail. Thank you!!
Heather jones says
Hey there what was the width of the panel u cut for the sides i cant find it! Or did the boards come as panels like that?
Bre says
Hi, Heather! They are 4″ wide. And they come in panels like that. Thanks!
Andrea Alvarez says
Hi ! exactly what i want to do but how did you painted -spray or brush-? what kind of paint u use ?
Thanks
Bre says
Hi! I used Benjamin Moore Advance paint, and I used a combo of a roller (trim roller) and a brush! 🙂
Holly says
Hi! This looks awesome 🙂 A question for you on the outlet cover – how has it held up being painted? I use my outlet constantly but would love for it to blend in with my painted cabinets. Just don’t want it to get scratched easily by me clumsily plugging something in 😅
Bre says
Hi, Holly – thanks!! I haven’t had a problem with it, BUT I don’t use the outlet regularly. So I’m sorry I can’t say how it would hold up if it is used regularly. Sorry!