In my humble opinion, the best way to feel creatively inspired is to try new things.
Lemme tell ya – I definitely tried something new with this DIY centerpiece bowl project! Creative inspiration: check!
Thank you to Sorfeo for sponsoring this post. The project and all opinions expressed herein are my own. Also, this post contains affiliate links. For more information, please read my disclosure policy.
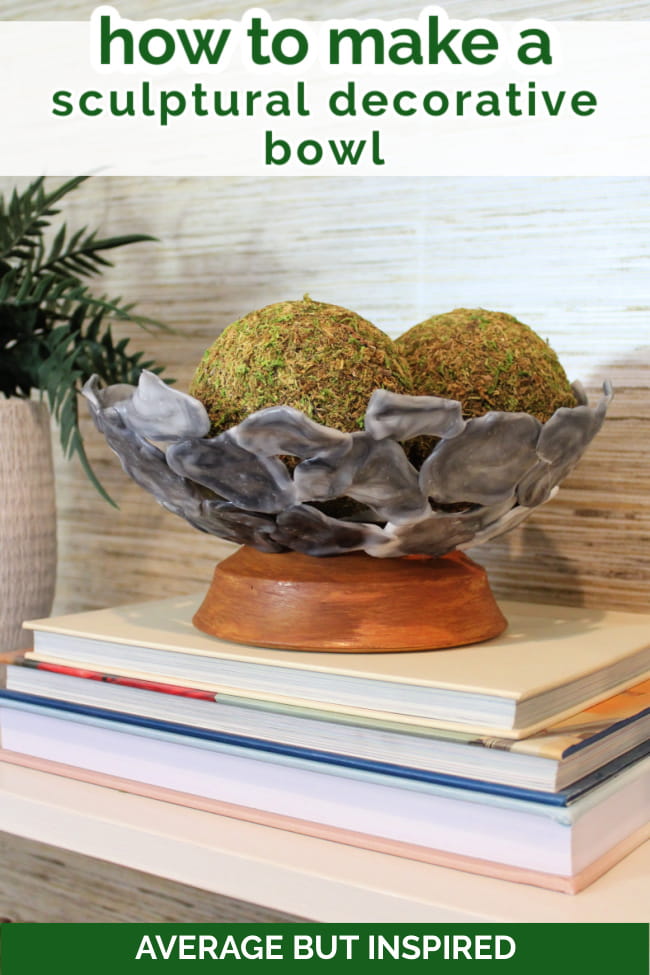
Using InstaMorph moldable plastic I created a marble-look centerpiece bowl. And the best part? I had so much fun figuring out how to bring this vision to life!
What is InstaMorph Moldable Plastic?
Before I jump into showing you HOW I made this centerpiece bowl, I need to tell you about InstaMorph.
Otherwise you’re going to be totally confused as I take you through the steps of the project, because it involves turning these small plastic balls into the bowl pictured above.
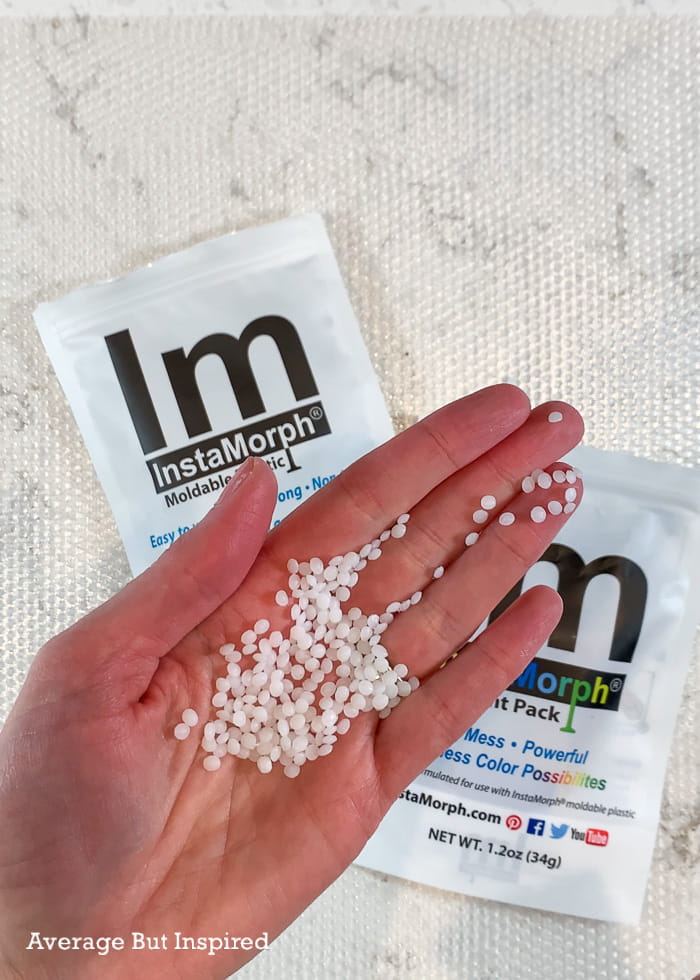
So, what is InstaMorph? Well, the “sciency” description is that it’s non-toxic thermoplastic that can be melted and molded by hand when warm (like clay), but hardens to a strong plastic when cooled.
Here’s my description: InstaMorph is magic. It’s small plastic beads that you melt in hot water and use to create all kinds of amazing things, from practical (think household repair solutions) to theatrical (think cosplay and costuming). There are all kinds of InstaMorph project ideas on their website.
DIY InstaMorph Bowl Supplies
Now that you have a better understanding of what we’re working with, here’s a list of the supplies used to create the project as shown in this post. Of course you can modify it to fit your own style!
- InstaMorph moldable plastic (12 oz. bag)
- InstaMorph Pigment Pack (The Pigment Pack comes with red, blue, yellow, and black pellets, but the InstaMorph website has a color mixing chart to show you how to create any color imaginable.)
- E6000 glue
- Ceramic bowl (to use as a mold)
- Wood bowl (to use as a pedestal base)
- Stove, pot, kitchen tongs, and water
How to Make a DIY Bowl with InstaMorph
For this project, my goal was to create a bowl that looked like a sculpture. InstaMorph was the perfect medium to achieve that goal!
Preparing the InstaMorph
To start, I boiled water on the stove and let the water cool down ever-so-slightly. I then poured InstaMorph into the pot, along with a few black InstaMorph Pigment pellets. (A little goes a long way with the pellets, so don’t overdo it. Start with one or two, and add more if needed.)
I watched in amazement as the white pellets turned clear within minutes of being added to the hot water.

After about two minutes, I used tongs to carefully remove a piece of InstaMorph from the water. I shook off the excess water into the pot, and then carefully kneaded the InstaMorph together to create a swirled marble effect.
Use extreme caution when removing InstaMorph from the hot water. You do not want to burn yourself.
Creating the Bowl
Once the InstaMorph was heated and moldable, it was time to start creating the bowl.
Working with a small chunk of InstaMorph at a time (I left the extra InstaMorph in the pot on the stove, on the lowest heat setting), I kneaded and flattened the InstaMorph. Then I pressed it onto the side of a ceramic bowl.
I pressed each piece together at the edge in order to connect them, and I repeated this process all the way around the bowl.
As the InstaMorph hardened on the bowl, the pieces got lighter as they turned from clear and black to white and black/gray, much like marble.
Once the ceramic bowl was covered with InstaMorph pieces, I set it aside for a couple of hours to fully harden. (**Full disclosure: I actually left it for hours to take my kids bowling, where I was destroyed and humiliated. Ha!)
Then I gently removed the InstaMorph “bowl” from the ceramic bowl, and was relieved it all came off in one piece!
Had it separated, I could have either glued the pieces together or melted them back together by dipping them into hot water.
To reinforce the seams or connections, I dipped part of the bowl into hot water for a few seconds, and rotated the bowl until every piece got a little extra “melting” time.
Attaching the Pedestal Base
To give this centerpiece bowl some warmth, and to contrast the marble look, I then flipped over a wooden bowl and glued the InstaMorph bowl to it.
This created a pedestal of sorts, making this DIY centerpiece bowl even more lovely. (Note: if you don’t want a pedestal stand, you can simply cover the base of the ceramic bowl with InstaMorph in the same way as you did the sides.)
The Finished InstaMorph Moldable Plastic Bowl
After the glue hardened, I displayed the bowl in my living room and was thrilled to see how pretty it looks against the wallpapered bookcase!
The swirled marble appearance is very cool, and I’m dreaming up all the ways I can use InstaMorph on other projects. Next up I’m thinking of trying InstaMorph in silicone molds to create furniture embellishments.
Let me know how you would use InstaMorph moldable plastic – the opportunities are endless!
Leave a Reply