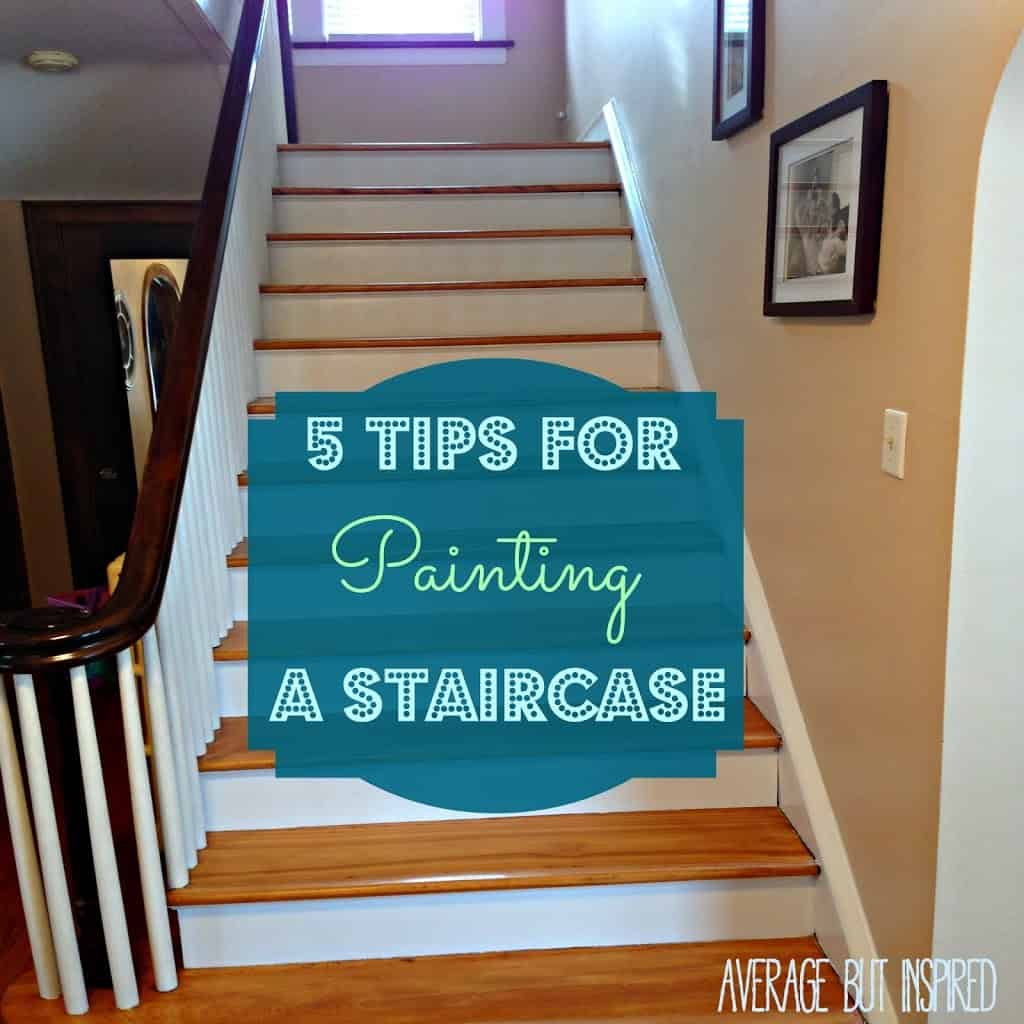
Over the weekend I tackled a project that’s been on the to-do list for far too long – repainting our staircase. In the process, I was reminded of how much of a pain in the you-know-what painting a staircase is, and I thought of five important staircase painting tips to share with you . . . tips that I wish I would have known the first time I painted this staircase.
This post contains affiliate links. Please read my disclosure policy for more information.
But first, a little background . . .
When we purchased our home in 2009, the staircase was YELLOW (along with a majority of the walls, trim, and ceiling in the house).
It was not our choice of color scheme by any means, but we were able to see past it and envision what the home COULD look like with some TLC and elbow grease.

We were fortunate to have our parents help us paint most of the rooms in the house; all within the first few months of us living here.
One of the bigger projects was repainting the foyer and staircase (spindles and all!), and my parents helped us with that one. It was tedious and time consuming, primarily because my husband and I were newbie painters on a budget and we did not have the best paint or supplies to paint stairs.
We painted the risers, spindles, and moulding white, and it made a dramatic difference.
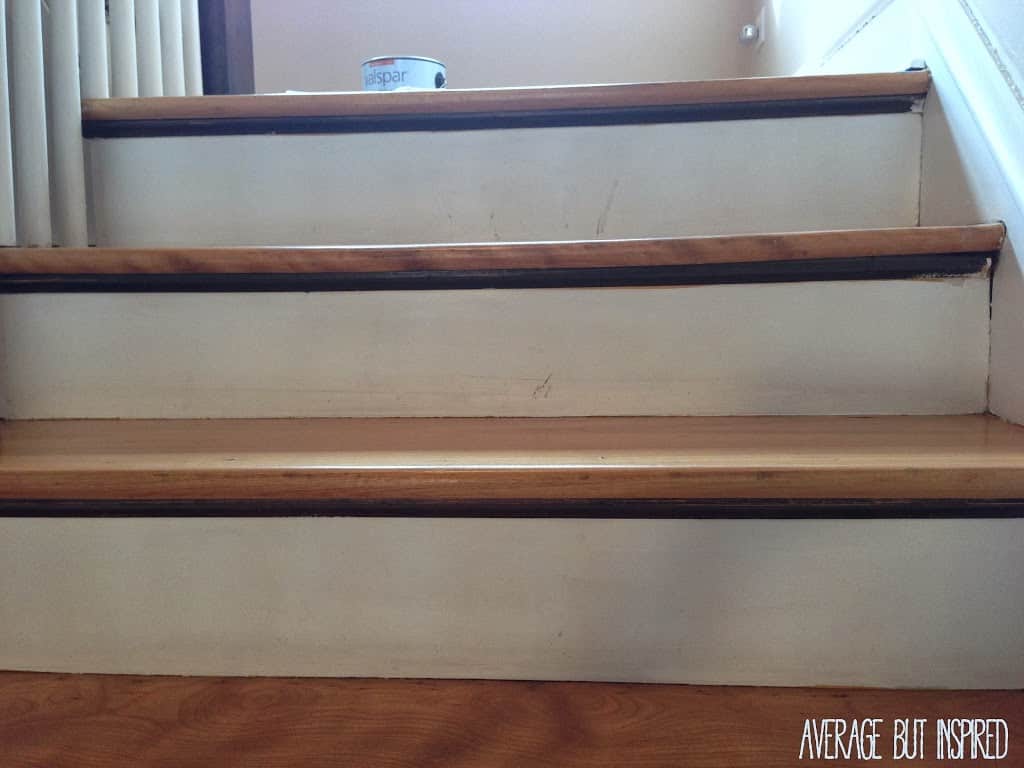
But within a few years, the cheap paint started to wear off and the staircase looked dirty and dingy. See the peeling paint, scuff marks, and shoddy paint job on the dark brown trim?
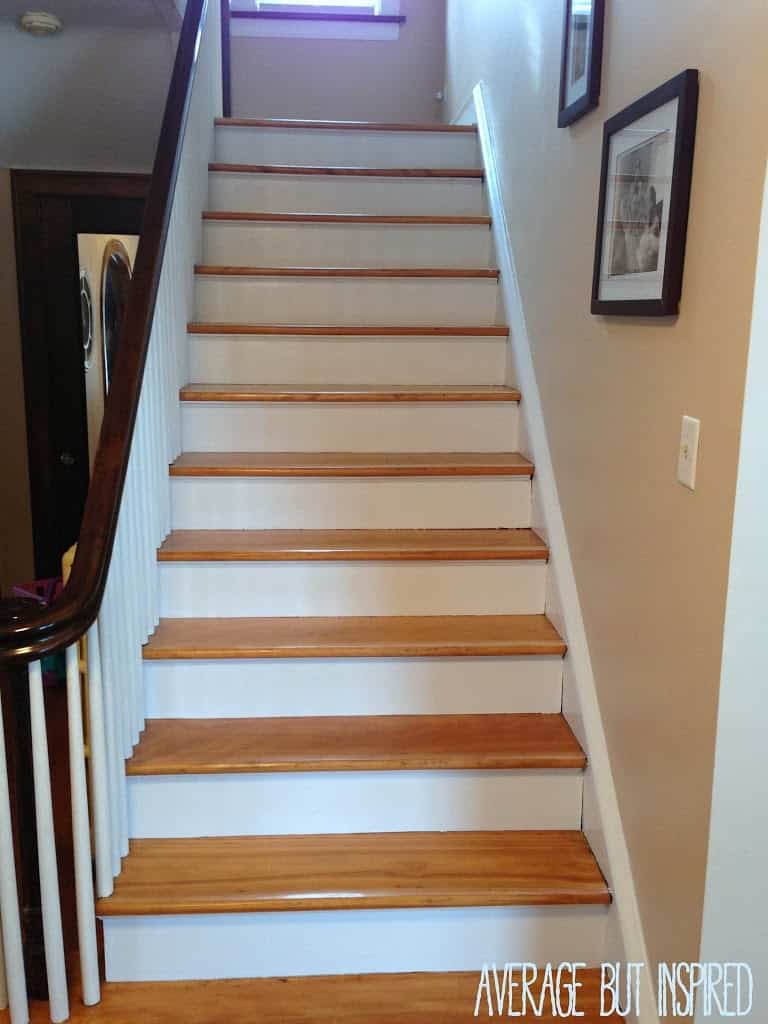
Because the staircase is one of the first things you see when you enter the house, it was time for a makeover. I used semi-gloss paint on the risers, trim (no longer brown!), and moulding. It now looks so fresh, clean, and happy!
Check out my newest staircase makeover! Learn how to remove old carpet from stairs and refinish a staircase with stained wood treads and painted risers.
So, what are the things I learned about painting wooden stairs this second time around?
Tip 1: Clean, Clean, Clean
Stairs are dirty, dirty places. Before painting, I Swiffered them and dusted the moulding as part of my prep process, but that wasn’t enough.
I quickly realized that I needed to actually wash every part of the staircase in order to ensure that dust and dirt wasn’t making its way into my paint.
You can work with water and a rag, but your best bet is to mix up some TSP (trisodium phosphate) and wash the treads, risers, and any moulding with that. TSP is a non-sudsing cleanser that is formulated for cleaning before paint.
Properly cleaning the stairs before paint will help ensure that the paint adheres or sticks as intended, which gives you the longevity of finish you’re after!
Tip 2: Purchase the Right Tools
When we first painted this staircase, we were using full-size paint brushes. But stairs are small. Regular size brushes were too large.
This time I worked with a small 4″ roller and roller pan (made for doors and cabinets), and a small angled trim brush. The quality of my work painting stairs was so much better this time! The right tools really make a difference.
In addition, it’s important to read the label on the paint you’re using to see what type of brush or what nap of roller is recommended. This will help you get a smooth finish!
(And hey, if you have paint brushes already but they’ve gotten hard, check out my post on how to soften hard paint brushes. It’s a lifesaver!)

Tip 3: Use High-Quality Paint
Stairs get a lot of action and suffer a lot of abuse. I definitely learned that you want to use a really good paint that will withstand daily wear and tear, and the scuff removal sessions with the trusty Magic Eraser.
Because the stairs you’re repainting will likely have scuff marks on them already, it will save you time covering those marks if you buy a paint with primer built in.
In addition, do NOT pick a flat or matte paint for your stairs. This type of sheen will not withstand wear and tear. You should choose satin or semi-gloss paint for the risers, as these can be wiped clean much easier.
If you’re also painting the stair treads (not just the risers), you will want to use a specialty floor paint. Make sure to let the stairs dry completely, and pay special attention to the paint cure time, before resuming use of the staircase!
Tip 4: Work With a Moist Paper Towel
No matter how careful you are with paint, while painting stairs you will inevitably bump a wet riser and spread paint to the treads. If you make sure to have a moist paper towel within arm’s length at all times, you will avoid a difficult clean up later!
And worst case scenario, if you DO happen to get paint somewhere you don’t want it, I swear by this latex paint remover!
Tip 5: Tape as Little as Possible
Finally, taping takes a lot of time and costs you money. If you buy the right tools (see Tip No. 2 above), you should be able to tape less.
On this project, I only taped where the riser met the treads (and I did not tape along the moulding or at the top of the quarter round). This was such a huge time saver!
If you aren’t confident enough or don’t have a steady hand, you can also try using a paint shield or paint guide as a quicker way to get a nice line.
****
Painting a staircase is a tedious project, but doing it right will definitely pay off!
I hope these tips for painting a staircase are helpful to you. Please let me know if you have any other tips to add!
Cherrywoods says
Hey! The quality of my work was so much better this time! The right tools really make a difference.
Bre says
Great!
Ott says
Looks fantastic! Have another tip… if you have young children, paint every other step. Leave to dry then do the rest. That way the several hundred bathroom trips are still possible!
Bre says
That is BRILLIANT! Thank you so much for sharing!! 🙂
Bre Eggert says
Thank you! I keep staring at it – I’m so happy it is so bright now. Hahaha!
farmfreshfamily says
Looks gorgeous! So bright!