I love the look of embellished grapevine wreaths on front doors, but I could never use them because my front door is dark stained wood and the wreath just blended right in with the door. (This is even more of a problem since I refinished my door last summer.)
On a recent trip to Michaels, however, I decided to go out on a limb and purchase a grapevine wreath anyway. (I like to live dangerously, people!) And of course, when I got it home, I immediately knew that it wasn’t going to work without some tweaking. Duh. So I got a little crazy and decided to PAINT it.
What tha’ what?
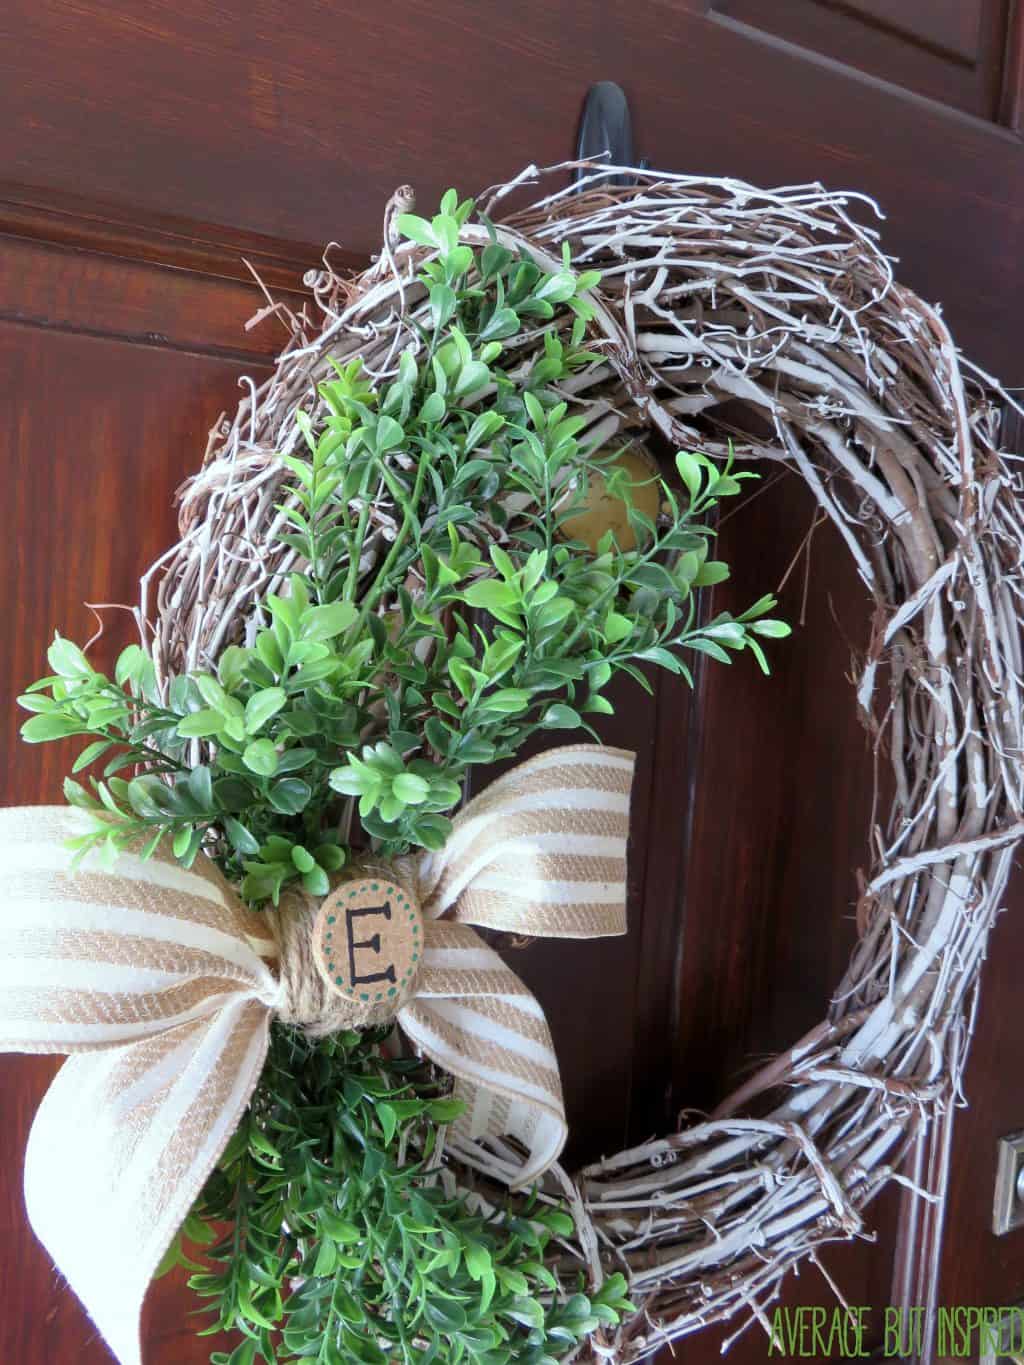
And now I have a chalk painted grapevine wreath adorning my front door. And part of me really likes it, and the other part isn’t so sure about it. (Maybe when it is no longer -31 with windchill I will have the luxury of standing outside my front door and really studying the wreath to decide if I like it. But for now, it will stay there because I have nothing else to replace it with.) 
If you dig it, let me give you the details on how I made it.
First, I mixed some chalk paint with water. I brushed it all over the wreath with a foam brush. (If you’re looking to achieve a solid color look, I think you’d have to use spray paint. It just isn’t feasible using a brush.) 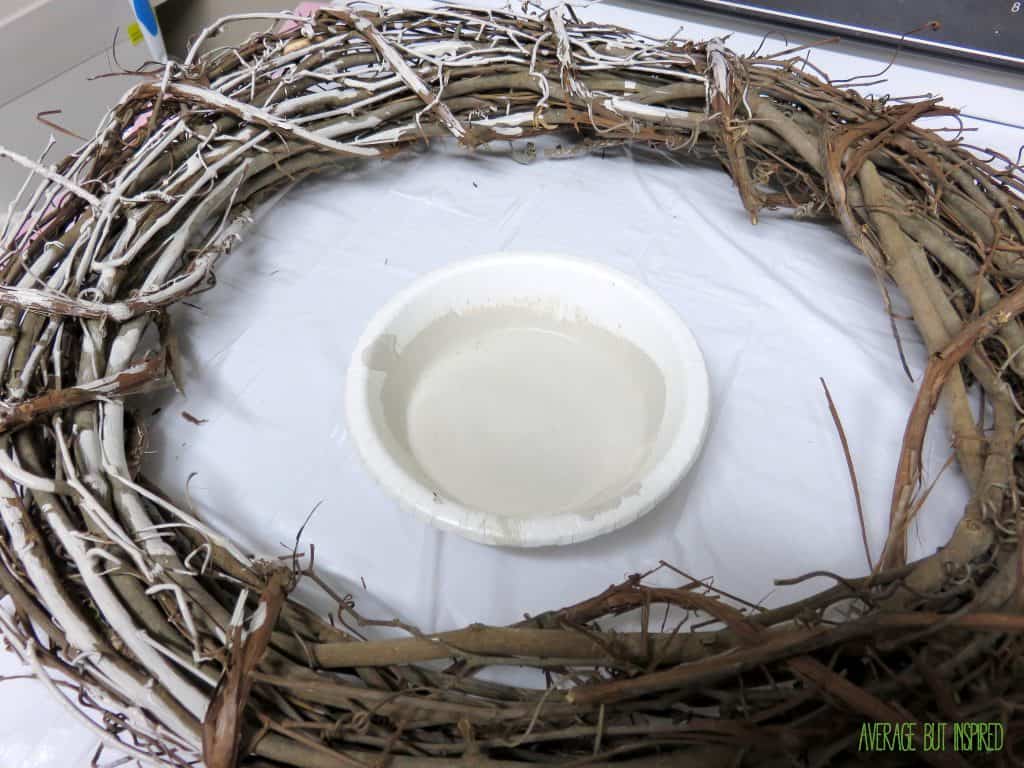
Next, I attached two sprigs of faux boxwood greenery using green floral wire. I used boxwood because it’s an evergreen and won’t look out of place even if I have this wreath up in November! 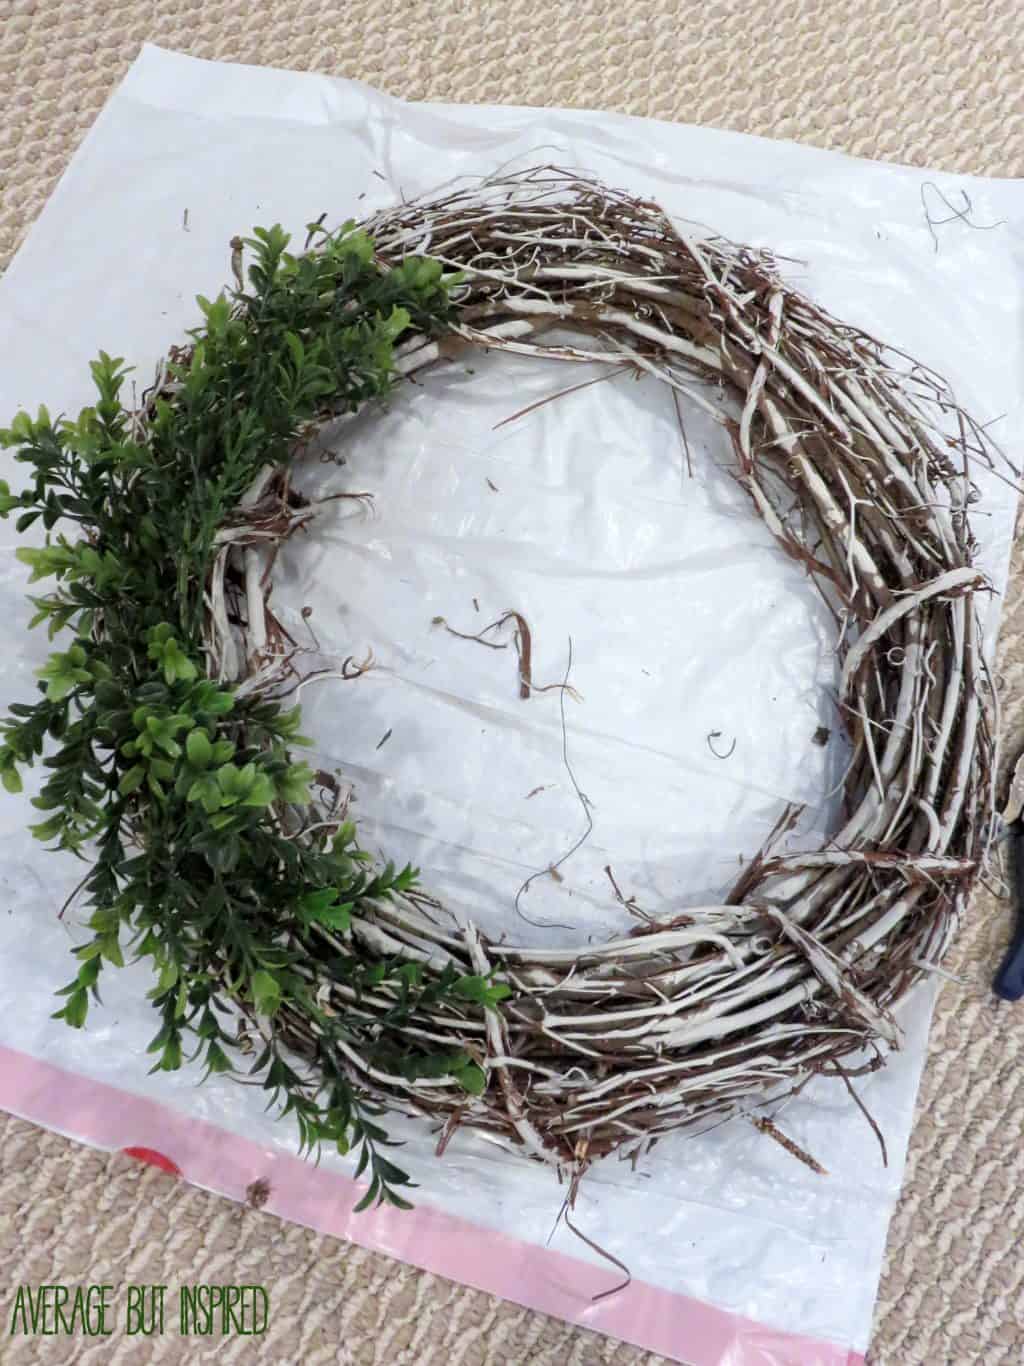
Then I used wired ribbon to make a bow for the wreath.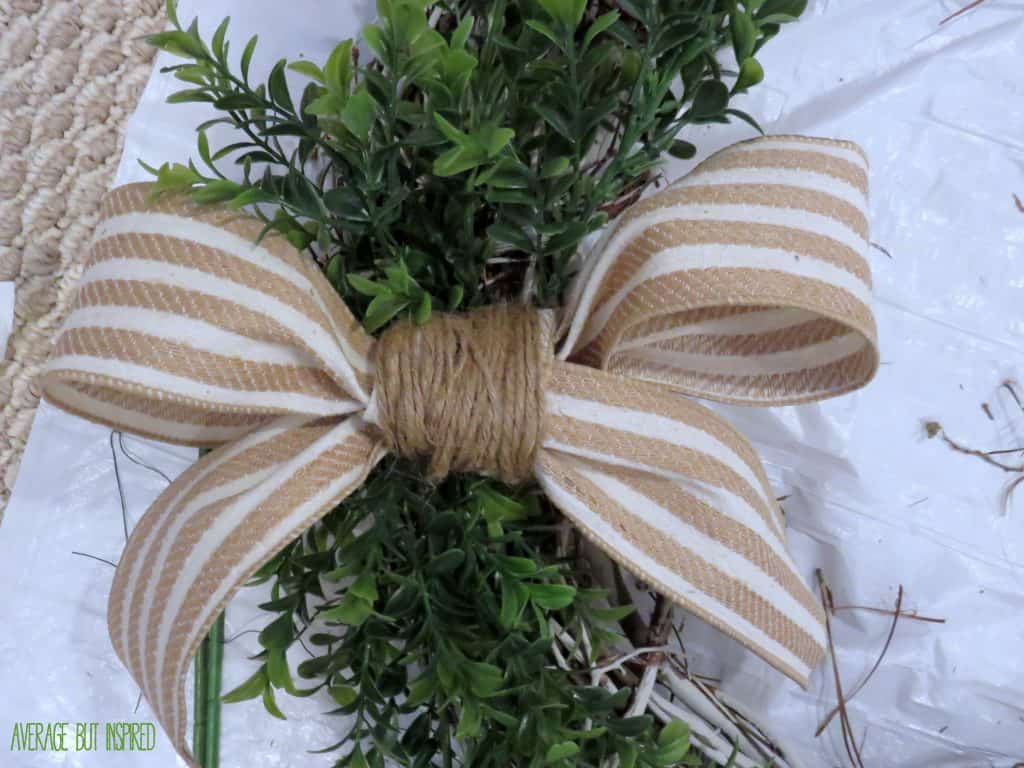
While I was doing this, I had to stop about 45 times to yell at my kids to tell them to stop messing with my ribbon! PUNKS! 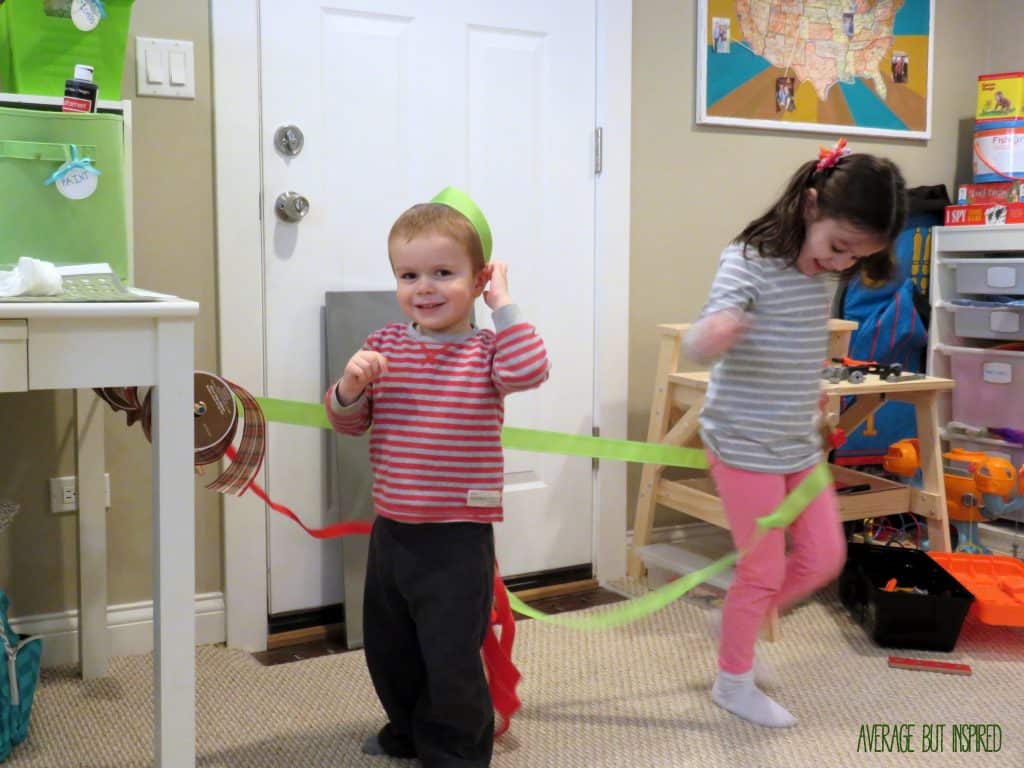
Once the shenanigans stopped, I painted some seasonal designs onto little cork circles I found at Michaels. I then attached Velcro circles to the backs of the cork circles as well as to the wreath’s ribbon. 
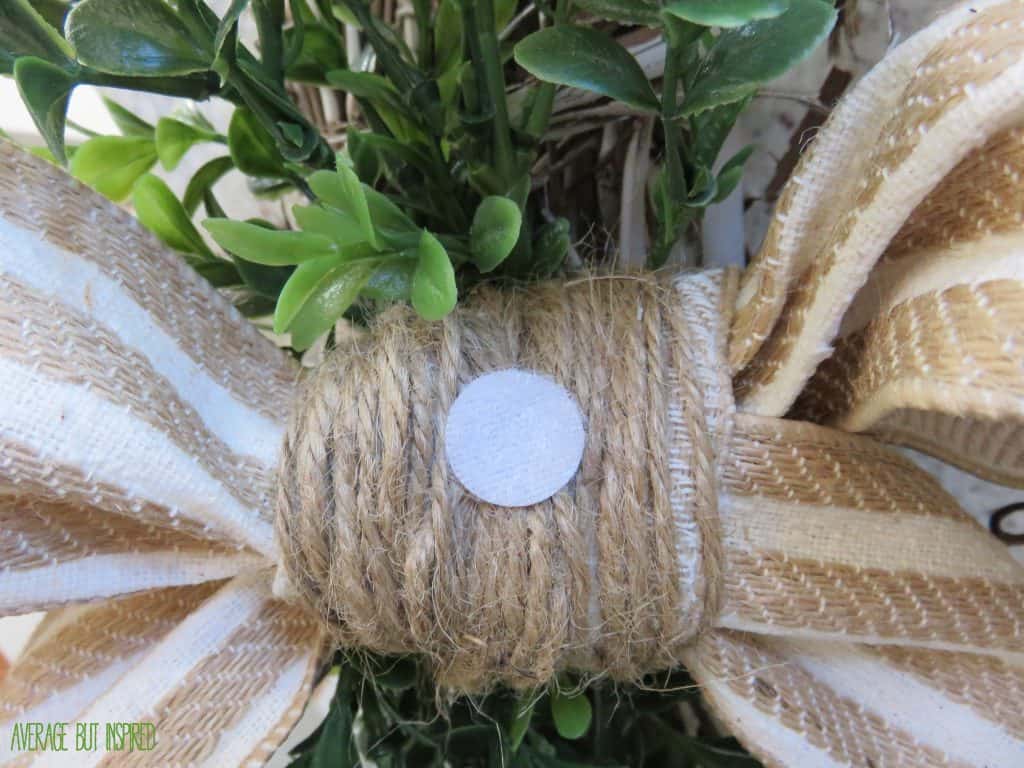
This way I can switch out the little cork circles for a different look whenever I feel like it! 
So there you have it – a super simple way to make a grapevine wreath stand out a bit. The uses for chalk paint never cease to amaze me! 
– Bre
To see where I may be sharing this post, please click here.
Janis says
I’m so loving your chalk paint wreath idea. I love doing things different then just same old same old. This wreath will be part of my Christmas Wreath this year. Can’t wait to get started on it. Thanks for showing us how you did it. Have a great holiday.
Bre says
Hi, Janis! Thank you for this sweet note!!! I am really glad you liked this project. I hope your Christmas wreath turned (or turns) out fantastic! Hope you had a great Thanksgiving!
Thea says
I love this! It is so stylish and yet you made it so simple to make! Thank you for the inspiration. I have been wanting to make a wreath like this for my mantel. This will be perfect!
Bre says
Hi, Thea! Thanks so much!! Yes, it is TOTALLY easy! I am sure your wreath will be gorgeous! 🙂
Ashley ~ 3 Little Greenwoods says
Mind blown! First you painted the wreath ~ Fabulous idea! Then you added the little season tags ~ Genius!
Well done, Bre!
Bre says
Hi, friend! Well you are just too sweet. 🙂 Thanks for the nice note. Hope you have a lovely evening.
Angela, blue i style says
What a great idea to paint the wreath with chalk paint! It really brightens it up! Thanks for linking up with us at The Creative Circle! I can’t wait to see what you have to share with us this week!
Bre says
Hi, Angela! Thanks for your note!! I am looking forward to partying with you today! 🙂
Lindsay Eidahl says
Such a pretty wreath! Love the interchangable pieces too! Thank you for sharing on Show Me Saturday!
Bre says
Hi, Lindsay – thanks! Hope you’re having a great week!
Amy | Canary Street Crafts says
Girrrrl, I love it when you show your wild side and do crazy stuff like paint grapevine wreaths, haha! It’s really pretty, Bre! I love the bow and cute cork circles.
Bre says
Hahahaha I know, I know . . . I am such a risk taker! ;-P Thanks, friend! 🙂
Shannon Churchill says
Looks great, Bre!! Who would have thought? And those are some darn cute ribbon punks you have! I have a couple of those too who love to “help” with projects.:)
Bre says
Hi, Shannon! Oh the helpers . . . I always have so much help. 🙂 Thanks for your sweet note. 🙂
Amanda @ Dwelling in Happiness says
Love it, Bre!! I actually really like it painted; it gives it more dimension!! And the seasonal cork pieces are genius! Hope it warms up for you soon over there! 🙂
Bre says
Hi, Amanda – thank you! Girl, the warmth cannot come soon enough. I’m starting to go crazy (and have frozen fingers all the time)!
Katie @ Little House of Four says
I love it, especially the idea of the painted cork pieces for the changing seasons! (side note, I had those in my hands at Michael’s trying to figure out what to do with them, ha!)
Bre says
Hi, friend! Well thank you! Oh my gosh, I have had those cork pieces since September or something. I bought them on clearance and then had no clue what to do with them either! 🙂 Have a great weekend!
Kristi says
Awwww, LOVE, LOVE, LOVE this! What a brilliant idea! Happy weekend!
Bre says
Aw, thanks, Kristi! You are a sweetie. I hope you’re having a fab weekend!
Christine says
I love the wreath!!! And the pictures of the kids brightened my morning (but, to be fair, I didn’t have to reorganize the ribbon :)).
Bre says
Hi, Christine! Thank you! Aaaah those kids. My mom asked me if I staged that photo. I did not. They were just being SUPER naughty that day!! Hope you’re having a great weekend!
Karen says
It looks fabulous, Bre! You don’t need to stand out in the cold – just leave it – it’s perfect! 🙂 I love the look with just some paint, and the natural wreath still showing – much better than painting the whole thing. And those little cork circles are a perfect final touch.
This is going on my to-do list! Thanks for braving the cold and sharing your gorgeous wreath.
Bre says
Karen, you are too kind. Thank you for this sweet note! I hope you’re having a wonderful weekend!
Laurie says
I really like how this turned out! Great job!
Bre says
Hi, Laurie – thank you!! I appreciate it!