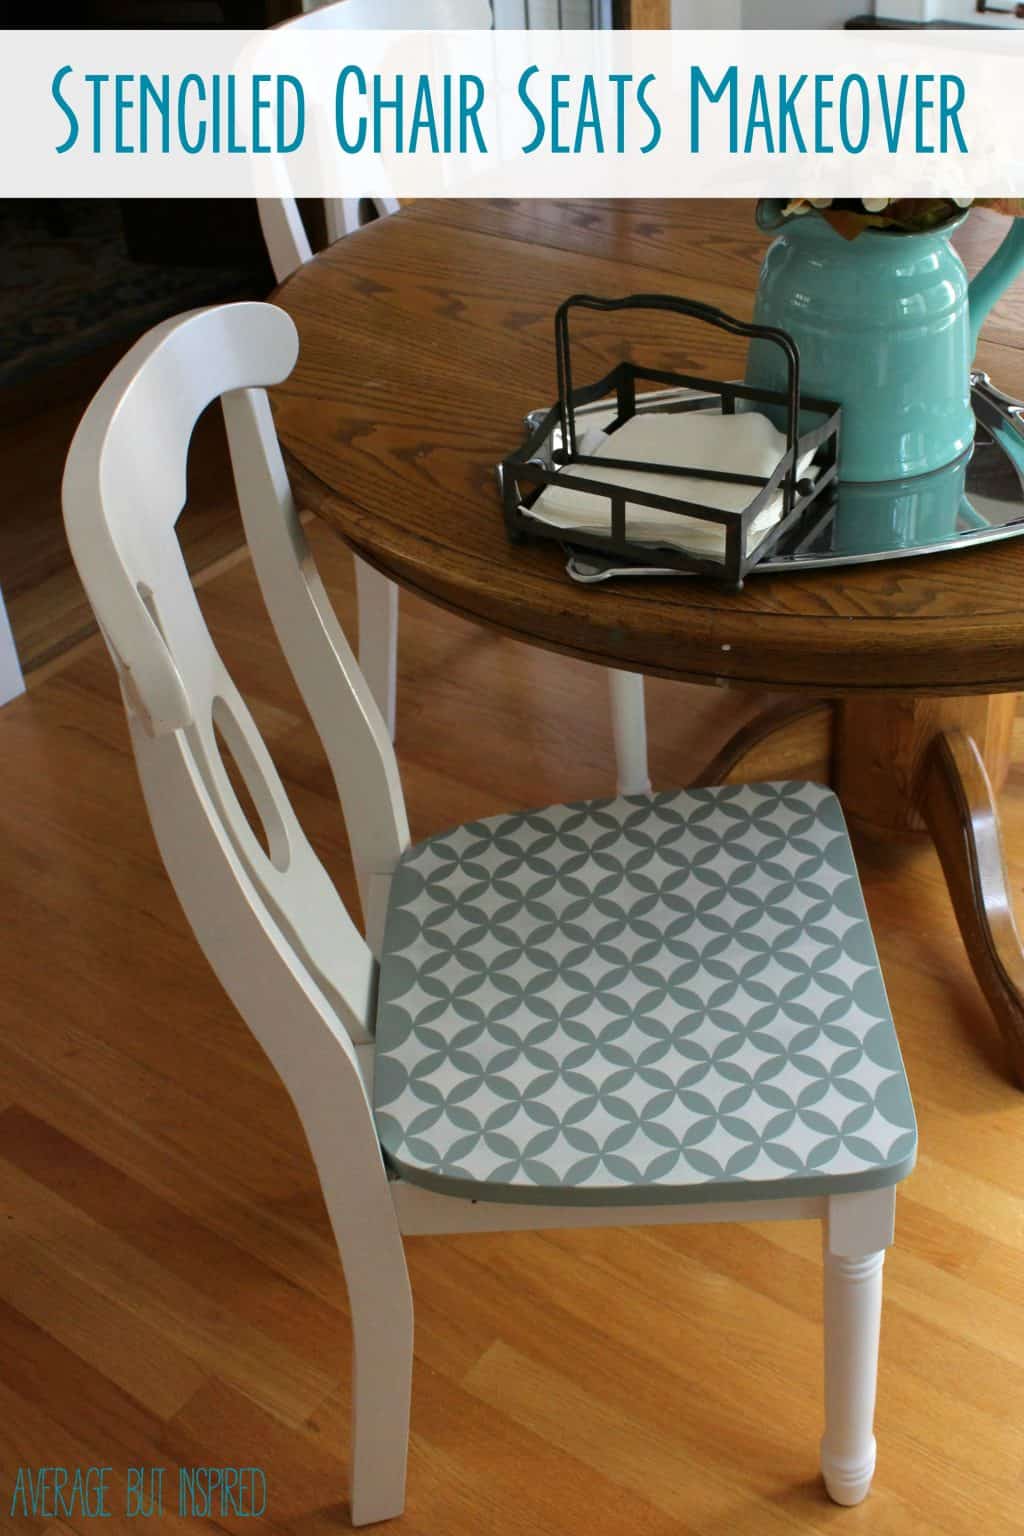
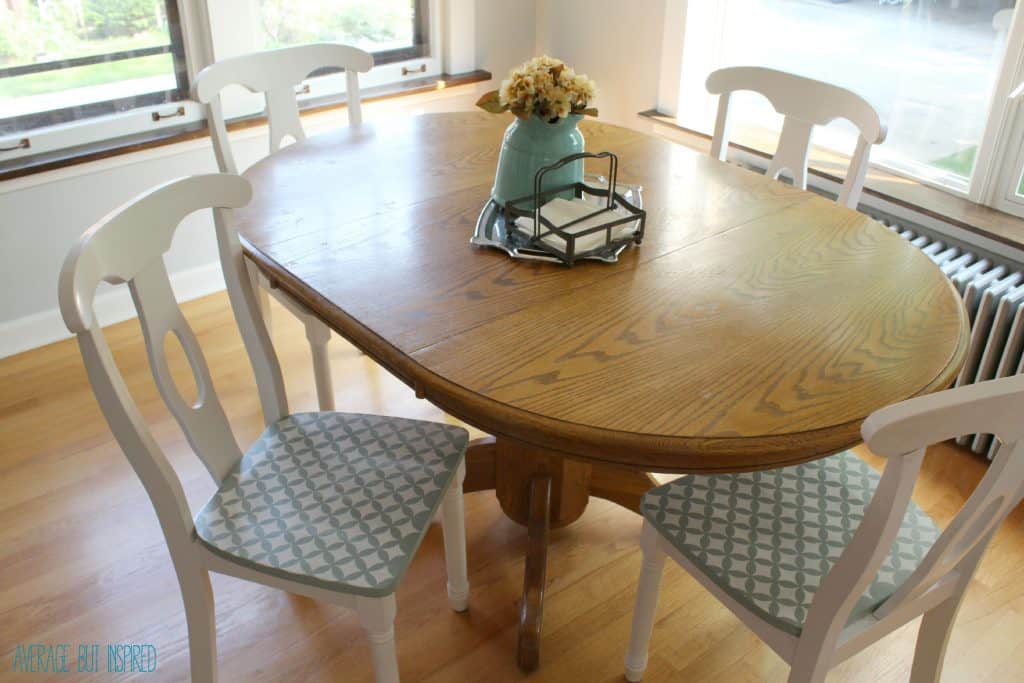
One thing I love is giving a plain object new life and personality with a simple change. Sprucing up my beat up dining chairs by stenciling the seats is precisely that kind of project!
With just a little patience and some paint, I was able to take my kitchen chairs from boring to beautiful in no time.
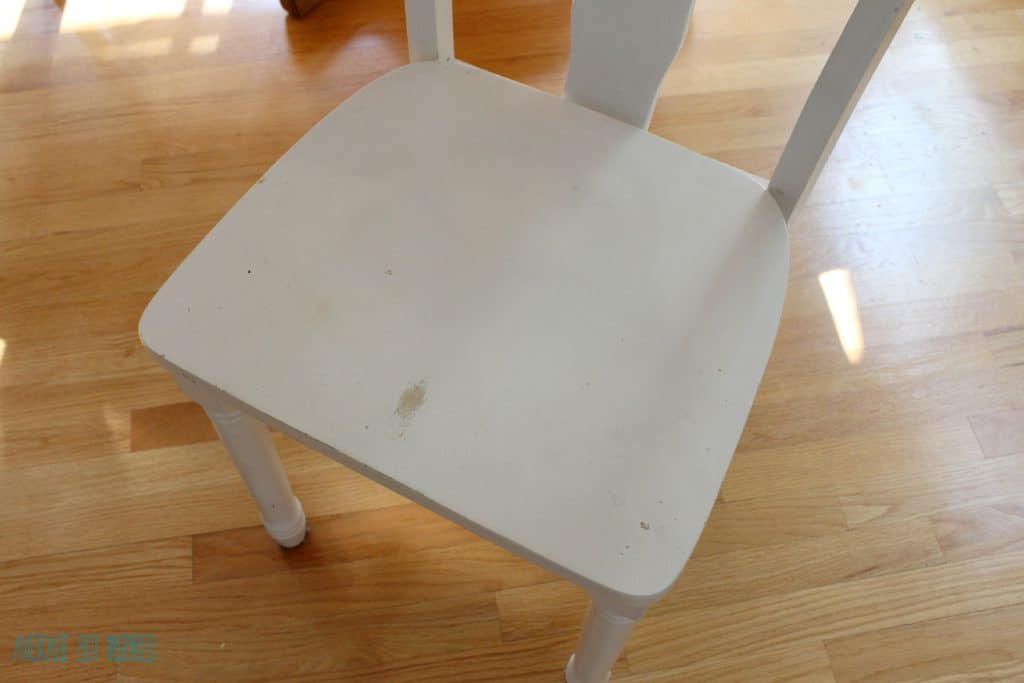
After six years of use, my white kitchen chairs were getting a little beat up. The seats were in especially poor condition due to my kids’ use of a portable booster seat on top of them. It scratched the painted finish off of almost every seat.
I always toyed with the idea of repainting the chairs, but I pretty much despise spray paint because I never do it correctly (duh). Since the easy way out wasn’t an option, I was just going to leave them. Brush painting these chairs was too much work for me.
But then a lightbulb went off in my head: stencil the chair seats to fix the problem left by the booster seat and give the chairs a totally cool new look at the same time!
Supplies Needed to Stencil Chair Seats
This post contains affiliate links. Please read my disclosure policy for more information.
- Cutting Edge Stencils Nagoya Craft Stencil (size small)
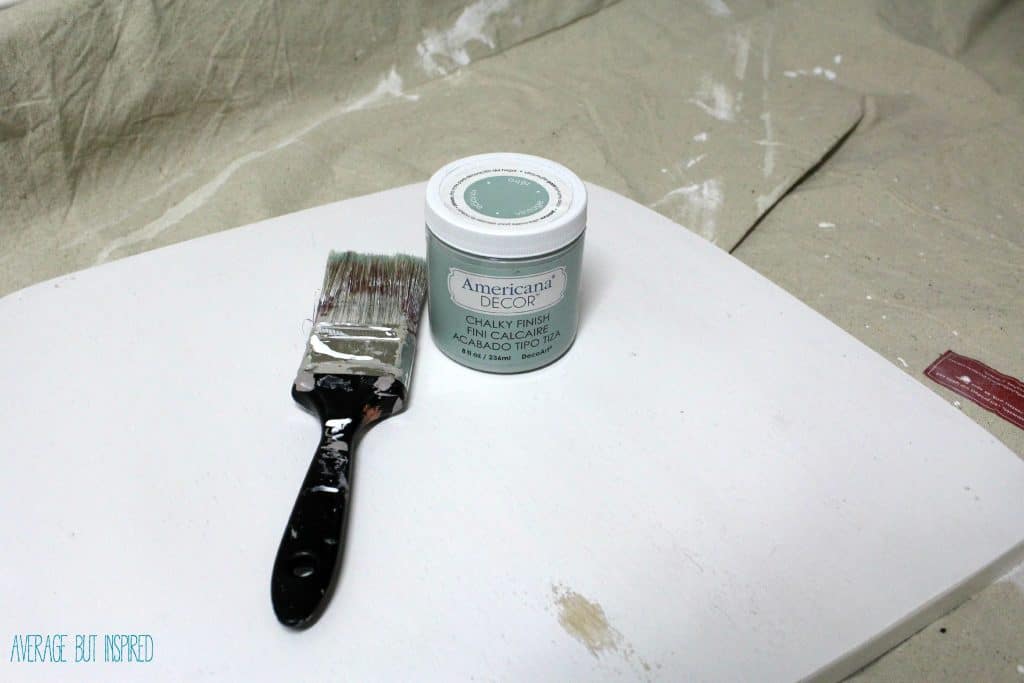
- Americana Decor Chalky Finish Paint in Vintage
- Americana Multi-Surface Paint in Cottonball
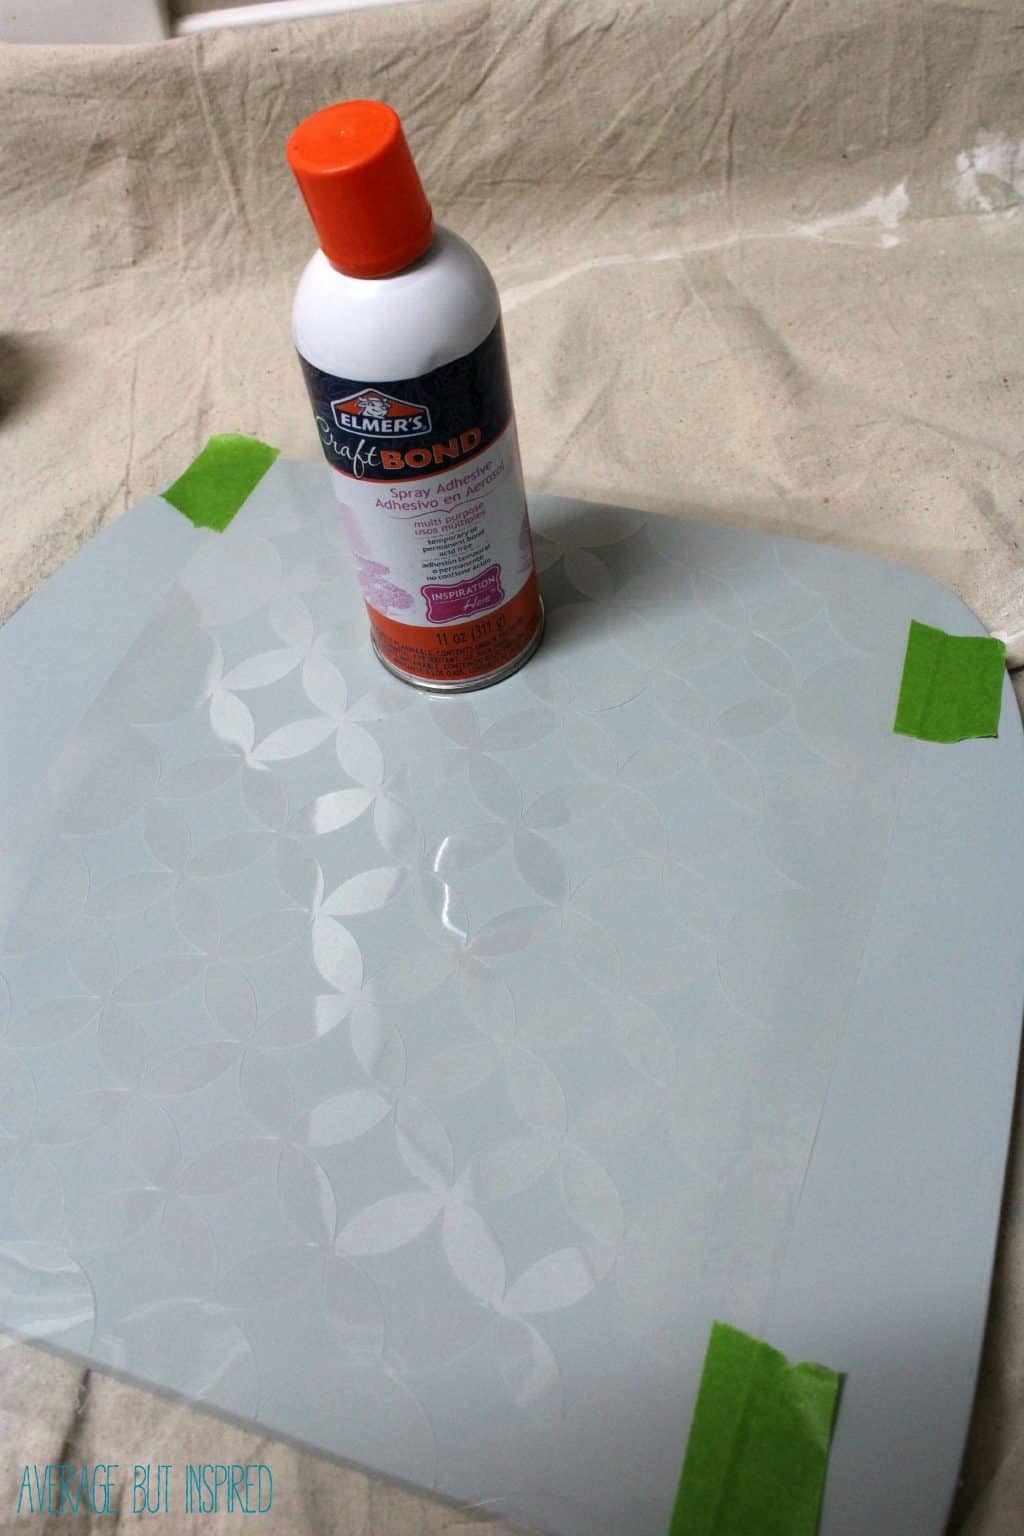
- Spray adhesive
- Mini paint roller and tray
- 2″ Paint Brush
- Painter’s Tape
- Screwdriver
- Sandpaper (220 grit)
- Polyurethane (or some other sealer)
Stenciled Chair Seats: How to with a Lasting Finish
If possible, unscrew the the seats from the chairs. This will make it much easier to paint the seats and add the stencil design.
Next, clean the seats (any any other part of the chairs that you’re painting). You can use a Magic Eraser, or clean it with a pre-paint cleaner that doesn’t leave a residue (like Krud Kutter or TSP).
Now, give the seats a scuff sanding, and wipe off all of the dust. Then, paint the seats whatever base color you’d like. For this project, I chose Americana Decor Chalky Finish Paint in Vintage (a soft blue green color).
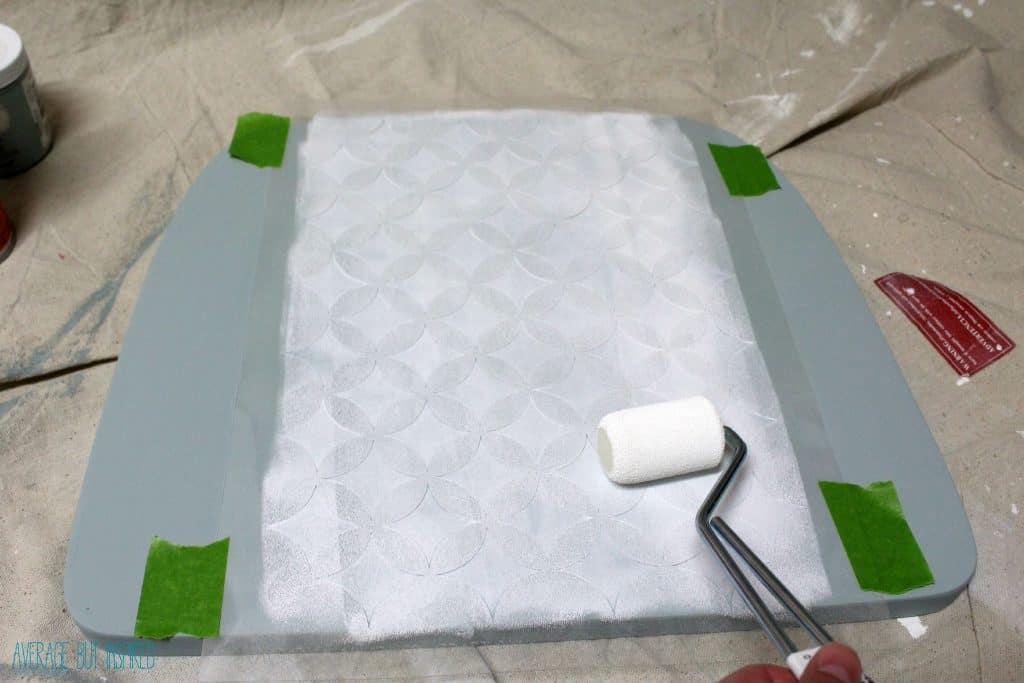
Let the paint thorougly dry, and then apply a light coat of spray adheisve to the back of the stencil you’re using. The spray adhesive not only holds the stencil in place, but it also prevents paint from bleeding through or seeping through the stencil pattern and ruining the crisp lines you’re after.
Press the stencil onto the middle of the chair seat, and then place painter’s tape on the edges of the stencil for extra hold. The painter’s tape is probably unnecessary, but I like to play it safe.
Next, dip the roller into the Americana Multi-Surface Paint and remove as much of the paint as possible from the roller. You want to use as little paint as possible here.
Then, gently roll over the entire stencil.
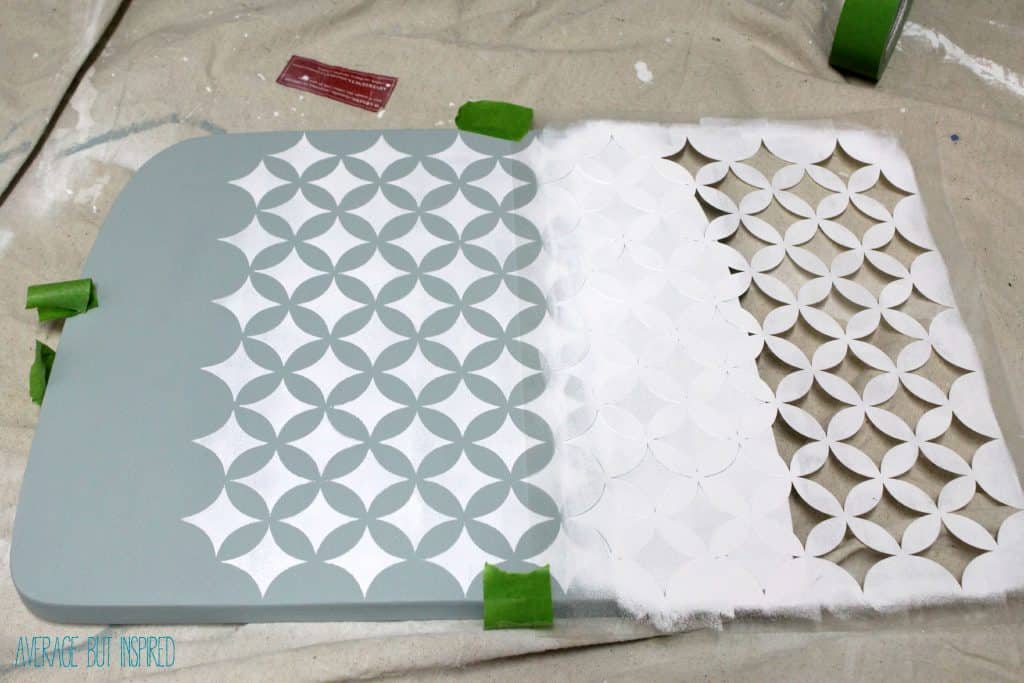
Once the first coat dried, I applied another. TIP: If you’re impatient like me, get out your hair dryer and speed up the drying process.
After the second coat of paint dries, gently remove the stencil. Match it up with an already painted edge, and stencil the next section.
Repeat this process until the entire chair seat is stenciled.
Once all of the stenciling is complete, seal each of the stenciled chair seats with polyurethane. This will protect your hard work!
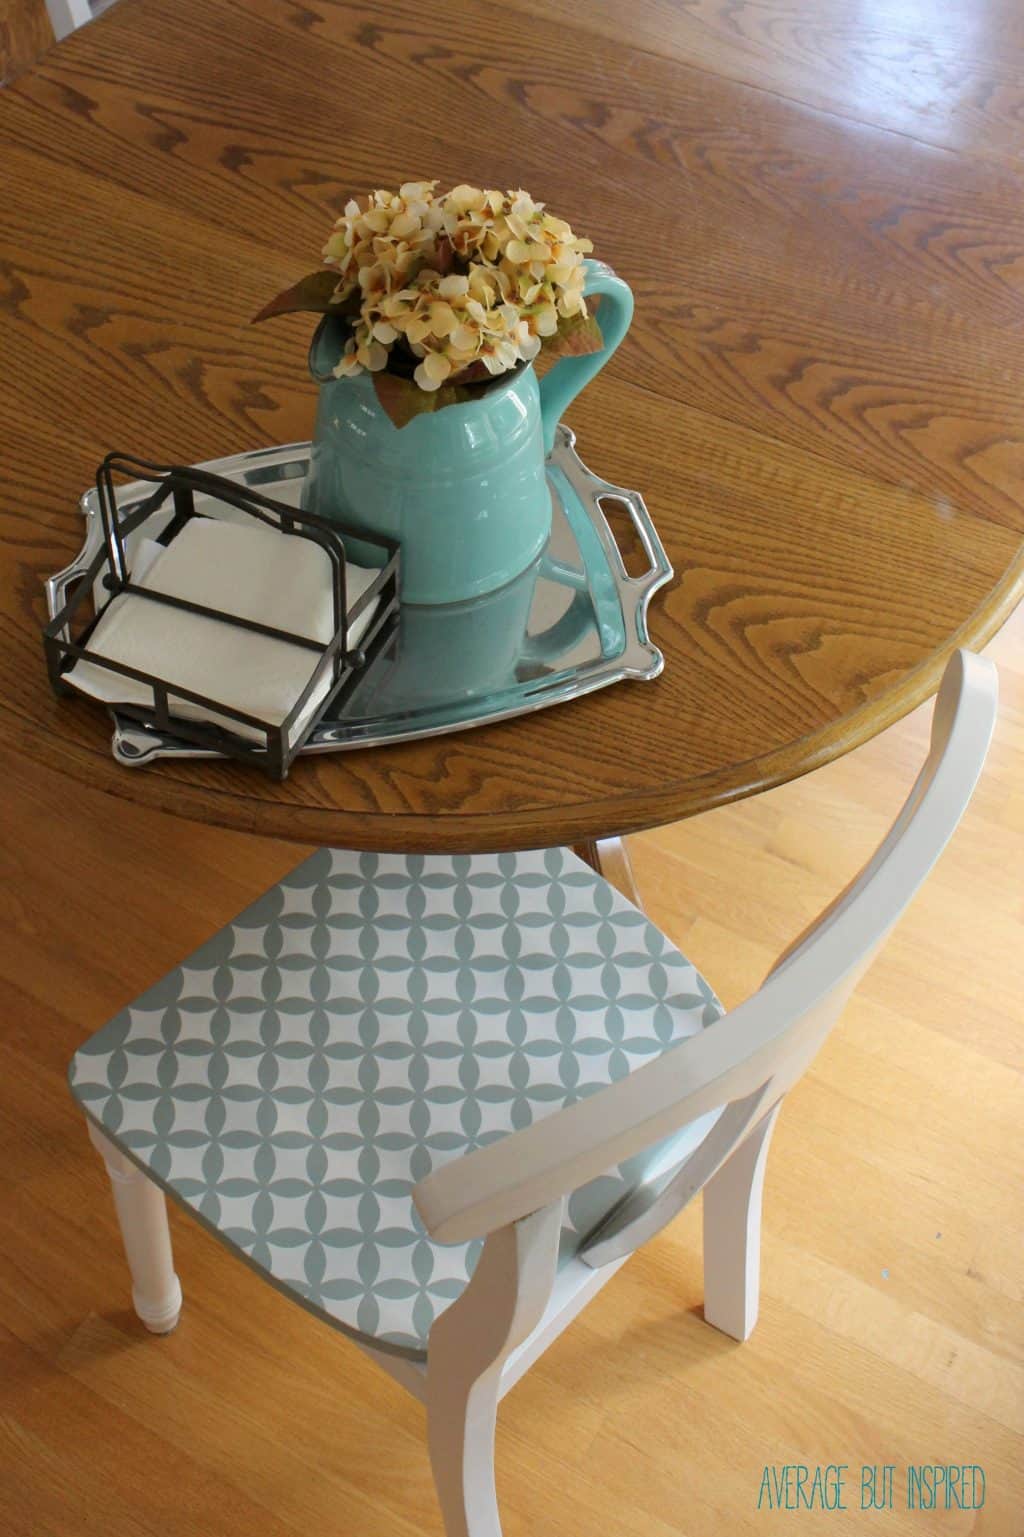
Reattach the chair seats by screwing them back onto the chair frames.

Then sit back and enjoy the new look of your old chairs!
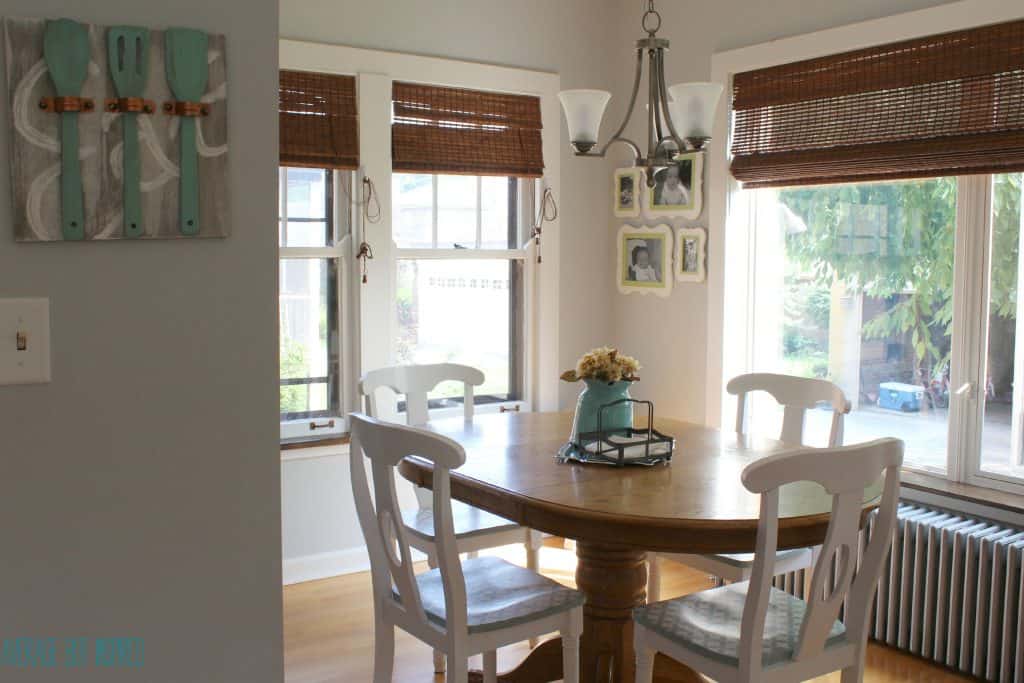
Stenciling old furniture is such an amazing way to give it a whole new life. It’s a win for the environment and for your wallet!
Would you try to make over a set of old chairs with a stencil? Let me know in the comments section below!
Jenny @ Refresh Living says
Your chairs turned out amazing! What an adorable update! I’m a huge fan of cutting edge stencils and love all the different designs!
Bre says
Hey, Jenny!! Thank you. 🙂 Yes your porch that you did with their stencils is awesome!! Such a great product line! Have a great weekend!
Crystal Rose says
I like the Indian Inlay Furniture Stencil Kit by Kim Myles.
Bre says
I love that kit! So beautiful! Best of luck and thanks for entering.
Cat says
I have used Cutting Edge Stencils to brighten up a wall in a dark corner of my house – and I felt the same way afterward – wanting to stencil ALL THE THINGS! Ha! And if it wasn’t for baby #2 having come soon after, I might have done just that. My favorite is the Casablanca all over stencil, which is the one I used. Your seats look so good – and it’s giving me a hankering to do another stencil project! Nice work, Bre!
Bre says
Aw, thanks, Cat!!! That’s so awesome that you’ve worked with their stencils before – aren’t they awesome? Thanks so much for stopping by. I am looking forward to checking out your blog! xo
Ellen Casper says
I love the Rabat all over stencil.
Bre says
Awesome choice! Thanks for entering, Ellen. Good luck!
Cindy B says
There are so many! BEADS ALLOVER STENCIL and BIRCH ALLOVER STENCIL are two of my favorites.
Bre says
I love those patterns, too, Cindy! Good luck and thanks for entering!
Amy says
Your chairs look fantastic! I’m so loving the Hand Forged All Over stencil.
Bre says
Thank you, Amy! And that’s a good choice – best of luck!
Rija says
my favorite is venetian scroll allover stencil !
Bre says
Nice choice! Thanks for entering and good luck!
beverly e says
It’s hard to choose a favorite, but I really like the Spring Songbirds wall stencil. Thanks for the chance to win!
Bre says
That’s a pretty one, Beverly! Thanks so much for entering and good luck!
Jill H says
Flock of Cranes & Happy Hour
Bre says
Nice choices, Jill – good luck!
Elaine X. says
I love what you did with your chairs! The stencils make the chairs look so much more fancy! I love all the stencils on Cutting Edge Stencil’s website that I can’t decide! I’d love to try a stencil to makeover my bathroom!
Bre says
Thank you, Elaine! I know – they have such gorgeous patterns that it’s hard to choose! A stencil in a bathroom is such a great idea! I was thinking of doing that in my kids’ bathroom! Great pattern without the hassle of wallpaper.
Sarah Cool says
I would love the MARRAKECH TRELLIS ALLOVER STENCIL
Bre says
Good choice! Thanks for entering and good luck!
latanya says
I like ZAMIRA ALLOVER STENCIL
Bre says
Love it!
Wendy Odell says
Love the chairs! That would look great on fabric too.
Bre says
Thank you, Wendy! And you’re right – this pattern would be awesome on pillows!
Liberty says
I love all of the anchor ones and the tree ones. Anchors Away is one of my faves! 🙂
Bre says
Good choices, Liberty!
Denise N. says
Morroccan Tiles All Over Stencil! I have hundreds of projects I can think of that these stencils will be utilized!
Bre says
Yes! I think that’s one of their most popular stencils! It’s gorgeous. Thank you so much for entering, and good luck, Denise!! 🙂
Tanya says
Love the way they turned out!
I want to do the Roses Allover stencil in my little girl’s
Bre says
Oh that would be a perfect choice for anything little girl’s space!! Thanks so much and good luck! 🙂
Darlene Carbajal says
I like the WILDFLOWER BORDER STENCIL.
Bre says
Good choice! Thanks for entering, Darlene, and good luck! 🙂
Angelica says
I was going to say one of the damask stencils was my favorite but then I saw the INDIAN INLAY FURNITURE STENCIL KIT BY KIM MYLES and my decision was made! I love how versatile it and I have so many projects in mind already. 🙂 The chairs are absolutely adorable, now you just need to do the table to match! Oooh, that would certainly be gorgeous!
Bre says
Oh Angelica you are so right!! Wanna help me with that project – aaah it’s a little intimidating! 🙂 I think your stencil choice is GORGEOUS! Thanks for entering and good luck! 🙂
Alison Gibb says
The TREE PEONY FLOWER STENCIL is my favorite!!
Bre says
That one is so pretty, Alison! Thank you and good luck!! 🙂
JESSICA says
This turned out so well. love the paint color and the pattern you chose.
Bre says
Thank you, Jessica!! I really appreciate it! 🙂
Taylor Closet says
My favorite stencil is the paisley allover stencil, gorgeous!
Bre says
Oh yes, that’s beautiful! Thanks so much for stopping by, Taylor, and good luck!
Ruthie says
These turned out great! I really like the chair being white and blue to go along with your wood table! Love the contrast!
Bre says
Thanks, Ruthie!! Someday I will re-stain that table a bit darker, but for now I’m just gonna let my kids do their art projects on it and beat it up! 🙂
Breanna says
Such a fun makeover! Thanks for the giveaway 🙂
Bre says
Thanks, Bre! xo
Erica @ Dwell Beautiful says
That Roses Allover stencil is seriously my fave and you did SUCH an amazing job with your chairs! Love the look 🙂 Thanks for the giveaway!
Bre says
Oh yes, Erica that one is perfect for you! Thanks so much for entering!!
Amy | Canary Street Crafts says
Love how your chairs turned out! The pattern you chose is perfect.
Bre says
Thanks, girlfriend!! (Imagine that said with some twang to it.)
Sarah @ Little Red Brick House says
SO freaking cute, Bre! I love the stencil you chose and the colors are gorgeous! Your table and chairs look fabulous! I am crushing on the herringbone allover stencil. 🙂
Bre says
Thank you, Sarah! Oh yeah, the herringbone was DEFINITELY one of my favorites. I LOVE it!
Jen @ Fresh Crush says
These look great! I love that pattern you chose!
Bre says
Thanks, Jen! Hope you are well!! xo
Sandi says
What a change! The chairs looks so fresh and new again. I am curious about the Ben paint. Is that Benjamin Moore? Very nice work.
Bre says
Thank you, Sandi!! And yes, the Ben paint is a line of paint they carry at Benjamin Moore. It is low VOC and has a primer in it, I believe. I think because it’s thicker than the multi-surface paint, it tended to “goop up” a bit more (if that makes any sense at all! Ha!)
Christine says
They look fantastic. Your kitchen is so bright and cheery!
Bre says
Thanks, Christine!! It’s come a LONG way since we bought the house! 🙂