Give any surface a weathered paint look with this easy tutorial!
A couple of weeks ago I stumbled upon a new-to-me thrift store, and I was like a kid in a candy store. My son . . . not so much. He couldn’t wait to get out of there.
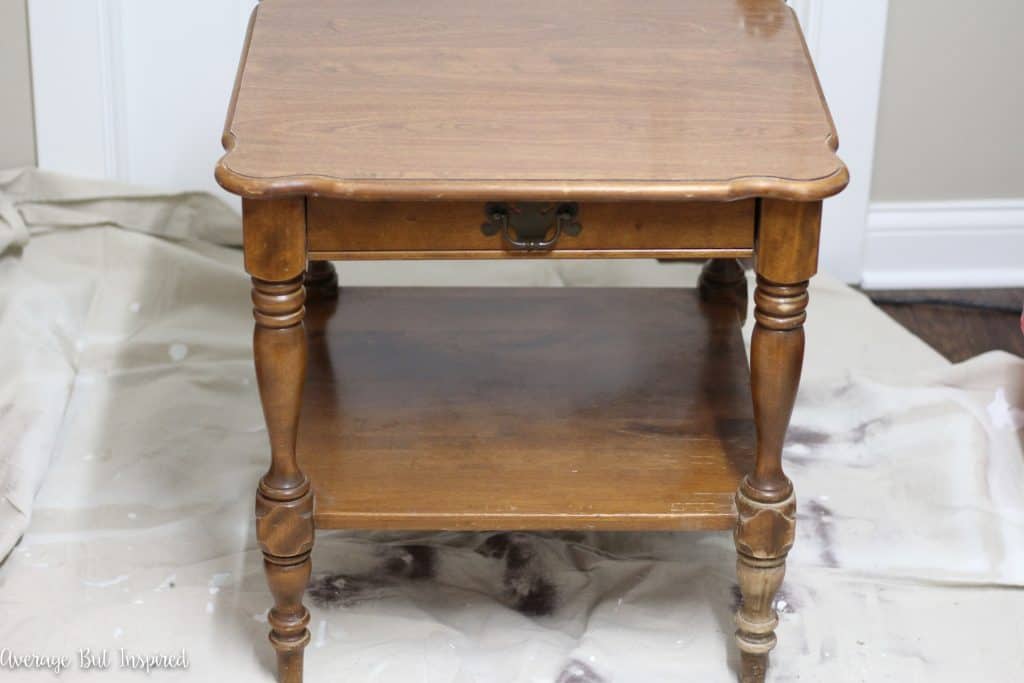
But I had really good luck and found this AMAZING end table from Ethan Allen for a bargain price. It was a little outdated, scratchy, and worn, but I knew I could make it pretty again!
I let it sit for a few days, and then in the middle of the night . . . it came to me that I needed to give it a weathered paint look with some hints of coastal charm thrown in.
I had never tried a finish like that before, so I was excited to get to work. I’m happy to say that it turned out great and I now have lots of tips for you on how to get a distressed wood look with paint!
Weathered Paint Effect Supplies Used
These are the supplies I used to achieve the finish as shown in this post. Modify them to suit your own needs! Also, this post contains affiliate links. Please read my disclosure policy for more information.
- Sandpaper (220 grit)
- Chalk paint (I used Americana Decor Chalky Finish Paint in the colors Yesteryear, Relic, and Everlasting)
- Mixing cup
- Stirring stick
- Water
- Paper towels
- Chip brush
- Varnish
- Finishing wax (I used Americana Decor Creme Wax)
How to Create the Look of Weathered Paint
In just a few simple steps, you can create a weathered paint look on just about any surface! Here’s how I did it.
Sand (and Consider Priming)
First up, I gave the top of the table and the bottom shelf a good sanding because they were quite glossy. Like super high gloss that did not match the rest of the table. Not sure what was up with that.
If the surface you’re painting on is very glossy, you should also sand. You might also consider priming the surface with an adhesion primer. (This is an absolute requirement if you aren’t using chalk paint!). I really love Behr’s Multi-Surface Primer if you go this route.
Trust me: it’s a bummer when you finish a paint job and it all scratches off!
Water Down the Paint
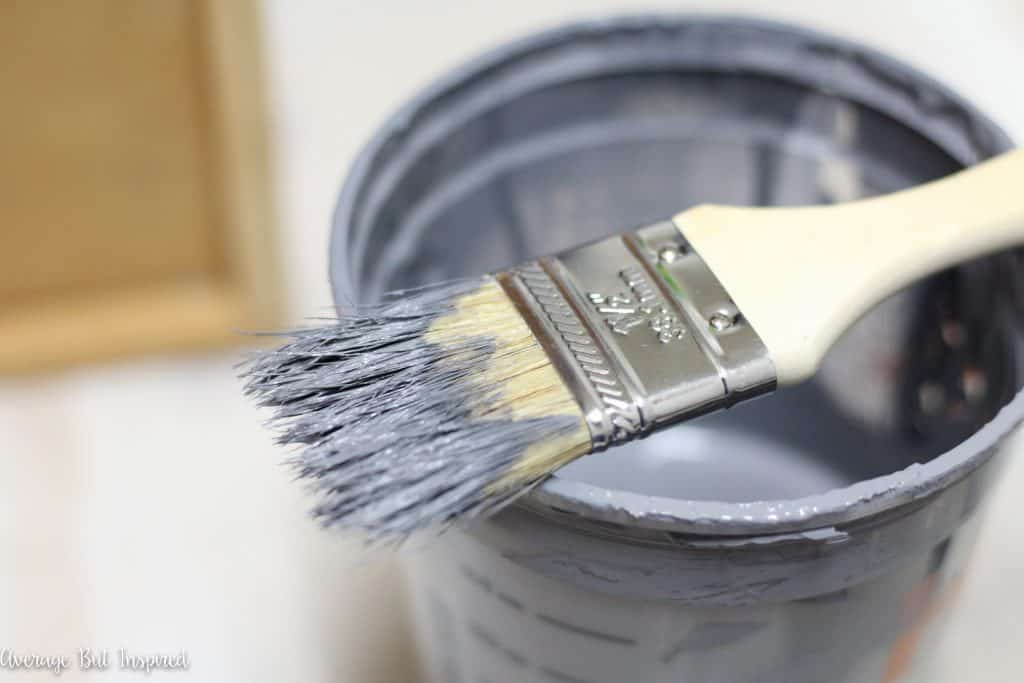
Once that was done and I wiped it all down, I mixed up some leftover chalk paint in the colors Yesteryear and Relic, and then I watered it down by about 30-percent.
(You may recognize this color combo from the gray painted dresser makeover I did for my son’s bedroom.)
If you want less of a coastal look with a bluish/gray hue, you could achieve a weathered wood look with a different base color, such as a mix of browns and creams.
I applied it to the table with a really cheap and bristly chip brush. This is important because it gave a really uneven and streaky finish, which is what I wanted.
(NOTE: If the surface you’re creating the weathered paint look on is not the color you want, or is not wood, you will want to paint it a solid base color first before applying this uneven coat with the chip brush.)
Here you can see how the first coat of paint went on – really brushy and with original wood showing underneath.
You do this with a dry brush technique: meaning do not oversaturate your brush with paint!

Mix and Apply a Lighter, Thinner Coat of Paint
Once I’d covered the entire table like that and the paint had completely dried, I took the mix of Vintage and Relic (dark gray) paint and added in some chalk paint in Everlasting (white). Then I watered the mixture down to about 50-percent of it’s original consistency. This stuff was really watery, which is exactly what I needed.
I dipped another chip brush in it to just barely get some color on there, and gently applied it to part of the table.
I let it sit like that for a few seconds, and then I wiped it off with a paper towel, making sure to remove much of the watered down paint, but leaving some.
(Sidenote: it’s hard to wipe paint with one hand and take a photo with the other. Talent, people. Talent.)
It really gave a streaky and weathered look – just what I wanted!
Seal and Top Coat the Weathered Wood Finish
Once the entire table dried, I sealed the top and bottom shelf with Americana Decor Varnish in Ultra Matte in order to really protect the finish.
Then I sealed the entire table (including the top and bottom shelf), with a coat of Americana Decor Creme Wax.
Once that dried, I buffed it and revealed a beautiful, subtle shine that looks perfect with the faux weathered wood finish.
Bonus: Line the Drawers
This has nothing to do with creating a weathered paint effect, but I just had to show you the little detail I added to put my stamp on this table.
I found an adorable placemat at Target . . . and cut it up . . .
and wouldn’t you know it’s the perfect drawer liner for my new table?
I think this little table that got a weathered wood look with paint is so cute now.
The aged wood appearance gives it so much character!
So what do you think of this table makeover and my attempt at a weathered paint technique? If you enjoyed it, you might also like to see this Denim Faux Finish Technique!
ChrisT says
This turned out beautiful after being such a Plane Jane for it’s early life! I love DecoArt Americana Chalky Paint and the price can’t be beat. It’s my fave paint and I love seeing bloggers using it too so you can teach me how to do beautiful works of art with affordable products I have. And, this really is a work of art! Beautiful! Thank you for sharing your knowledge.
Bre says
Hi, Chris – well thank you so much!! I also LOVE the DecoArt paint! It cannot be beat for the price – you are right! I would love to see some of your work with it, too!!! Share it on my FB page or send me an email! Thanks so much for stopping by!
Heidi says
Your table turned out great and good idea for the drawer liner. Never would have thought of a placemat! Thanks!
Bre says
Thanks so much, Heidi!! I was really excited about the drawer liner. I don’t have a convenient fabric store nearby so I have to get creative. 😉
Helen Holley says
Great job!
Looks so good!
Helen Holley
Bre says
Hi, Helen – THANK YOU!! I really appreciate you taking the time to leave me such a sweet note. Hope you’re having a great day!
Vineta @ The Handyman's Daughter says
I love the colors you chose. That piece would look great in my living room. Thanks for the great tutorial!
Bre says
Hi, Vineta – thank you SO much for your sweet note! I appreciate it – you made my day. 🙂 Have a good one!
Brooke Riley~Re-Fabbed says
Great tutorial and beautiful piece! 🙂
Bre says
Thank you so much, Brooke! This was a fun makeover!
Cynthia - Clockwork Interiors says
Super cute. You did a really great job, and I appreciate the tutorial. Thanks for sharing! Cynthia
Bre says
Thank you, Cynthia!!! 🙂
Seana Turner says
Wow – it looks totally transformed. I’ve seen tables with that heavy shine on them. I love that you got your inspiration in the middle of the night – happens to me all the time! I never would have thought to use a placement as a drawer liner, but that is a great idea. Especially the ones that you can wipe clean. I wish I had a more convenient Target near me…
Bre says
Thank you so much, Seana! Don’t you think your best ideas come at night because your mind is finally able to relax and let that creativity in? And I can’t believe you don’t have a Target near you! I think I would die. Literally. Target and I are BFF’s. 🙂