Looking for a way to update a mirror wall? Don’t rip it out: try tape!
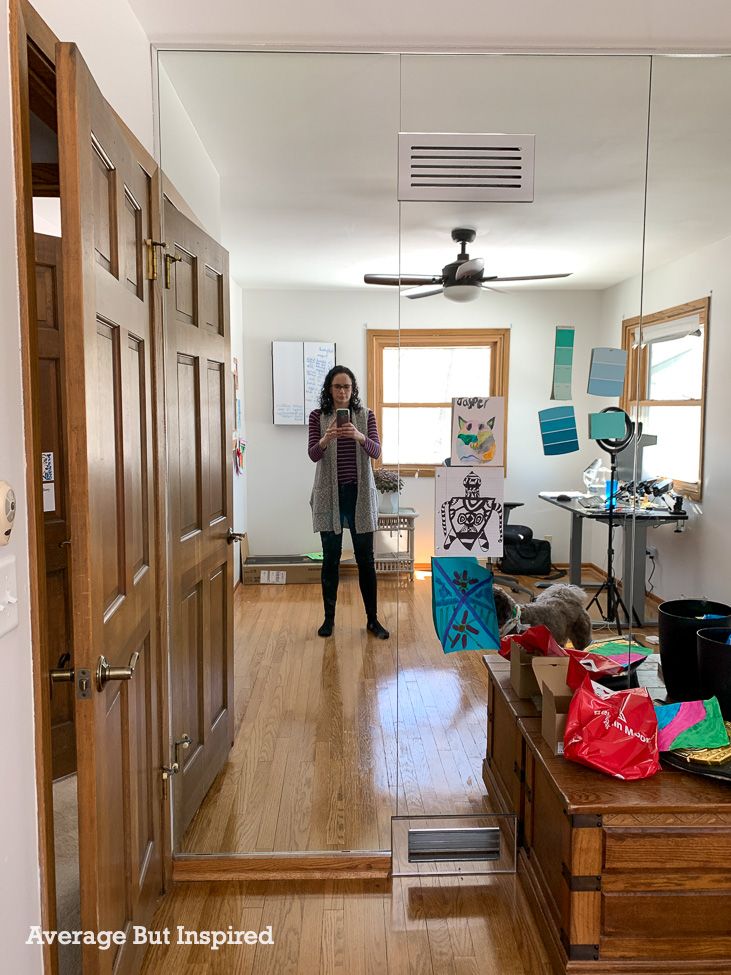
One of the biggest challenges in my Office and Guest Room Combo Makeover was modernizing a mirrored wall that screamed, “Hello, it’s 1980.” OK, obviously it didn’t really scream that, but it might as well have!
Of course, I thought about removing the mirrored wall altogether. But when I researched how to do that, I decided it was too much work and that the wall repairs would be too expensive for what I wanted to spend at this time.
So then, for months, I brainstormed other creative ways to updated mirrored walls. I had already updated mirrored bookcases with removable wallpaper, and antiqued a large plate glass wall mirror in my dining room . . . so what could I do here?
I considered covering the mirror wall in fabric, but knew I would not have good luck getting any pattern straight. I also considered painting over the mirror, but I had slight concerns about the durability and look of that option.
Then, one night, I was cooking dinner and an idea popped into my mind: create a mirrored accent wall with tape!
I could see it in my brain, and it was the perfect solution! I patted myself on the back for this stroke of originality and genius.
Then I hopped on Pinterest and found out that this has been done before. Among others, Caroline at Food52 added electrical tape grids to her mirrored closet doors, Chelsea at Making Manzanita also used black tape on mirrored closet doors, and Hometalk created a gold fretwork mirror with washi tape.
Womp womp. I am not a pioneer in adding tape to mirrored walls after all.
Despite that, I’m sharing this tutorial because it’s a huge part of my office and guest room makeover, and because IT LOOKS COOL! 🙂
Supplies Needed to Modernize a Mirrored Wall with Tape
This post contains affiliate links. Please read my disclosure policy for more information.
- Mirrored wall or mirrored closet doors. Really, any mirrored surface that you don’t want to be so “mirror-ey” anymore.
- Black vinyl tape. For this project I used 3/4″ vinyl pinstriping tape and 1/4″ vinyl pinstriping tape.
- White or silver crayon
- Level
- Scissors

How to Update a Mirrored Wall With Tape
First things first, I took down all of the artwork my kids had taped on the mirrors, and then I scrubbed it with Windex. Even if you don’t have kid art tacked onto your mirrored wall, you should definitely clean it before starting.
Step One: Cover the Mirror Wall Frame with Tape
For this part of the project, I used the 3/4″ vinyl pinstriping tape because the frame around the mirrors was just about 3/4″ wide.
If you decide to do this project, measure the mirror frame before ordering tape. You may need a different tape width than I used, depending on the width of your mirror frame.
Starting in the far left corner, I worked my way across the top of the mirror frame – covering it in the black vinyl tape.

Once I reached the end, I cut the tape, and then started a new piece to go down the right side of the mirror. I repeated this process until the entire mirror frame was covered in black tape.
Check out my mirrored medicine cabinet makeover!
Step Two: Cover the Vertical Mirror Gaps with Tape
Then, I covered each of the vertical spaces between the mirror wall panels with the same black tape.
The mirror was looking better already!
TIP: be careful not to pull or stretch the tape. It will shrink up with time if you pull it tightly.
Step Three: Create the Secondary Tape Lines
Now here’s where things get a little more interesting: creating the secondary tape line on the mirror. First I tried measuring several inches down from the top tape line, drawing a straight line across, and then covering that line with tape. It did not work AT ALL! It was really difficult to get anything straight.
So, working one mirror panel at a time, I took the level and placed it directly underneath the piece of tape on the top of the mirror frame. I made sure that the top of the level was lined up with the bottom of the tape, and then I drew a line with the white crayon along the bottom edge of the level. I then covered that line with the 1/4″ vinyl tape.
I then moved on to draw a vertical line with the crayon in the same way that I drew the horizontal line. Once that line was drawn, I also covered it with the 1/4″ vinyl tape.
I repeated this process for every panel, until each panel had an inner border of 1/4″ vinyl tape.
All in, this took me around 3 hours to complete and under $15. Absolutely worth it – no doubt in my mind.
The Finished Modernized Mirror Wall
I mean, I don’t know about you, but I actually LIKE this mirror wall now! I don’t even think I’ve tricked myself into thinking it looks good. I’m pretty sure it actually looks GOOD! It’s amazing what breaking up those panels did for this thing.
Plus, with the dark color of the room, having this mirror wall helps bounce some light around and also makes it feel larger than it is. (It is really tiny!)
Well anyway, let me know what you think of my mirror wall in the comments below. And if you wouldn’t mind pinning this post to Pinterest or sharing it, I’d appreciate it. Remember: friends don’t let friends live with mirror walls or mirrored closet doors they don’t like!
Rae says
Did this to a large mirror. Looks great and was easy to do. Thank you!
K. Sand says
I think this is an outstanding idea! I have wall to wall and floor to ceiling beveled mirrors and would like to modernize without major cost. I have two questions;
1. How do you handle the tape when a vertical and horizontal line meet? Do you bury one under the other?
2. How do you handle when the mirroring turns a square corner. Do you double the tape width?
I really would like to do this project, is it difficult?
Please do not post my questions. Thank you.
Aleigh says
I just have to say, this looks SO good!! I’ve been looking at all sorts of ideas, and I like this better than anything I’ve seen where people are using actual framing or wood. I’m moving into a home with mirrored walls and I will definitely be doing something similar to your idea. Thank you!
Bre says
Hi, Aleigh! Oh, that is awesome!!! I’m so glad this was helpful to you. Thanks for letting me know, and congrats on your new home!
Suzy Charto says
thank you for this great idea. I don’t hate my mirrors just the gold band. I don’t want to get rid of them because i like the reflection of light. Thanks for the info. I think your mirrors look great.
Bre says
Hi, Suzy! Thank you!!! Yes – this could be a great way to deal with the gold edge!! If you can’t get tape that’s the correct width, you could also try paint markers to cover that up!
Cindy says
Was it a problem with cleaning it?
Bre says
Hi! I spray the windex on the paper towel and clean the mirror that way (instead of spraying liquid directly on it)!
Calvin says
How does cleaning with Windex work out after the tape installation?
Does the tape still stick?
Bre says
Hi, Calvin – great question!! Generally I just dust the mirror with a Swiffer instead of spraying it with Windex. When there are smudges, I spray the Windex on the paper towel and rub that on the smudges (instead of spraying the Windex directly on the mirror). I hope that helps!
Joyce says
I have 12, 1 foot wide mirror panels, ceiling to floor. Any idea on how to transform them? Love, love, love what you did. Help!
Bre says
Hi, Joyce! Thank you! OK – I think this tape idea could be busy with all of those mirror panels. I have done two other things that could work for you though! First, you could do a faux antique finish. You can see what I did here: https://averageinspired.com/2020/06/how-to-antique-a-mirror-from-the-front-with-paint.html. Depending on your style, this could be beautiful! Another idea is to cover the mirrors with peel and stick wallpaper. This is a little tricky (it’s hard to work with peel and stick on the glass), but it’s doable. I did it on my mirrored builtins. I didn’t write a post about the technique, but you can see the look here: https://averageinspired.com/2020/02/update-mirrored-built-ins-with-paint-and-peel-and-stick-wallpaper.html. Hope these ideas help!
Mitch says
I just wanted to say, this was Pure Genius! I, myself, am in the exact same shoes. Same Mirrors, but I don’t want to spend a ton of money on new doors, and getting the wall re-framed. This looks fantastic, and I can’t wait to try it this weekend.
Bre says
Hi, Mitch – that’s awesome!! I’m so glad this was helpful to you. It’s crazy what a pain removing mirrors can be, and how much damage they can do to the walls. I hope your mirrors turned out great!
Dave says
That is a brilliant solution. I love those moments of creative genius. It’s rewarding to brainstorm and come up with an idea that you have the power to execute. I’m installing large gym mirrors in an attempt to expand a room and to reflect what little windows I have to brighten the space. I’ll be adding a large, flat white curtain up top to modulate how much mirror is showing. I hope I’m not making an expensive mistake but then it would be a new lesson. Thanks for your great article. Take care.
Bre says
Hi, Dave! Thank you for this nice note! I love the idea of curtains! I also think the mirrors are amazing for bouncing around the light. I think your idea sounds wonderful and will not be a mistake at all. Good luck with your project!