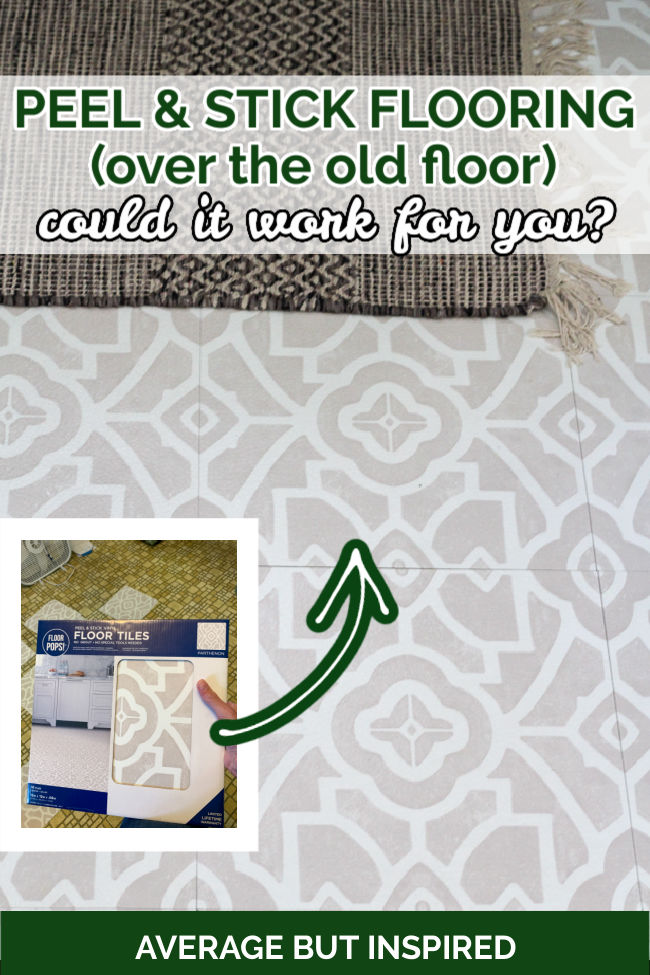
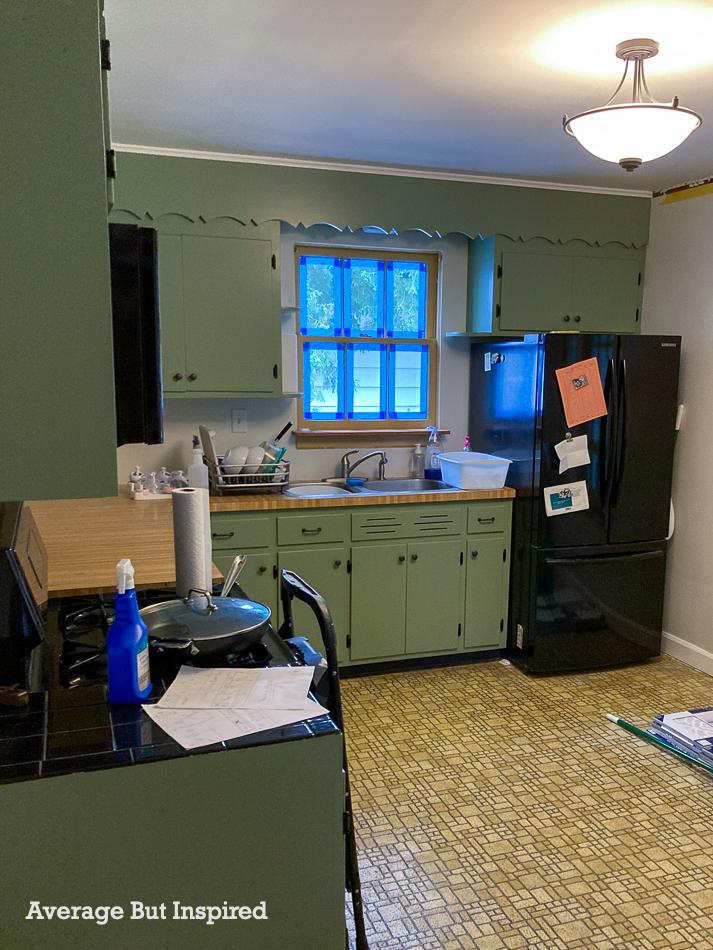
As part of my sister’s 1950s kitchen makeover, we updated her linoleum with FloorPops peel and stick tiles applied right on top of it. We were a bit nervous to install Floor Pops in a kitchen, but it all worked out, and I’m happy to share my FloorPops review with you!
And note: this post is not sponsored, and I have no affiliation or relationship with the company that makes FloorPops tiles. This Floor Pops review is my honest opinion.
Also, I’m not going to give you a step-by-step of installation for these sticky vinyl tiles because the instructions that come with them are great. I will share tips that we learned, which helped us along the way.
This post contains affiliate links. Read my full disclosure policy for more information.
How to Prep Floor for Peel and Stick Tile
Before we even stuck one tile in place, my sister had to do some dirty work.
She scrubbed the old linoleum clean and used a heavy duty floor stripper product to get up all of the built-up wax on the surface. The floors still looked yucky even after all that cleaning!
Once the floor dried, she primed it with a multi-purpose primer. Simply2Moms recommended using a primer in their blog post about peel and stick vinyl tiles in the laundry room. She let that dry overnight.
The FloorPops instructions didn’t say anything about priming the underlying floor, but because the linoleum was so old and probably still had some wax or polish build-up in the divots, we figured better safe than sorry!
Floor Pops Sticky Tiles
For my sister’s kitchen, we used FloorPops peel and stick vinyl tiles in the Parthenon pattern.
To help give some perspective, she spent around $275 on tile for her kitchen, which included a box of extra tile to keep for future replacements, if needed.
Peel and Stick Tile Installation: a One-Day Project
The day after my sister cleaned and primed the linoleum, we got to work!
We installed this stick flooring in her entire kitchen in one day, which is much faster than normal tiling projects.
We started by finding the rough center of the kitchen and drawing a straight horizontal line intersected by a vertical line on the floor in Sharpie.
Then we removed the paper backing, pressed the first adhesive tile into place, and rolled over it with our tile roller tool. We did not use any additional adhesive to install these vinyl floor tiles.
The tile roller tool really helped press that adhesive to the linoleum floor. I definitely recommend using one if you plan to install peel and stick tile over linoleum.

If you’re wondering why we started laying the FloorPops in the middle of the room, you should watch my video on starting in the center!
We worked outward from the center in a staircase pattern, for the most part, and made sure to look at each tile closely to line up the patterns as much as possible.
We left a border around the edges to complete last.
Amy at The Crazy Craft Lady gave us a helpful tip for sizing the edge pieces in her YouTube video. Definitely watch her video if you plan to install FloorPops in your home!
We cut the edge pieces using a combination of a self-healing mat and utility knife, and regular scissors! The self-healing mat / utility knife combo worked great for straight cuts. The scissors were perfect for cutting pieces that had notches, etc.
The edge pieces went in easily, and once we finished installing all of the peel and stick tiles, my sister added new shoe trim around the baseboards to help hold the sticky tiles in place even better. This also gave the floor a more finished look.
And in case you’re wondering: yes, we tiled underneath the refrigerator and oven! #nottoofun
Are Floor Pops Durable?
It wouldn’t be a proper FloorPops review if I didn’t answer the question of whether these tiles are durable. (When I posted a video of our peel and stick tile installation on TikTok, many people asked about the durability of FloorPops, especially in a kitchen.)
It has now been 5 years, and these adhesive tiles are holding on strong!
My sister rolls a portable dishwasher over the flooring every day, and this has not caused any issues. In one spot where my niece’s highchair sits, there is slight peeling on one tile. My sister thinks this is because of the highchair leg catching on the corner.
In another spot near the sink where the underlying floor was warped, one of the sticky vinyl tiles popped up. My sister glued it back down with Super Glue and hasn’t had an issue since.
How Do You Clean Floor Pops Peel and Stick Tile?
People were also very interested in how you clean these peel and stick tiles, especially in a kitchen!
My sister mops them as she did her linoleum floor, but she makes sure not to use too much water. Since there is no grout in between the tiles, she doesn’t want to get water in between those gaps and cause problems with them sticking.
Of course, they vacuum nicely, too.
One thing we were worried about was if adhesive would puddle or ooze between the tiles and cause crumbs and dirt to get stuck there. This has not been a problem at all – thank goodness!
Are FloorPops Removable?
Even though these sticky tiles don’t require you to apply any type of adhesive, they aren’t easily removed. I would describe them as semi-permanent.
If you’re a renter, you wouldn’t be able to put Floor Pops tiles in a bathroom or in your kitchen, for example, and then quickly remove them when you’re ready to move out.
The adhesive is very strong, and your best bet of removing FloorPops tiles is to use a heat gun to soften the adhesive and then remove. You’ll have a sticky adhesive residue left underneath, so you’ll need to remove that as well.
My FloorPops Review in a Nutshell
All in all, I definitely recommend Floor Pops peel and stick tiles for certain situations.
I would not look at these peel and stick tiles as a long-term flooring solution. I think they’re perfectly suited for a facelift that you want to get a few to several years out of before upgrading to a more traditional floor type.
In this case, my sister and her husband plan to renovate the kitchen in the future, so the Floor Pops were the perfect flooring update while they wait to renovate.
They’re easy to install, come in a multitude of on-trend colors and patterns, and clean nicely. They are a fantastic option for anyone looking to make a budget-friendly update, while recognizing they will not last as long as regular flooring.
Leave me a comment here or message me on Instagram if you have any questions!
Catherine Holmes says
Reading the FloorPops Peel and Stick Kitchen Floor blog was like witnessing a dance-off between a floor and an overenthusiastic sticker. Spoiler alert: the floor won, but the sticker gets points for sticking around. Who knew remodeling could be this entertaining? #FlooredByThePops
Sylvia says
My Bathtub and vanity is the same Color of kitchen cabinets, What color floor POPs can I use in my bathroom.
Bre says
Hi! I think you have a lot of options! The beige and cream color we used in this kitchen would work, but I think a black and white combo would look lovely, too!
Carolyn Miller says
What is the name of the color of green on your cupboards? We’re wanting to paint our kitchen green and I liked the color of yours! Thank you 😊
Bre says
Hi, Carolyn! The color is Behr Hillside Green! :-). It’s really pretty!!
Cathryn Peters says
Hi Bre,
Loved your post about the flooring tile along with the helpful photos! We laid a full sheet of vinyl flooring in my studio that is 12 ft. x 16 ft. rather than separate square tiles. I use a lot of water while doing chair seat weaving and basketweaving out there and didn’t want any floor seams where water could penetrate to the subfloor. The cost was under $200 so was perfect for this project and I’m sure it would be a good option for others with a small kitchen or workroom to install, too. It’s definitely a two-person job, however!
Bre says
Hi, Cathryn! I LOVE sheet vinyl – that’s an amazing material and it sounds absolutely perfect for a studio or kitchen. Thanks for sharing your recommendation. Keep on weaving! 🙂