Did you ever think to use decorative window clings on things OTHER than windows?
With their cute artwork, they shouldn’t be limited to just one use (in my opinion)! So, I came up with three easy window cling crafts that even the most novice crafter than make.
(Actually I’m wondering if only one of these can be considered a craft??? They’re that easy!)
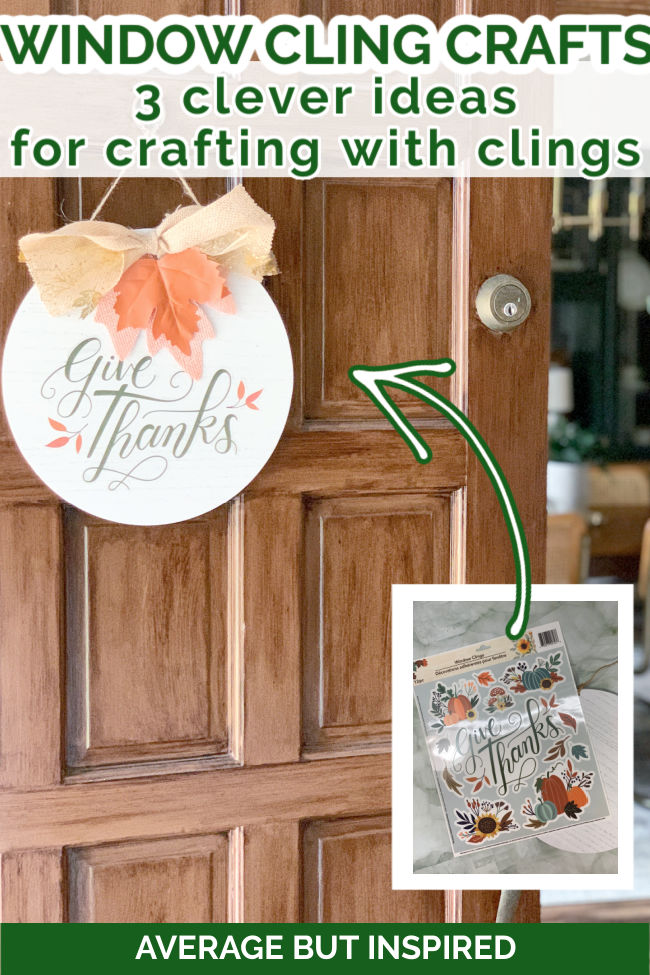
Anyway, I am using Dollar Tree Thanksgiving window clings in this post, but these projects are not limited to Thanksgiving. :-). Use window clings in any pattern or for any holiday to make these DIY projects fit the season you’re in!
This post contains affiliate links. For more information, please read my disclosure policy.
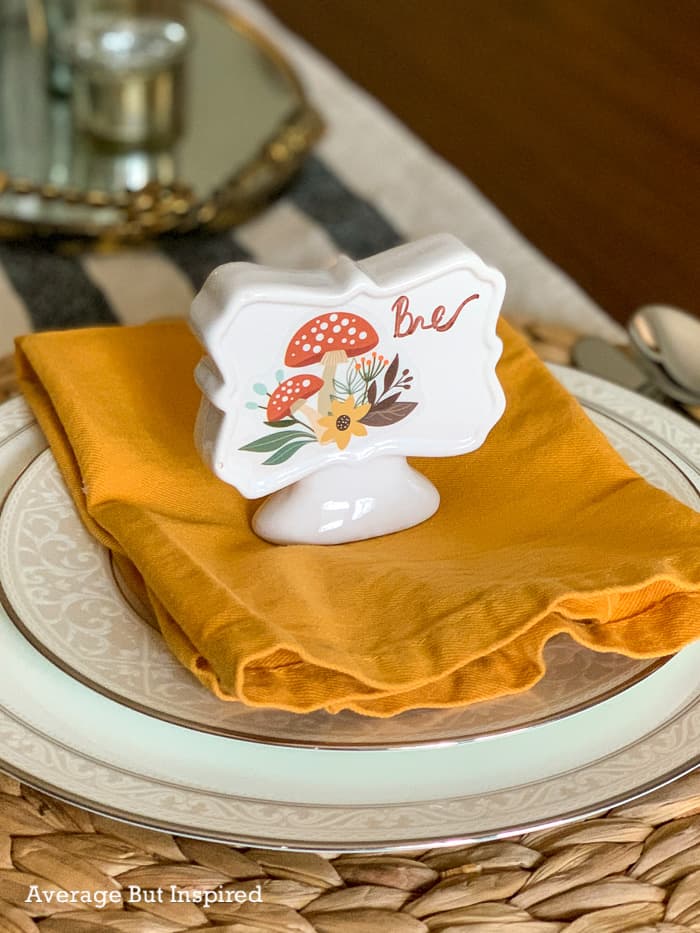
DIY Window Cling Place Cards
This is an example of an awesome Dollar Tree Thanksgiving craft. But again, swap out the window cling pattern to make this project for a different occasion or season.
Supplies Used
- Dollar Tree ceramic tabletop signs
- Dollar Tree window clings
- Vis-a-vis wet erase marker
How to Make Window Cling Place Cards
This project is pretty self-explanatory, but I will walk you through it anyway!
Start with clean ceramic standing tabletop signs. Press a window cling onto the surface. Try to choose a cling that fits on the front of the piece, but if it doesn’t, you can trim it to size with regular scissors.
Once the window cling is in place, write your guest’s name on it with a wet erase marker. Using a wet erase marker (as opposed to dry erase marker), will ensure that the name doesn’t wipe off or get smudged during the course of the meal!
Check out these adorable Thanksgiving Turkey Place Cards, too!
Once the event is over, wash off the guest’s name and place the window cling back onto the sheet on which it came – you can save it for next year!
DIY Window Cling Signs
Another great, but slightly more difficult, window cling craft is to make window cling signs!
You can make these in any size. Here I made one on a hanging wood round so that I could use this as a front door hanger/wreath.
Supplies Used
- Wood round
- Window clings
- Mod Podge (matte finish)
- Paint brush
- Ribbon
- Hot glue
How to Make Window Cling Signs
Start by figuring out the placement of the window clings on the sign base. Then, paint a very thin layer of Mod Podge onto the sign.
Press the window cling on top of it, and let it sit for about 20 minutes.
Then, paint a thin layer of Mod Podge on top of the window cling, and all over the entire sign. You will paint the entire face of the sign so that the finish, once dry, looks the same all over!
Let the Mod Podge dry, and repeat this process at least one more time. Three times is best!
Add a decorative ribbon to the top of the sign by attaching it with hot glue.

It is that easy to make a decorative sign or door hanger with window clings!
You may also like this Dollar Tree Tin Tile Wall Art!
Dress Up a Centerpiece with Window Clings
Finally, add some interest to a table centerpiece or table decor with window clings!
Supplies Used
- Metal bucket
- Flowers
How to Use Window Clings on a Centerpiece
Basically, stick cute window clings on anything you’d use to hold flowers! I like the rustic look of the metal pail I used here, but glass or wood works well, too!
And, just like the place cards above, simply remove the cling to change up the look whenever you want.
So, be honest – did you ever think to use window clings this way? Give me other ideas for using these, too! I love to hear from you in the comments!
Leave a Reply