If you’re looking for a quick and easy way to add privacy to a deck, patio, balcony, or other outdoor space, this is it! This privacy screen planter box is weather-resistant and maintenance-free!
Our lake cottage has an awesome deck, which is one of the things we love most about it. Spending quality time outdoors with the family is pretty much THE reason we wanted a cottage in the first place!
Part of it is really (I mean REALLY) close to our next-door neighbors’ patio though. And while they are the loveliest people, we wanted to have a little privacy on the deck and afford them the same on their patio.
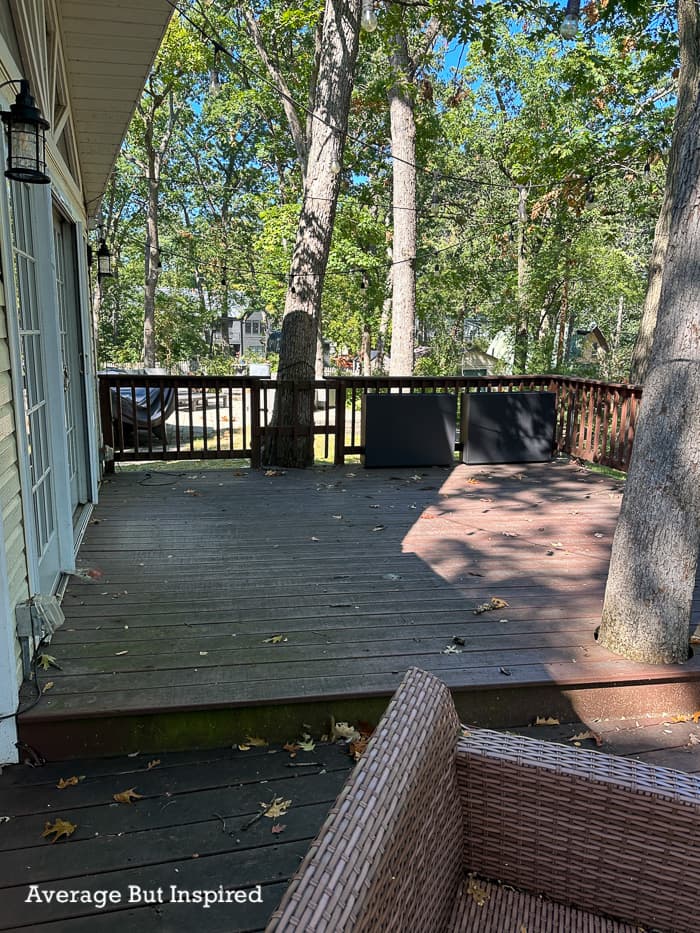
I have built a freestanding privacy screen planter box before, so I considered doing something similar here. But, building a similar fence or slat wall would take me too long, and we wanted to be able to enjoy this deck ASAP!
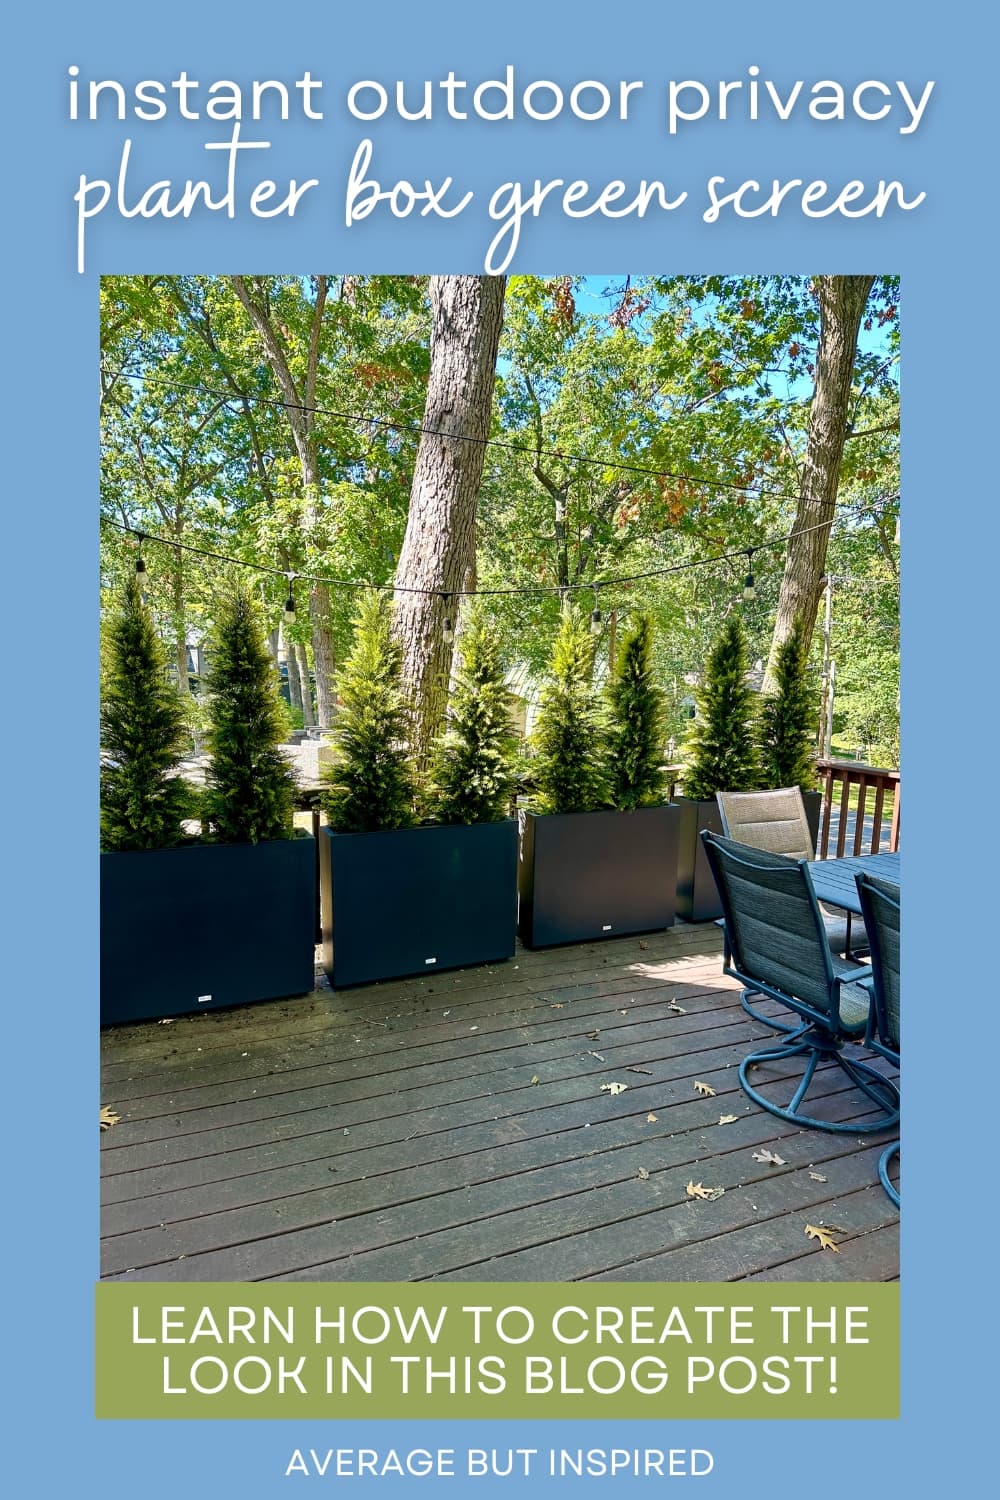
Because of that, I decided to take the easy way out and use all-weather planter boxes and artificial trees to create a green screen on the deck, which looks awesome and functions just how we wanted it to!
Full disclosure: this privacy screen solution costs more than I typically would spend on such a project. BUT – the convenience was worth it to me. And, the fact that it is zero maintenance was also a huge way for me to justify the expense.
How to Set Up an Outdoor Privacy Screen with Planters and Artificial Trees
This post contains affiliate links. Please read my disclosure policy for more information.
I chose these Veradek all-weather planter boxes because they get amazing ratings online and are rated for use in all weather types: including harsh winters like we have here in Wisconsin.
I also liked that they were very tall and had a box inside the main planter box so that you don’t have to fill the entire thing with dirt or filler. The planter boxes’ height is very helpful for creating a privacy screen that is tall (aka: effective)!
BUY THE EXACT PLANTER BOXES AND ARTIFICIAL TREES I USED
Place the Planter Boxes
I started by placing them along the deck railing. These large planter boxes are lightweight and easy to carry – unlike similar ones that are made of corten steel!

I left the drainage holes open so that water can run out, and then I placed a patio paver stone in the base of each planter box. I did this so that they would have some weight and not tip over easily.
Fluff the Artificial Trees
Next, I placed two 5′ artificial evergreen trees in each planter box. These planter boxes could accommodate three faux trees, but I was trying to save some money, so I only did two.
I fluffed out each of the branches and found these fake trees to be actually quite realistic! The variation in colors of the “needles” really helps them look authentic!
These artificial trees are UV treated for outdoor use, but I plan to spray each tree with my favorite artificial plant UV sealer, too, just to be extra safe! I want these to look good for as long as they possibly can!
Fill the Planter Boxes with Soil or Gravel
Once the trees were in each of the planter boxes, I filled in the boxes with soil.
UPDATE: A couple of months later, my husband was able to help me fill the planter boxes with landscaping rocks. This added extra weight, which helped keep the trees from shifting in the strong winds we’ve been having.
In just under one hour, I had a complete wall of privacy. The longest part of this project was breaking down the cardboard boxes after I had everything in place.
I couldn’t be happier with this green screen or privacy screen on my deck. It looks very natural and gives us the buffer we needed between our home and our neighbor’s patio.
It’s also beautiful to look at from inside the cottage!
I think this privacy screen solution would be perfect for a balcony, apartment, anywhere that it’s difficult to grow trees, neighborhoods that don’t allow fences, and more.
It’s also a totally renter-friendly outdoor privacy screen because you can bring it with you when you leave!
Now, a few months after putting this up, I can still say that I love this solution. The artificial trees even look beautiful in the winter!
Let me know if you have any questions in the comment section below. I am always happy to help!
SP says
Which artificial plant UV sealer do you use?
Bre says
Hi! I love the Krylon brand UV floral spray!
MK says
Can you please share the link to purchase the long rectangular planters? I saw your video but I don’t have IG so I wasn’t able to comment there to get the link. This is exactly what I need to try to camoflauge a big utility box, so I’d love to get the info to purchase a few of these planters. Thank you!
Bre says
Hello! Absolutely – this sounds like a perfect solution for that utility box. Here is the link to the planters: https://amzn.to/4dC8vKu. Thank you!
Dawn says
Hi there. We have a similar privacy problem. I was wondering where you got your trees.
Thanks for your help.
Bre says
Hello! I feel for you! I purchased these trees on Amazon if you can believe it! Here is the link: https://amzn.to/4gRJ6PJ. I hope this helps!