
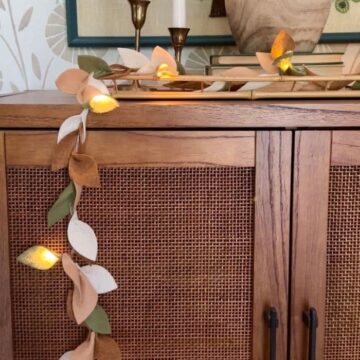
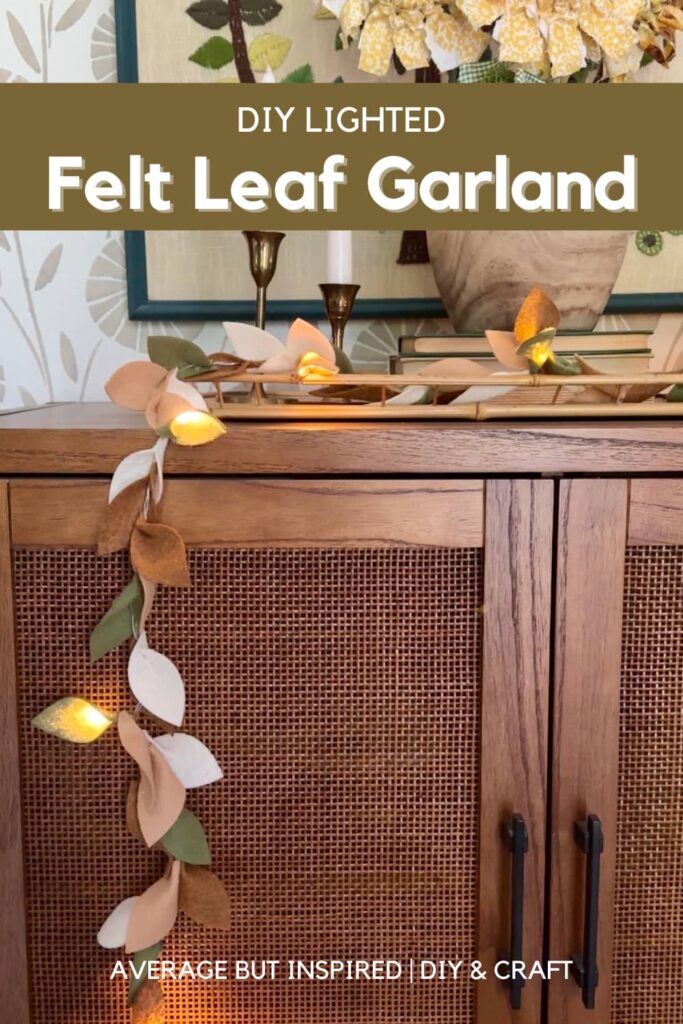
Learn how to make a simple and beautiful lighted felt leaf garland.
I have always loved home and seasonal decor made from felt. Something about it feels so folksy or homey: like it was handmade with love and pulled out every year with the anticipation of seeing it again.
This may be because of the beautiful Christmas tree skirt that my mom’s aunt made her decades ago. She cut and stitched felt into adorable Christmas motifs all around the tree skirt. I love to see it displayed every year in my mom’s home.
Crafting with felt is always fun, but honestly, I never like the cutting part. I’ve tried felt-cutting tricks (like using freezer paper to get clean cuts and using extra-sharp fabric scissors), but it tends to feel tedious to me. And I don’t like the fuzz around the edges that I usually get.
Because of that, I didn’t actually do too much crafting with felt, even though I appreciate the finished product.
That changed when xTool gifted me the F2 Ultra UV laser machine, because this machine effortlessly cuts felt (along with tons of other materials) in just seconds.
You can read more in my xTool F2 Ultra UV review post, but in this post I’m going to show you exactly how I used it to make this beautiful DIY lighted leaf garland.
This post contains affiliate links. Please read my disclosure policy for more information.
Lighted Leaf Garland Supplies
- craft felt (I used 8 sheets total)
- strand of battery-operated fairy lights
- hot glue gun and hot glue
- xTool F2 Ultra UV laser
- *alternatively: leaf template, pen, and sharp fabric scissors
How to Make a Lighted Felt Garland
This project comes together so easily, and it adds a pretty touch to any seasonal display. The felt colors I chose lean toward fall, but modify the colors to make these for any season you like!
Cut out felt leaves
There are two ways to make this project: by hand or with the xTool. I’ll walk you through both.

Cut felt leaves by hand
If you’re making this project by hand, you’ll draw a leaf shape onto printer paper and then cut it out. Trace the leaf shape onto the craft felt and cut out as many leaves as you’ll need to cover the strand of lights.
Cut felt leaves with xTool F2 Ultra UV
If you’re using the xTool F2 Ultra UV, find a leaf .svg file on Etsy, Canva, or make your own. Import that file into xTool Studio.
Place the riser into the machine, and lay a piece of felt on top. I fastened the felt to the riser with masking tape to make sure it would lie totally flat, but this is probably unnecessary. Align the red and blue dots so that the laser can focus, and then push the lid down on the machine.
In xTool Studio, select the material type so the machine knows what it’s cutting. I chose ⅛” (3mm) felt from the pre-populated list of materials. I don’t think the felt color really mattered, but I tried to choose a color closest to what I was cutting.
With the felt in place, press the camera icon in xTool Studio to get the felt image on the screen. Then add the leaf .svg onto the image of the felt, and duplicate that leaf until the felt is filled on-screen.
Press the ruler icon in xTool Studio to auto-measure, and then process the design.
Once I pushed the button on the machine, the laser cut a sheet of 8 felt leaves in 1 minute and 19 seconds.
I repeated this cutting process until I had 96 leaves total.
The cut time was incredibly fast, and there was absolutely no fuzz around the edges!
Glue leaves to the string lights
With all the leaves cut, start attaching the felt pieces to the string lights. To do this, place a leaf under the string light, dab a little hot glue on the bottom edge of the leaf, and then pinch the leaf upwards and together so it connects at the bottom glue point.
This is how I attached the majority of leaves to the string of lights. But for some, I glued and pinched the leaf together, and then glued it directly to another felt leaf already attached to the string lights. This gave a fuller look in some spots.
Repeat this all the way down the strand of lights until your felt leaf garland is complete.
I think that the beauty of this garland is its simplicity. There’s nothing showy about it, but it definitely catches your eye.
And it’s so fun to turn it on in the evening for a little extra sparkle. It gives me that folksy feeling, with a modernly-made twist. I know I’ll love pulling out of my fall storage bin every year from now on.