Average But Inspired

Inspiring creativity with crafts, DIY, and home decor projects.

  • About Bre
  • Contact Me
  • Disclosures
  • Policies
  • Home
  • Shop
  • DIY
  • Crafts
    • Dollar Store Crafts
  • Seasonal
    • Patriotic & Summer
    • Valentine’s Day
    • Easter & Spring
    • Fall & Halloween
    • Christmas & Winter
  • Home Decor
  • Furniture
  • Organization

April 22, 2018 by Bre

An Easy to Make DIY Wall Art Hanger

Sometimes you need an inexpensive way to hang a poster or printed piece of artwork – am I right?  With the crazy prize of frames, knowing how to make your own DIY Wall Art Hanger can be a definite budget-saver!  It’s so easy, and you can make your own wall art hanger in no time!  It's so easy to make your own wall art hanger! Perfect for hanging posters, large art, or wrapping paper on a budget!

Supplies Needed for a DIY Wall Art Hanger

This post contains affiliate links.  To read my full disclosure policy, please click here.

  • Wood trim (I used trim that is 1/4″ wide)
  • Stain or wood stain cloths (these are my favorite for no-mess and no-odor!)
  • Hand saw
  • Hot glue gun
  • Permanent mounting tape
  • Scissors
  • Twine, ribbon, or string

How to Make a DIY Wall Art Hanger

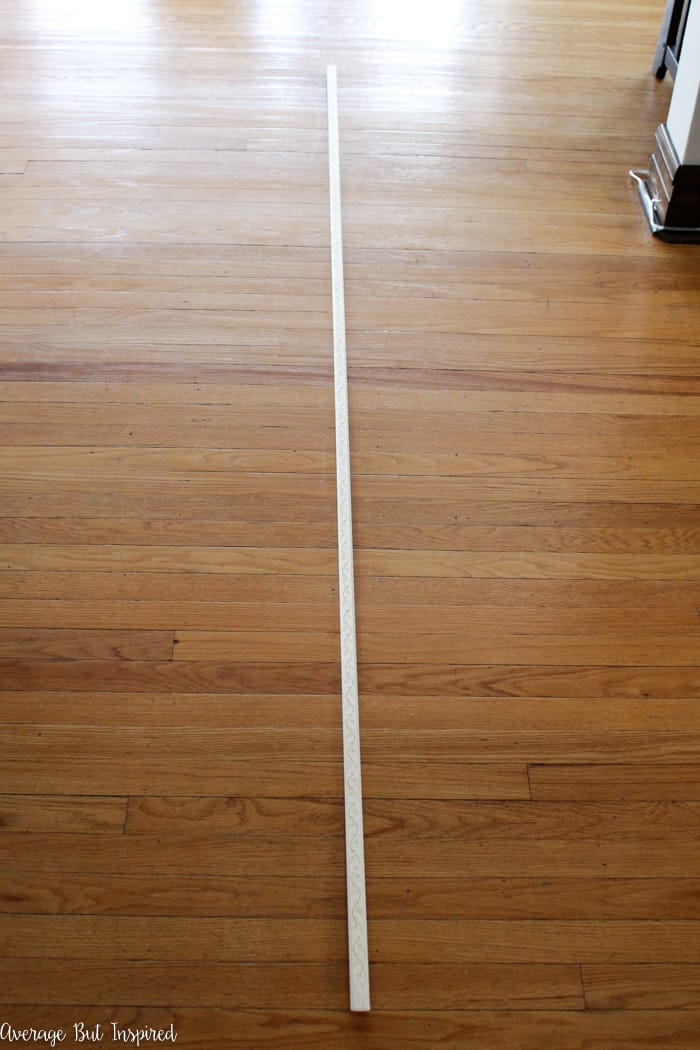
Purchase a piece of thin wood trim at the hardware or home improvement store.  I purchased one with decorative leaf detailing, but you can get plain if you prefer!  Use wood trim to make a DIY wall art hanger.

Cut the trim in two pieces to be slightly longer than the art piece you want to hang.  (My photo shows four pieces because I was hanging two pieces of art.)  Then stain the wood trim the color you like.  I love to use stain cloths because they’re so much easier to use than regular stain.  They also have no odor, which makes them perfect for using indoors!  Stain trim pieces to make a DIY wall art hanger.

Once the stain is dry, hot glue a piece of twine to the back of the top piece of wood trim.  Glue it a couple of inches in from both ends of the wood trim.Learn how to make a DIY wall art hanger in this post!

Next, place permanent mounting tape on the back of both pieces of wood trim.  (Note: if the mounting tape you use is wider than the piece of trim, apply it and then cut along the top or bottom edge to remove the excess tape.)

It's so easy to make your own wall art hanger! Perfect for hanging posters, large art, or wrapping paper on a budget!

Remove the protective layer of the top from the bottom piece, and press into place along the bottom edge of the art. It's so easy to make your own wall art hanger! Perfect for hanging posters, large art, or wrapping paper on a budget!

Repeat the process with the top piece so that the twine, ribbon, or string is hanging freely at the top to allow the art to hang.It's so easy to make your own wall art hanger! Perfect for hanging posters, large art, or wrapping paper on a budget!

Press the pieces into place one more time and hang your art.

It's so easy to make your own wall art hanger! Perfect for hanging posters, large art, or wrapping paper on a budget!
It’s that easy to make a DIY wall art hanger!  It's so easy to make your own wall art hanger! Perfect for hanging posters, large art, or wrapping paper on a budget! Use wood trim to make a DIY wall art hanger!

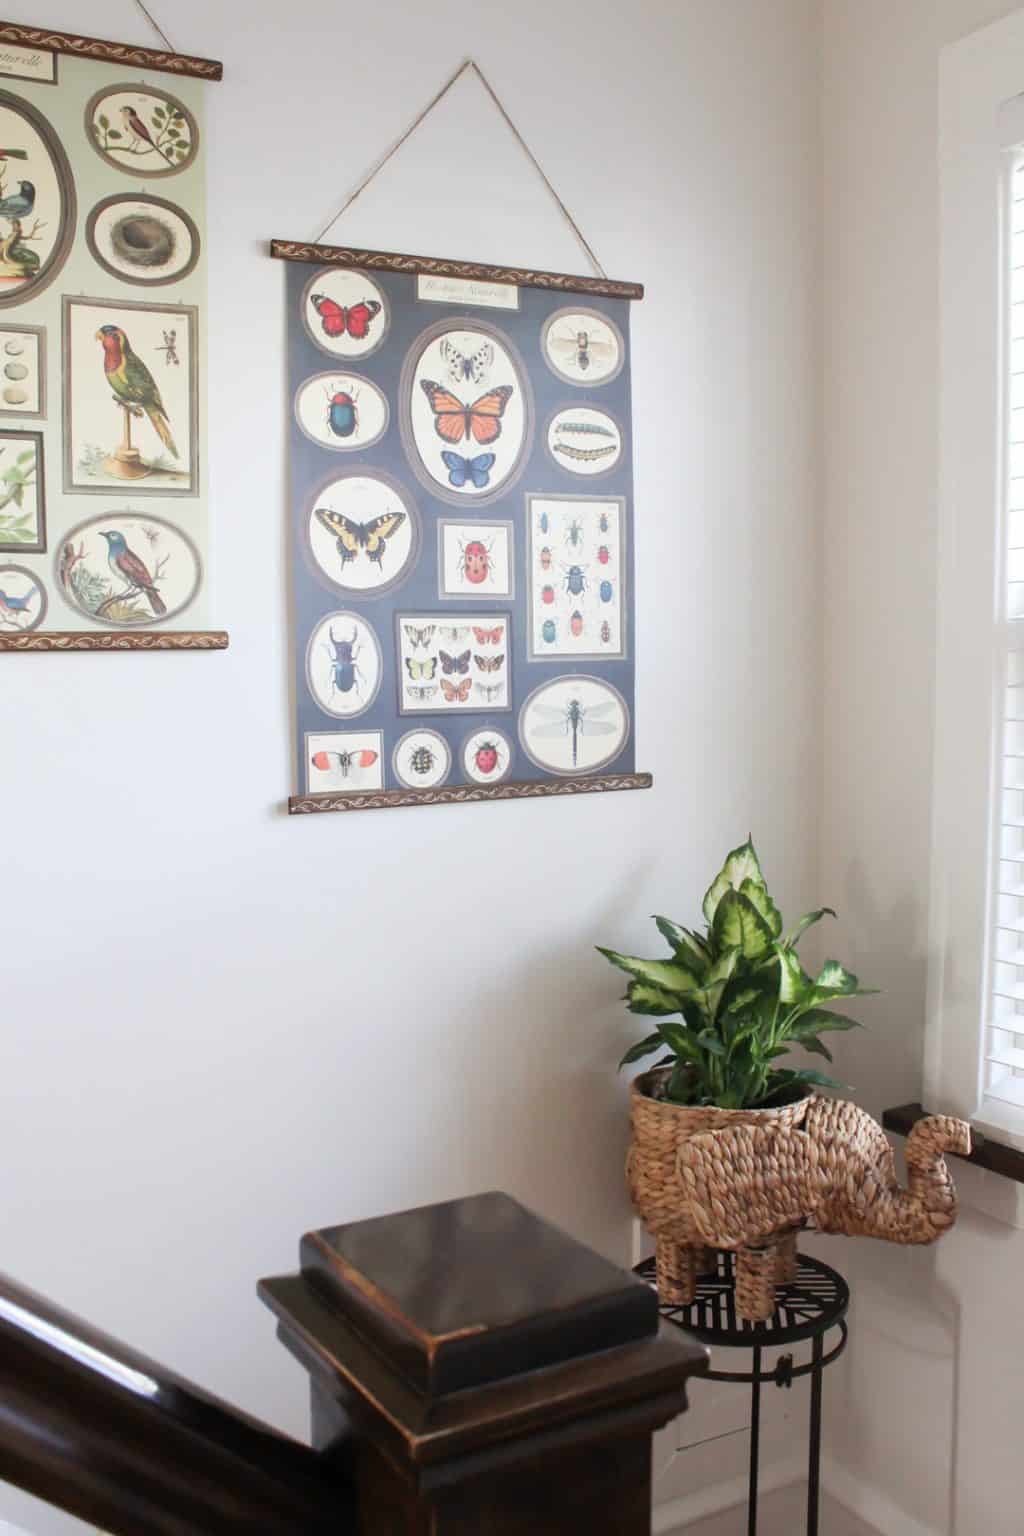
I just love how this inexpensive art adds a fun touch to my upstairs hallway.  This “art” is actually decorative wrapping paper sheets  (get the bird print here, and the bugs print here!).  When I get tired of it, I will just swap it out and re-use the DIY Wall Art Hangers to hang other art!  

Make a DIY wall art hanger in under twenty minutes with this easy tutorial! This is a great way to hang art because it's inexpensive and very easy to do.  Get the tutorial on how to make a wall art hanger in this post.

-Bre

❮❮ Previous Post
Next Post ❯ ❯

Leave a Reply Cancel reply

Your email address will not be published. Required fields are marked *

Let’s Connect!

  • Facebook
  • Instagram
  • Pinterest
  • Twitter
  • YouTube
Bre of Average But Inspired

Hi, I'm Bre! Thanks for visiting my blog. I hope you'll find ideas to inspire your creativity and beautify your home here.

Love DIY & Decor? Join the Fun!

    How Can I Help You?

    blank

    7 Tips for Hosting a Party on a Budget

    blank

    How to Build a Backyard Fire Pit

    blank

    How to Create a Faux Antique Brass Finish with Paint

    blank

    10 Craft Supplies You Should Buy at Dollar Tree

    Looking for Something?

    blank

    The Easiest DIY Under Cabinet Lighting

    As I’ve been talking about non-stop, I painted my oak kitchen cabinets and freshened up the space! Part of the kitchen makeover was enhancing the lighting, and I’m pumped to show you the EASIEST DIY under cabinet lighting that absolutely anybody can add to his or her kitchen for a little mood lighting and general […]

    blank

    How to Make Fake Snowballs for Decor

    With Christmas decorations packed away the house can feel stark!  Because of that, it’s fun to add some winter-themed decor to the mix.  One great way to do that is to make fake snowballs for decor.  They’re easy to make, inexpensive, and look great in vases, jars, bowls – anywhere really!  They’re a beautiful winter […]

    blank

    Denim Faux Finish Furniture Painting Technique {A Lingerie Chest of Drawers Makeover}

    Several years ago I refinished my childhood dresser for use in my son’s bedroom.  I recently got the matching lingerie chest of drawers back from my sister, and I couldn’t wait to give it a makeover, too!  My son’s room has enough furniture already, so I decided to make over this piece for my husband […]

    blank

    Modern Vintage Dining Room Makeover

    It took me almost three months, but I’ve finally finished putting together the dining room in our new house!  It is no longer being used as our virtual learning classroom (thank goodness!), but instead is a beautiful modern vintage dining room that we love! This post contains affiliate links.  To read my full disclosure policy, […]

    Copyright © 2013-2021, Bre Eggert (Average But Inspired). All rights reserved.

    Pretty Chic Theme By: Pretty Darn Cute Design