Create a custom straw tote bag with this easy straw bag painting tutorial!
If you’ve been in any stores recently or shopped online, then you’ve definitely noticed that straw bags are the must have this summer. Every store has them and they’re all so cute!
Although I already have a small straw purse, I wanted a larger one for every day use, but I didn’t want a large price tag.
That’s why I decided to paint a straw tote and get a cute summer bag at a fraction of the price!
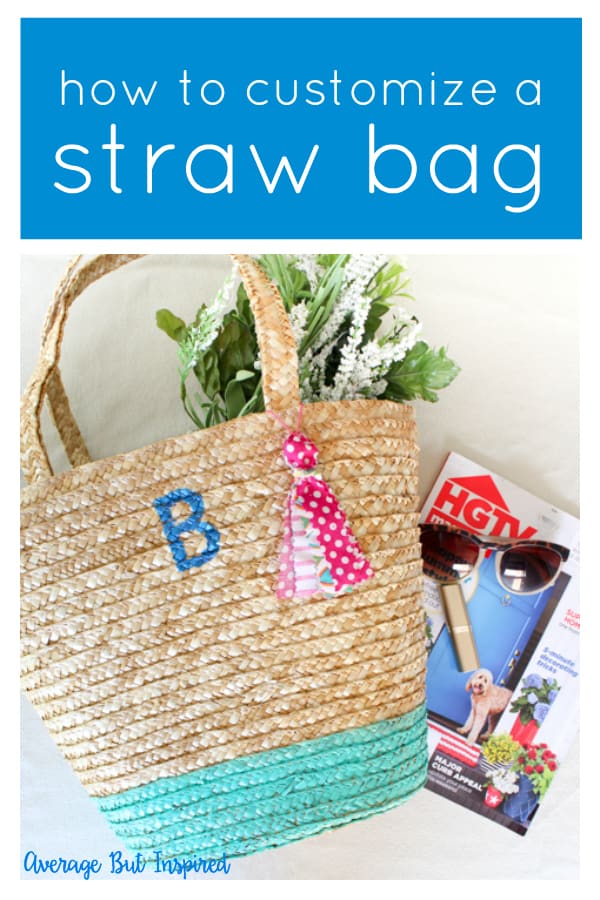
This was a super simple project that left me with a darling straw tote, and I can’t wait to show you just how to make your own!
Supplies Needed to Paint a Straw Purse
This post contains affiliate links. To read my full disclosure policy, please click here.
- Straw tote bag (Linked bag is similar to the one used in this post)
- Multi-surface acrylic paints in colors of your choice
- Artist paintbrush
- Letter stencil
- Masking tape (to hold stencil in place)
- Scrap fabric (to make tassel)
- Embroidery floss (to make tassel)
- Pinking shears (to make tassel)
- Optional: premade bag tassel
How to Paint a Straw Tote Bag
Before I show you how I customized my plain straw tote, let me show you how boring it was initially.
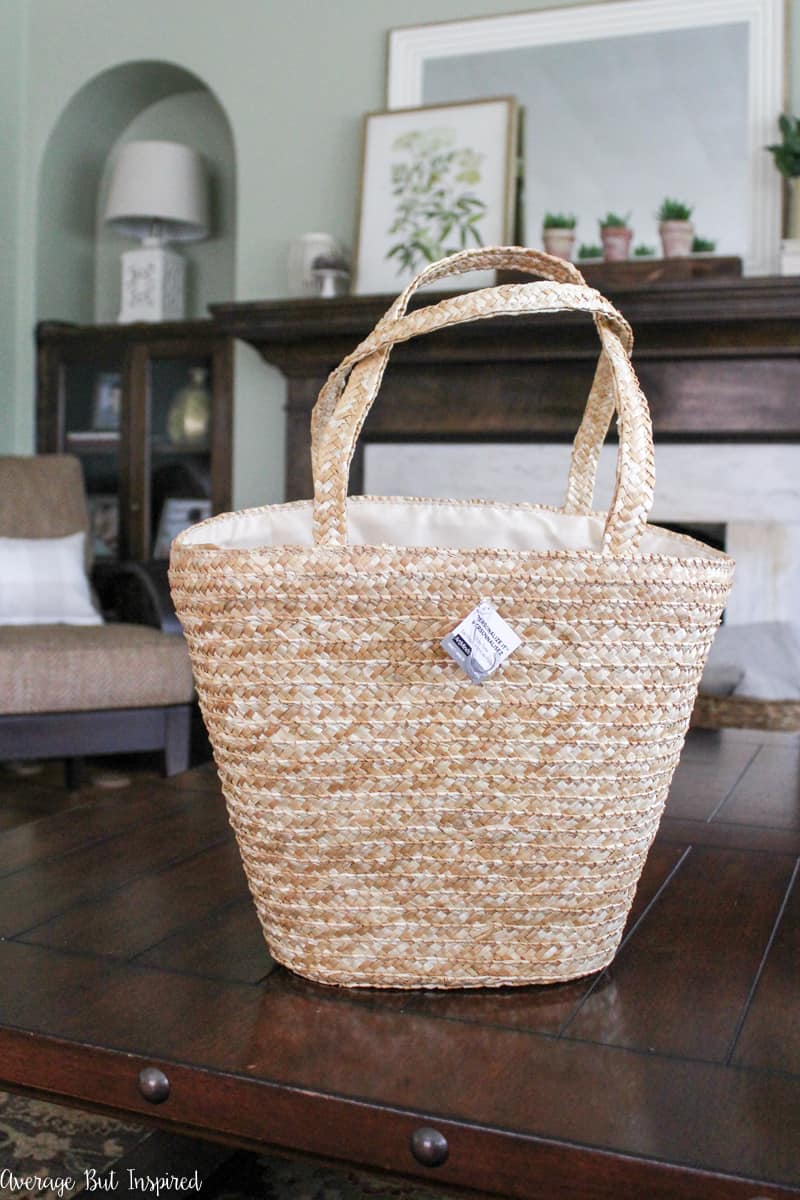
I knew it could be so much cuter, so I grabbed my acrylic paints and got to work!

I began by painting a band of aqua at the bottom of the bag, simply following the lines in the straw as my guide.
Then I found a letter stencil I’ve had for YEARS in my craft stash and taped that onto the bag.
I couldn’t get it totally flush with the bag, but I did the best I could.
I chose a coordinating color of paint for the stencil and I got to work, gently applying the paint to the stencil and trying to prevent any bleed through from happening.
To do this, I used the stencil as more of a guide than an actual stencil.
Thankfully there was no bleed through or smudges, and the tote looked great!
It was missing a little something, however, so I whipped up a fabric tassel with some scrap fabric.
I Think You’ll Like These Other Bag and Purse Ideas, Too!
To do this, just cut narrow strips of fabric with pinking shears, lay them on top of each other, fold in half and secure near the top with embroidery floss!
I covered the embroidery floss with another piece of scrap fabric for a more “finished” look.
And I attached that right to the tote bag.
And that is all it took to upgrade a plain straw tote to a cute, personalized straw tote bag for summer!
So what are you waiting for? Summer will be gone before we know it, so paint a straw tote for yourself ASAP! How would you customize yours?
Lindy says
Did you seal the aqua paint?
Bre says
Hi! No, I did not. 🙂
Danna says
Oh my gosh I love your tote! I’m glad you explained how to paint the bottom because I was thinking you taped around it and knew that just wouldn’t work for me.
I also cannot believe someone would leave a drop leaf table in the alley. My parents have my grandparents and I have always loved it.
Bre says
Hi, Danna! Thank you!! Yes, no taping required. And thanks re: the table, too! People put all kinds of stuff in the alley around here. I always feel like I win the lottery when I snag something good!!! 🙂