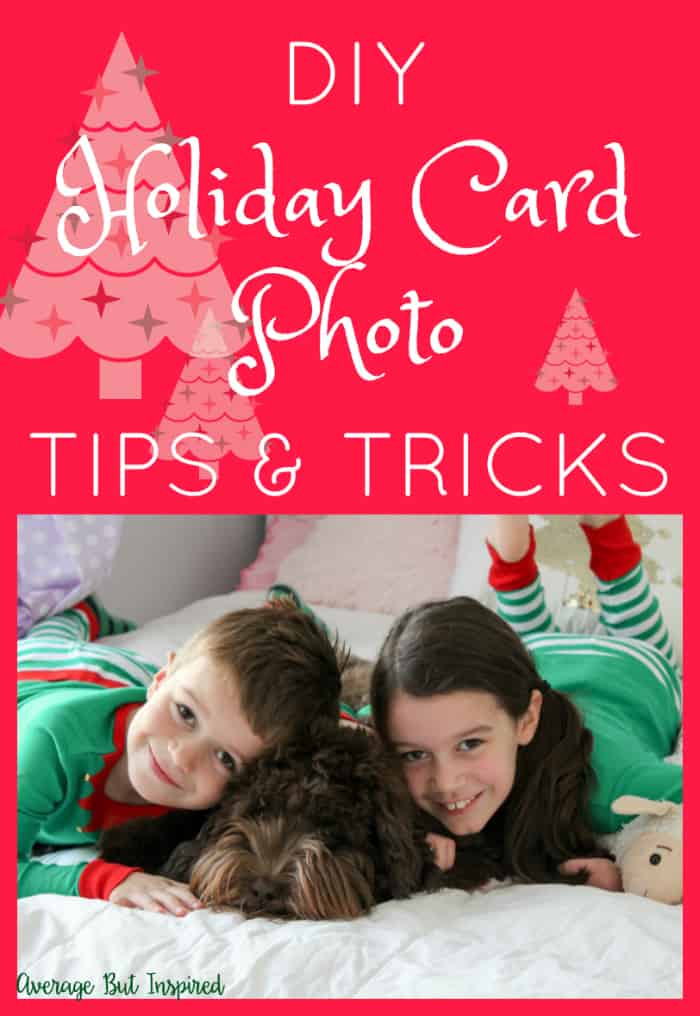
These days it’s almost unheard of to send a holiday card that is not a family photo, whatever your family consists of. Whether it’s a whole group of people, just you, or your best furry friend, the holidays are a time to re-connect and share a snapshot of you and/or your loved ones with others!
With the photography tools available to ALL of us these days, it’s so easy to take great looking photos for your holiday cards. To help, I’m giving you tips for taking great DIY Christmas Card Photos on your own, without hiring a professional photographer! (And guess what – these tips will work for ANY family photos you want to take in the future; not just holiday card photos!)
This post contains affiliate links. To read my full disclosure policy, please click here.
DIY Holiday Card Photo Tip 1: Plan Ahead
Instead of snapping a picture of your family in front of whatever random background is in the location you’re at, spend 10 minutes planning ahead and the results will be worth it!
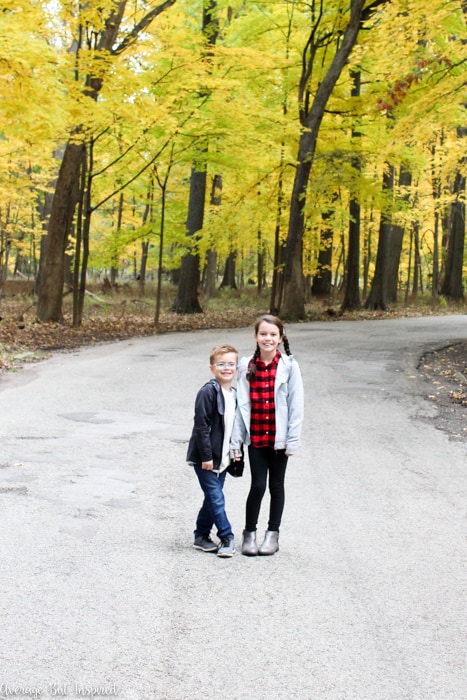
First up, plan the location of the photo. If you have time to go to a location with pretty scenery, you’ll instantly upgrade your holiday photo game. Whether it’s a hotel lobby with pretty Christmas trees or the woods with natural scenery, plopping your people in a scenic spot will help your photo tremendously.
Next, think about whether you want or need any “props” for your photos. If you’re going to the woods, for example, maybe you should bring a blanket for everyone to sit on. If you’re taking the photo in your living room, do you want to add in a cute holiday pillow to make the photo more festive? Take a look at this amazing Pinterest board for lots of great prop and pose ideas.
Finally, if possible, plan the outfits your family will be wearing in the photo to avoid clashing colors, graphic or “message” t-shirts, etc. You don’t want to look unnatural with overly matching looks, but coordinating colors goes a long way for a professional-looking photo.
DIY Christmas Card Photos Tip 2: Get Them Smiling
When it comes to taking a holiday photo of a group, you’re almost guaranteed to get someone who doesn’t want to cooperate – especially a child or a pet. Bring some treats along with you to help soften any attitude.
Another great tip to get a really natural look in photos is to say something that makes the people being photographed laugh. I often tell my kids that they can say a “bad” word they’re not allowed to say (before you jump on me in the comments, these “bad” words are things like “butt” and “fart.” Not really the bad words you might be thinking of.) This makes them crack up and I get awesome, natural faces in our photos instead of cheesy, faked smiles!
DIY Holiday Card Photo Tip 3: Technology is On Your Side
Thanks to smartphones, it is SO much easier to take a great holiday photo these days. These tiny devices can take such nice photos, especially if you know how to use some of the most basic features that are built right in!
Brush up on camera skills for your particular phone with a quick Google search. You’re bound to find tutorials that will teach you things about your phone’s camera that you didn’t know before, like how to brighten the image before even taking it and how to set the timer for a group shot.
Add-on accessories for smartphone cameras can also be very useful – especially when taking group photos that you want to be part of! I love my phone tripod and remote control, which lets me set up my phone as a camera anywhere and snap the photo wirelessly when we’re all in place. It makes taking family photos so much easier!

And if you’re going for super high-quality, pull out the trusty old camera to take even sharper images. Just make sure to minimize use of the built-in flash and use natural lighting instead. That always leads to a better image!
DIY Christmas Card Photos Tip 4: Edit, Edit, Edit!
Finally, the best thing you can do for your DIY holiday card photos is edit them before printing! The good news is that you don’t even need an expensive editing program to do it.
While I use Adobe Lightroom for editing my blog photos, there are awesome online programs that you can use, too! PicMonkey is my personal favorite.
If you don’t want to use an external editing program, use the editing tools built in on your phone or computer. You can’t edit as much, but something is better than nothing!
Use the editing tools to do things like crop the photo to a good proportion, brighten the photo, enhance the colors, smooth away stray hairs, etc. Simple fixes like that will make a world of difference in your pictures!
Now that you have all these great tips for taking a wonderful holiday card photo, get out there and do it. Then make sure to order your cards or print your photos to add into your cards.
Do you have any DIY holiday photo tips to share? Make sure to share them in the comments below!
-Bre
Leave a Reply