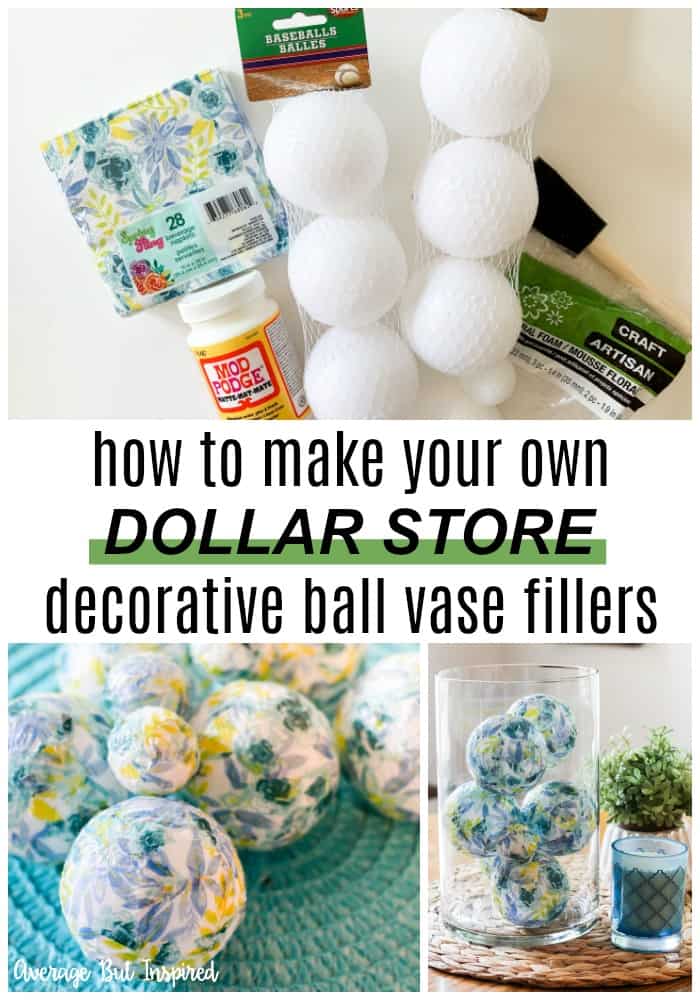
My kids start summer vacation pretty soon, and while cruising Dollar Tree’s aisles looking for activities to keep them busy, I picked up some baseballs. Unfortunately for my kids, I kept the baseballs and turned them into decorative vase filler balls. They’re super cute and an inexpensive dollar store decor item you can make really quickly!
Supplies Needed to Make Decorative Vase Filler Balls
For this project, I purchased every single supply from Dollar Tree!
- Plastic baseballs
- Optional: floral foam ball multi-pack (I used this for smaller balls in my vase)
- Decorative napkins
- Mod Podge (Dollar Tree sells smaller containers of Mod Podge than the container I used, which I already had on hand)
- Foam brush
- Scissors
How to Make DIY Vase Filler Balls
This is a perfect project to make while watching TV because it is 100% mindless. 🙂
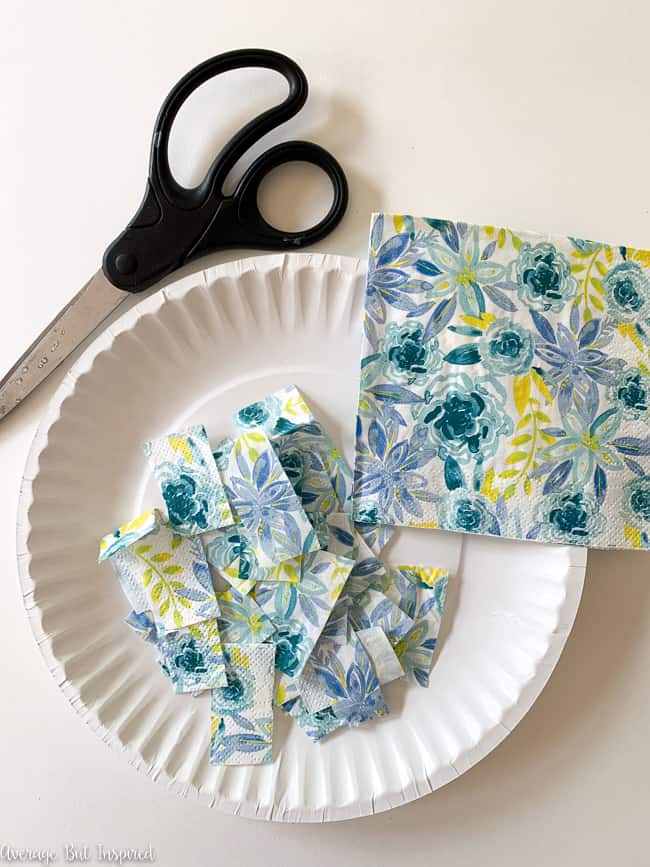
Begin by cutting strips of decorative paper napkins. (Check out another favorite post of mine where I used decorative napkins to create a beautiful trinket dish!)
Next, spread a thin coat of Mod Podge onto part of a plastic baseball. Don’t cover the whole baseball all at once or your hands will become incredibly sticky!

Pick up a strip of napkin press it onto the baseball.
Repeat this process of applying Mod Podge and pressing napkin strips onto the baseball until the baseball is covered. (NOTE: I removed the plain napkin liner from each strip before I applied the strips to the baseball, but that is optional. I think the napkins pieces stick better if you remove the liner.)
Yikes, I need a manicure . . . but getting back to the project – once the baseball is covered, set it aside to dry.
After the napkin and Mod Podge combo has dried, cover the entire baseball with a thin coat of Mod Podge to seal the vase filler ball and push down any parts of the napkins that didn’t stick the first go round.
I set the decorative balls on a sheet of wax paper so that they were easier to remove once dry. A plastic trash bag would probably work well, too. Don’t set them on a surface they might really stick to (like a paper plate), or you’ll end up ruining your DIY vase filler balls!
These decorative balls are an awesome DIY vase filler, and they look great in a pretty bowl, too!
I plan to put them in a lantern on my patio once it stops raining here.
I’ve seen similar vase filler balls at my favorite stores starting at $10 – this set cost $3 (because I already had the Mod Podge and foam brush).
I love it when I get the look for less, and I guess I can use my savings to get my kids some baseballs they can actually play with. 🙂
-Bre
Kendra says
My first craft project and mine turned out lovely. Thanks for this simple and fun activity.
Bre says
This makes me so happy!!! Thanks for sharing!
Tracey Stagg says
I love how yours turned out, I had a similar idea but I used the white second layer to cover the balls. I crumpled them as I applied to give them texture and they were painted and the texture highlighted . Waste not, want not I always say!
Bre says
Tracey, that sounds like an awesome idea! I love the crumpling technique to add texture!!! I’m sure they look amazing. Thanks for sharing!
Heather says
Who knew decorative balls for vase filler could cost so much?? THANK YOU for this idea, I’ve been wracking my brains trying to come up with a hack for these – to no avail! Your post saved my budget!! Thanks again for sharing your creativity !!
The *best* part, I can make custom items that match my dècor, and not have to settle for what I can afford!
Bre says
Hi, Heather! Awesome! I’m so glad you like this project! And yes – totally customizable. 🙂 Have a great day!