The kids are back in school and the temps are cooling off: my mind is definitely shifting gears toward fall! Because of that, last week I shared a cute DIY Dollar Tree Pumpkin Sign project that will cozy up your home decor, and this week I’m sharing another fun fall project! This dollar store toolbox planter is perfect for your your porch or an entryway table! 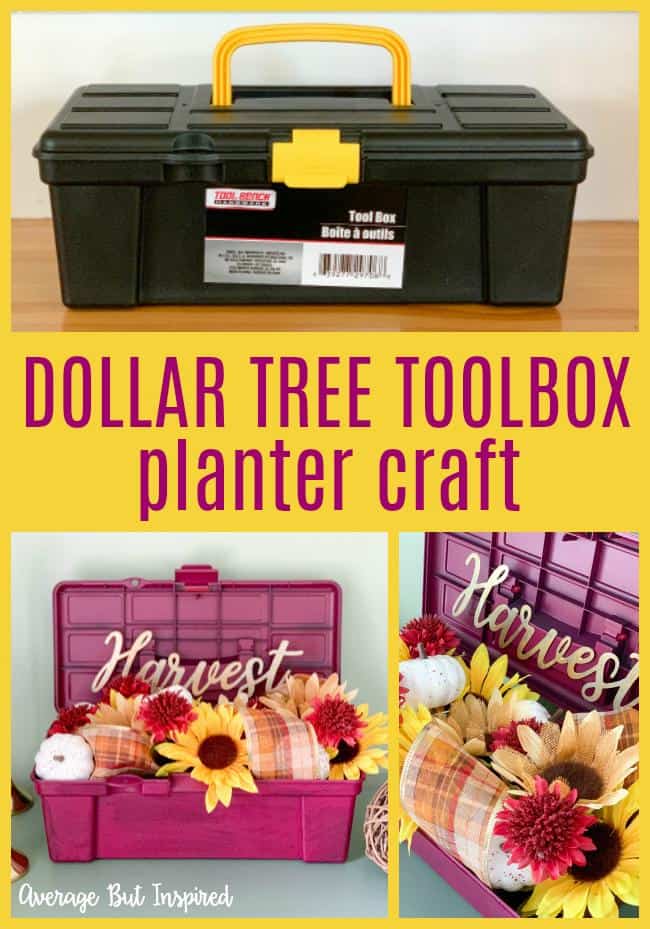
Isn’t it pretty?!? And friends, it is SO darn cheap to put together. EVERYTHING except the spray paint is from Dollar Tree!
Okay well enough oooooh’ing and aaaaah’ing over this dollar store fall decor – let’s get down to business!
Supplies Needed to Make a Dollar Tree Toolbox Planter
Like I said, pretty much everything for this project is from Dollar Tree! If it’s not from the D.T., I will let you know next to the supply name. Also, some of the links may be affiliate links. You can read my full disclosure policy here.
- Toolbox
- Floral foam brick
- Faux flowers of your choice (I used a bunch of sunflowers leftover from my Dollar Tree Sunflower Wreath, mums, and a beige flower of some sort)
- Faux pumpkin clips (they come in a three pack)
- Plaid wired ribbon
- Harvest metal word (they come in a three pack of Harvest, Thankful, and Welcome)
- Spray paint (I used this brand and color of spray paint) (not Dollar Tree)
- Black acrylic paint to add some faux age to the toolbox (not Dollar Tree)
- Gold acrylic paint for the metal word (not Dollar Tree)
- E6000 glue (not Dollar Tree)
How to Make a Dollar Tree Toolbox Planter
Start by spray painting the toolbox in whatever color you like. I really liked this matte burgundy/purple color because it was bold and moody – perfect for fall! 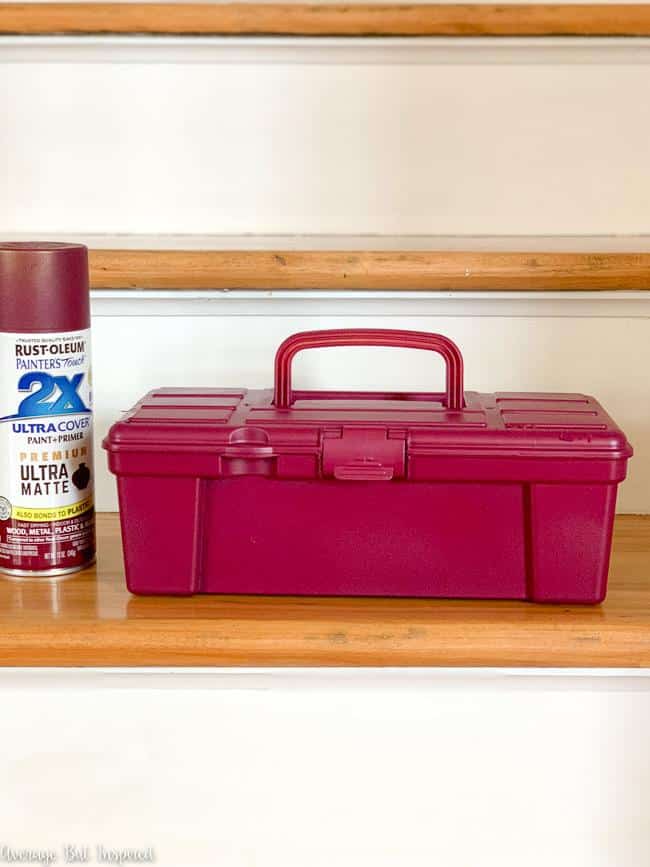
Once the spray paint dried, I lightly added a bit of black paint all over the toolbox to make it look older and less “flat” – if that makes any sense.
Next, I popped a block of floral foam inside the toolbox. The rectangular floral foam from Dollar Tree is the perfect fit for the toolbox. 
Next, I got to work cutting faux florals and placing them into the floral foam.
I had a stem of faux leaves set aside to use, but decided that the colors didn’t look right with the flowers I was using, so I ultimately ditched them.
Once I had the flowers in place, I worked in some of the Dollar Tree wired ribbon, and then added several of the faux pumpkin clips. Those clips are great because they just attached right to the flowers, exactly where I wanted them!
Finally, and not pictured here because I forgot to photograph this step, I dabbed a little gold acrylic paint on the metal word “Harvest” and let it dry. Then I glued it to the inside of the toolbox for a little extra flair.
It all came together super cute and much prettier than the toolbox in its original form. 🙂
I can’t stop making Dollar Tree crafts – I hope you’re not sick of them!
This entire toolbox planter cost $7 in Dollar Tree Supplies and $4 in paint. I had the rest of the supplies already, so there was no cost there. That is not bad at all!
So what do you think – will you be transforming a toolbox into a pretty planter for your home? Let me know!
-Bre
jennifer says
How cute! So creative. This will look so good on my mailbox. Thanks for the idea.
Bre says
Hi, Jennifer – thank you! I’m so glad you like it. Happy crafting!