On Saturday I made my weekly pilgrimage to Dollar Tree. (Don’t laugh – that place is thebomb.com (yes, I’m bringing that expression back)). While there, I found a NEW and EXCITING product – moss sheets! I know that sounds funny, but moss sheets for crafting are typically expensive, so I was ecstatic to find them at Dollar Tree! I got them home and immediately put them to use on an adorable DIY home decor project – Scrap Wood Nesting Houses! 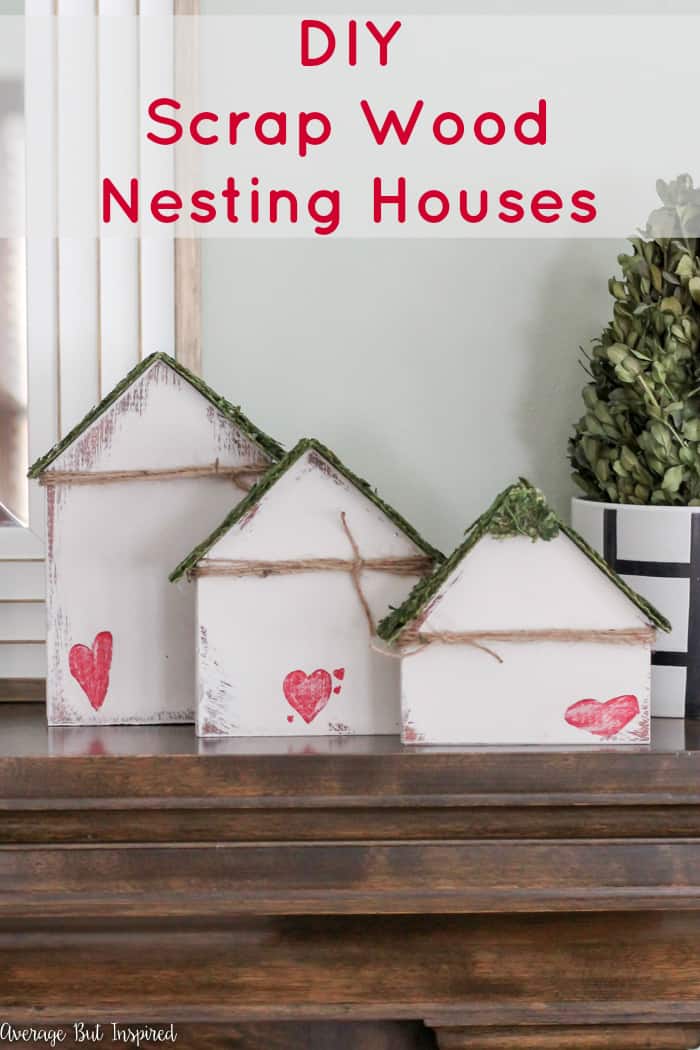
These little moss sheets, combined with scrap wood left over from my IKEA Rast Bar Cart Hack, made for one cute project! Let me show you what you need and how to make them.
Supplies Needed for Scrap Wood Nesting Houses
- Scrap wood
- Saw (I used my Ryobi circular saw, which I adore)
- Sandpaper
- Paint (I used brown acrylic, creamy white acrylic, and red chalk paint (but acrylic would totally work))
- Paint brushes
- Moss sheets
- Hot glue gun
- Twine
- Scissors
How to Make Scrap Wood Nesting Houses
Not pictured in this post is me cutting my scrap wood into house shapes. It’s hard to use a saw and photograph yourself, you know? Just understand that I used a ruler to draw simple house shapes on my board and then cut them out.
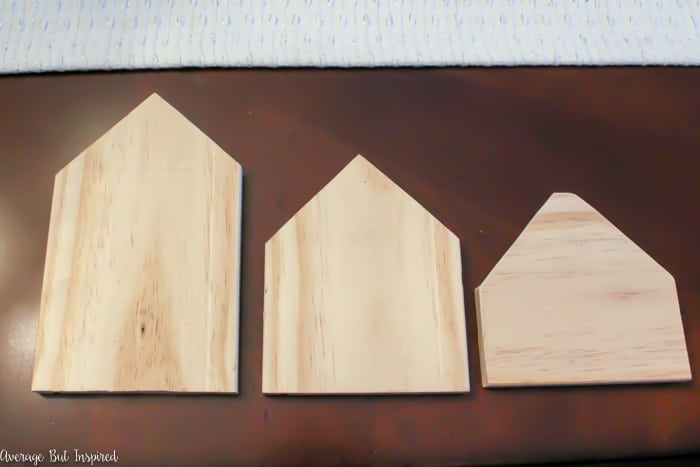
I gently sanded around the edges to make sure I didn’t give myself a splinter. Then I painted the houses with brown acrylic paint so that I could do a distressed finish on top. The brown is the base layer, intended to give some contrast. 
After the brown paint dried, I dry brushed some off-white acrylic paint on top, making sure to leave some of the brown showing in parts so that the nesting houses would have a slightly worn finish.
Next, I cut one moss sheet into strips and hot glued them onto the tops of the scrap wood so that the pieces would look like little moss covered roofs.
For a little decorative detail, I tied twine at the roofline of each house.
The scrap wood nesting houses were cute like this, but I felt like they were a little plain. Since Valentine’s Day is around the corner, I decided to paint little hearts on them. You could skip this part or paint different details!
I gently sanded over the hearts, once dry, to give them an equally weathered look as the houses’ paint finish. Then they were ready for their close ups. 🙂
OK back to the moss sheets from Dollar Tree. You might be wondering why they’re a big deal, as opposed to bagged craft moss. The reason is that they make so much less of a mess! And they let you get straight lines with your moss, which can be tricky when you’re gluing moss on certain projects.
For those reasons, I bought all five packages my Dollar Tree had. #sorrynotsorry
I’ve got another moss project planned for next week. I can’t wait to share it with you. In the meantime, I’d love for you to share this project with a friend who might like it!
-Bre
You Might Also Like This Post on How to Make a Ceiling Medallion Mirror
Aljurf says
Hey! nice, I got them home and immediately put them to use on an adorable DIY home decor project – Scrap Wood Nesting Houses!
Melva says
Adorable DIY! I like that you used what you had on hand making the project budget friendly. Love the Valentine touch!
Bre says
Hi, Melva! THANK YOU!! 🙂
Laura Harrie says
Now that is a great idea, love and am going to do it too!
Bre says
Hi, Laura! That’s awesome!!!! Thanks so much for letting me know. These kinds of notes are what keep me going. I hope you have a wonderful rest of your day!
ALICE LITTLE says
Those are the cutest.. I am a Klutz at crafts but I think I may be able to do this 🙂
Bre says
Hi, Alice! YOU CAN DO IT!!!! For sure, this is the easiest project! And listen, the more you try, the more you’ll improve. 🙂 Thanks so much for stopping by and leaving this nice note. Have a great day!