I’m sharing my process for a DIY teak table restoration. It’s easy, though time-consuming, and totally worth it!
I kept driving by this table on the side of the road, wondering why nobody had scooped it up.
Maybe because it looked to be in pretty rough shape? Maybe because it was too unwieldy to stick in the trunk?
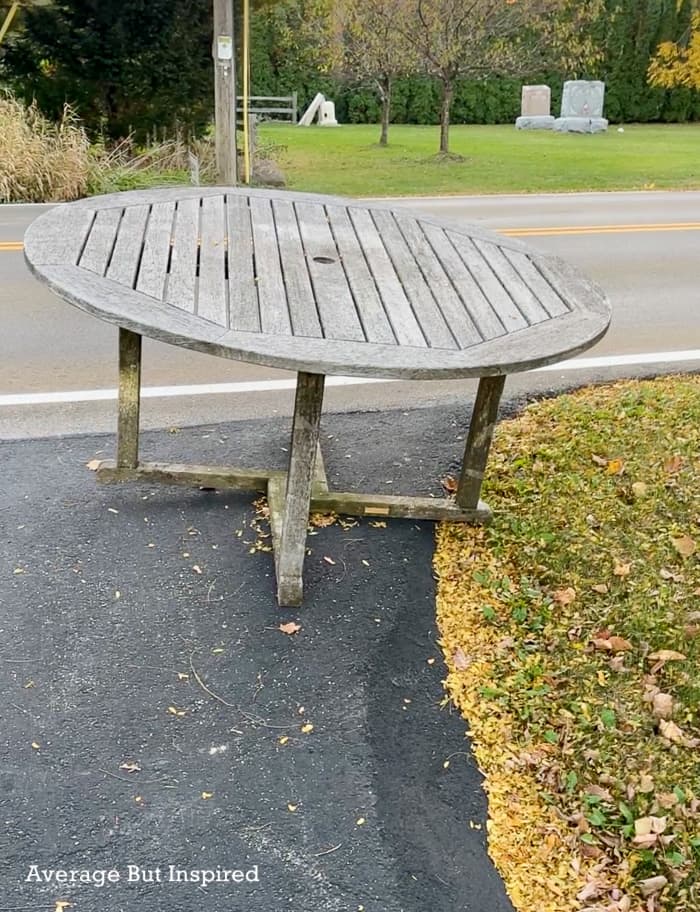
Whatever the reason was, I was glad they didn’t take it! My husband and I brought it home so I could fix it up to take to our cottage, where we need another outdoor table.
I planned to sand, stain, and seal it. But as I examined the table, I noticed this gold plaque on the bottom, which read “Kingsley-Bate Genuine Teak Furniture.”
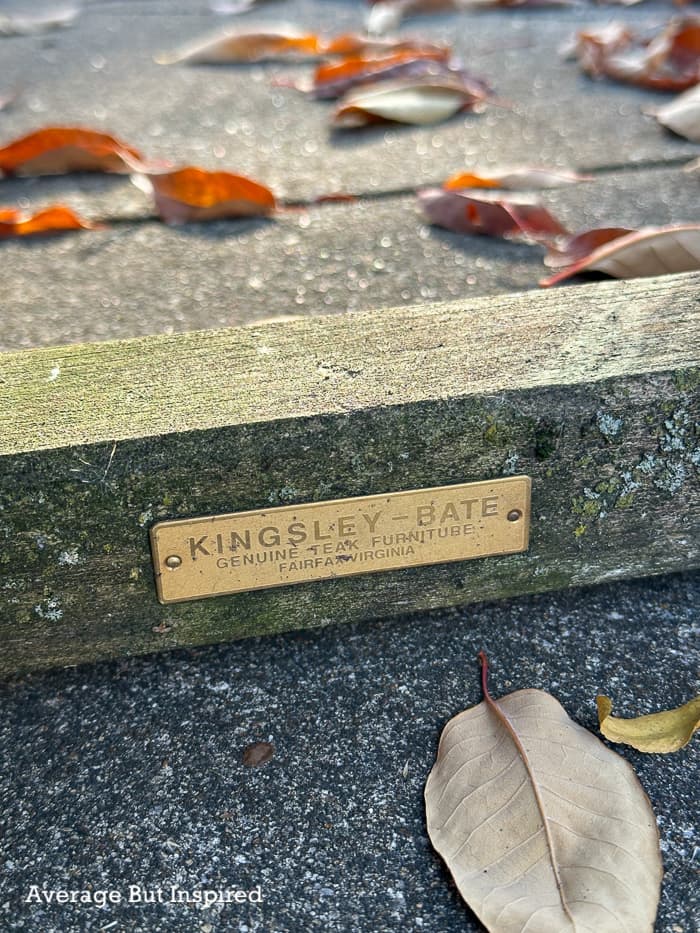
Upon Googling this, I found out that this exact table retails new for $1600! I also found out that my makeover plans were NOT the right plans – ha! Teak wood required a much different approach.
Supplies Needed to Restore Teak Wood Furniture
This post contains affiliate links. Please read my disclosure policy for more information.
- Teak Wood Cleaner
- Teak Wood Oil
- Chip brushes
- Heavy-duty scrub brush
- Lint-free rags
- Hose
- Disposable cup
- Gloves
- Optional: orbital sander and 80-grit sandpaper
How to Restore Outdoor Teak Furniture
This table was in pretty rough shape. The gray color of the teak, the roughness and deep grooves in the wood, and lichen and moss growing all over make me think it was not well cared for.

Apparently, teak is super durable (and that’s why it’s loved for outdoor furniture), so I figured I could get it looking much better than how I found it.
Step One: Clean the Teak
I purchased teak cleaner because this table was . . . disgusting.
I applied the cleaner with a chip brush and let it sit for about fifteen minutes. After that, I scrubbed it in the direction of the grain with a heavy-duty scrub brush.
I was AMAZED at how much junk came off the table, and how the brown tones of the teak wood were already showing through!
I worked in small sections so that the teak cleaner didn’t dry on the wood before I had a chance to scrub it.
After I finished scrubbing, I hosed the table down to rinse off all the debris left behind by the scrubbing process.
Step Two: Let the Teak Dry Completely
Next, it was a waiting game. I let the teak dry for over 24 hours before moving on to the next step.
You May Also Like This Post
Step Three: Lightly Sand (if Necessary)
This teak wood was so weathered that it was very rough and had deep grooves.
Because of this, I decided to gently sand it with my orbital sander and 80-grit sandpaper.
I was very careful not to oversand, as I read that doing so could prevent the teak oil from saturating the wood. Because of that, many of the grooves remain in the wood, but it is smooth to the touch and will not give splinters!
After sanding, I brushed off all the dust (and there was a lot of it).
Step Four: Apply Teak Oil
This part was SO exciting! I applied a thin coat of teak oil to the wood, and it instantly made it shine!
I again worked section-by-section, and waited about 15 minutes to wipe off any oil that hadn’t sunk into the wood.
After a couple of hours, I applied a second coat of teak oil because I knew this table was VERY thirsty. And, I again wiped off the oil that didn’t sink into the wood after fifteen minutes or so.
The Outdoor Teak Table Restored
The teak continued to absorb the oil overnight, and it was ready to go the next day!
I love the blend of browns and grays in this teak wood table. It’s just beautiful, and I feel so lucky that it’s mine!
To maintain it going forward, I will apply more teak oil as it starts to look weathered. I do plan to cover it when not in use, so that should help with protecting it, too.
Now I just need to get some chairs and a cute umbrella!
David says
Great restoration! I’m going to do mine this week. I just had an estimate of $1800.00 do redo a 7ft. table and 4 chairs!!!!
Bre says
Hi, David! Oh my gosh, that’s crazy!!! I know you’ll love how great your table set looks when you finish. Good luck!
Sara says
I would like a printable version of how to clean a teak table. Could you email me one? Thank you so much.
Robin says
Awesome, I have never really been interested in Teak furniture but you have changed my attitude. It is a beautiful restore.
Bre says
Thank you, Robin! I didn’t know anything about it before I found this! And, like you, my attitude has totally changed now! 🙂
Masha says
Love it…. looks great
Bre says
Thank you, Masha!