
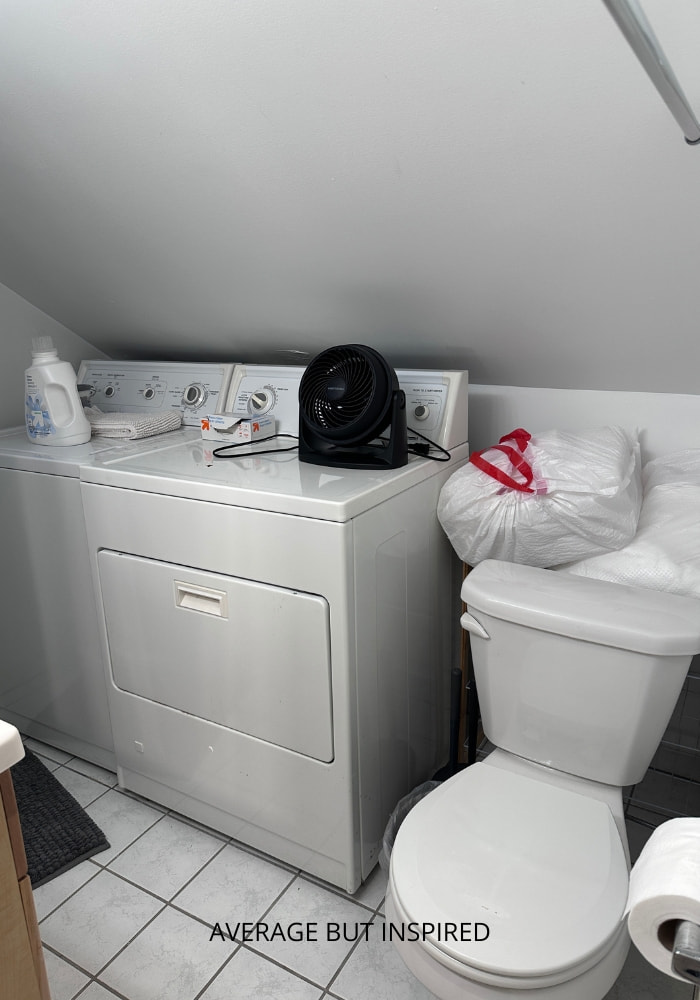
The floor tile in my cottage’s loft bathroom and laundry room was in great shape, and it wasn’t ugly. But . . . it needed a little something.
The room was essentially a white box, and I wanted to give it personality without tearing anything out.
This post contains affiliate links and sponsored content as part of the Amazon Influencers program. Please read my disclosure policy for more information.
Having installed peel-and-stick floor tiles in my sister’s kitchen five years earlier, I wondered if that would be an option for this bathroom. But because those were more akin to real tiles with thickness to them, I knew they wouldn’t work on top of the tiles already in this space.
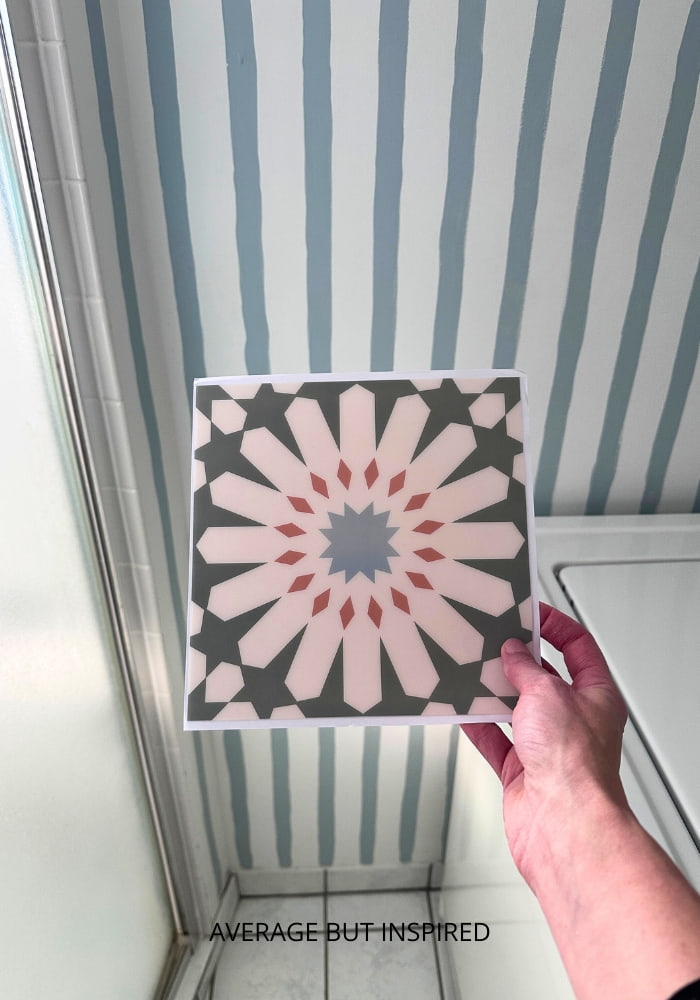
So I settled on waterproof tile stickers, or tile decals, which are very thin and can be placed right on top of the preexisting floor tiles.
Products Used in This Post
Prepare for tile sticker installation
To get the floor ready for installation, I first vacuumed and then cleaned the tiles and grout with Krud Kutter.
Krud Kutter is the cleaner I use before almost all of my painting projects. It does an amazing job and doesn’t leave any residue, so I was confident it would be a good choice before putting down tile stickers.
Mix up the tile stickers
Next, I opened all of the tile sticker packages and mixed up the decals from the various packages. I did this to be sure that if any of the colors varied from package to package, they’d blend in and not stand out in sections of the bathroom.
Start with full tiles
The next part was easy and went quickly. I started with the full tiles where no cutting is required, and placed the tile stickers.
The preexisting floor tiles in this room measured 8″ x 8″, so these tile decals, which were slightly smaller than that, were the perfect size for my tiles in that they didn’t require me to trim them to fit full tiles. It’s good for the decals to be slightly smaller than the preexisting tiles so that they don’t hang off the edges.

I took care to ensure that each sticker made contact with the entire tile. (You don’t want any edges hanging off, or your socks or shoes will snag on the corners.)
My process was removing the paper backing from the tile, placing the sticker on top of the tile, and rolling over it with a brayer to make sure the decal’s adhesive made good contact with the tile.
Cut and place partial tile stickers
Then it came time to cut and place the partial tile decals. For this part, I used white copy paper, a ruler, a pencil, and scissors.
Essentially, I traced a full tile onto a piece of copy paper and cut it to size. Then I laid that paper on top of the partial tile on the floor, and traced along the edges that needed to be cut.
I then cut those parts of the copy paper and traced them onto the front of the tile decal. I cut out the tile decal to shape and placed it just as before.
The copy paper worked great, including around the base of the toilet. But a contour gauge would also be helpful for even more precise lines.
The finished bathroom floor
This took me about five hours from start to finish, and I absolutely adore the charming look these adhesive tile decals gave this space.
Of course, I don’t expect that these tile sticker decals will last forever, but they’re inexpensive and a relatively quick way to update a bathroom, so that’s fine with me.
Let me know if you have any questions in the comments below, and tell me what you think of this room’s new look! And don’t forget to share this image on Pinterest to share this post with others!
Salem Tile Setters says
Great tile stickers can be a quick, budget-friendly way to refresh a bathroom floor, but results depend heavily on proper surface prep and moisture control to ensure they stay smooth, durable, and long-lasting over time.