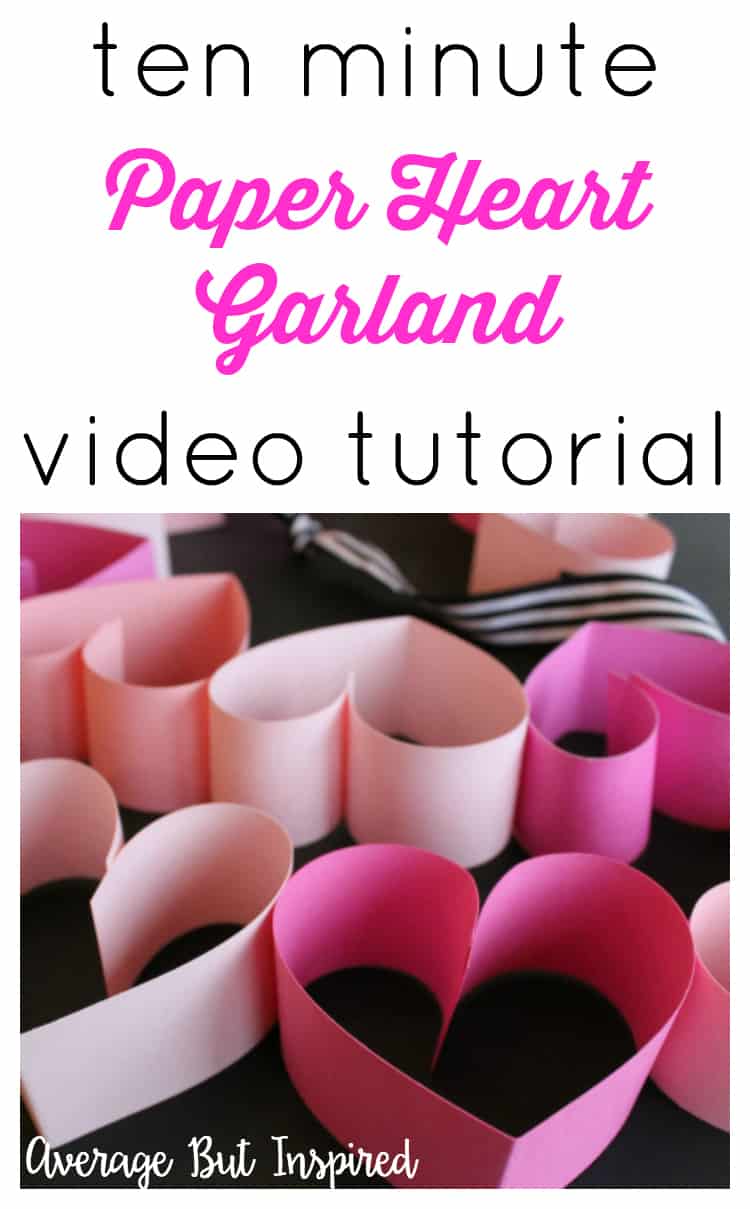
Valentine’s Day is one of the most adorable holidays. It’s a fact. And making a DIY Valentine’s decoration, like a paper heart garland, is an easy way to get in the Valentine’s spirit.
The Valentine’s garland I’m going to show you how to make is one of those easy DIY projects that’s great for all ages: kids and adults alike.
And, because it’s a paper craft, it’s very inexpensive to make. Because of that, it could be a great ladies’ night craft project, too!
This post contains affiliate links. Please read my disclosure policy for more information.
Valentine Heart Garland Supplies
Here are the supplies you’ll want to make the lovely garland shown in this post. Feel free to modify the materials used to suit your own preferences!
- Card stock or scrapbook paper (be careful not to choose card stock that is too thick)
- Paper cutter (or scissors, a ruler, and a pencil)
- Glue Dots (or hot glue and hot glue gun. *See note about difference between hearts made with Glue Dots and those made with the hot glue gun.)
- Twine, ribbon, string, or yarn
- Optional: pom poms or pom pom trim, tape, heart stickers or Valentine’s Day stickers
How to Make a Paper Heart Valentine’s Day Garland
Before I jump in to showing you how to make this Valentine garland, please note that I have linked a video tutorial and a printable version of these project instructions at the end of this post.
Start by cutting card stock or scrapbook paper into strips. I recommend paper strips that are 1″ – 1.5″ wide, and between 11″ – 12″ long.
A paper cutter makes it much easier to cut the paper to the desired length and width, but you can also do this with a ruler, pencil, and scissors if necessary!
Once you have the paper strips cut, take one and fold it in half.

Unfold that paper, and then place a Glue Dot at the end of the paper strip (on the front of the paper strip). Fold the other end inward toward that Glue Dot, and connect the strip so that it becomes a heart.
Note: Glue Dots are lightweight and allow the paper hearts to look lovely just like this. If you use hot glue instead, the weight of the glue will distort the heart shapes. You will need to place a line of glue in the inner fold, and connect the upper part of the heart into that fold.
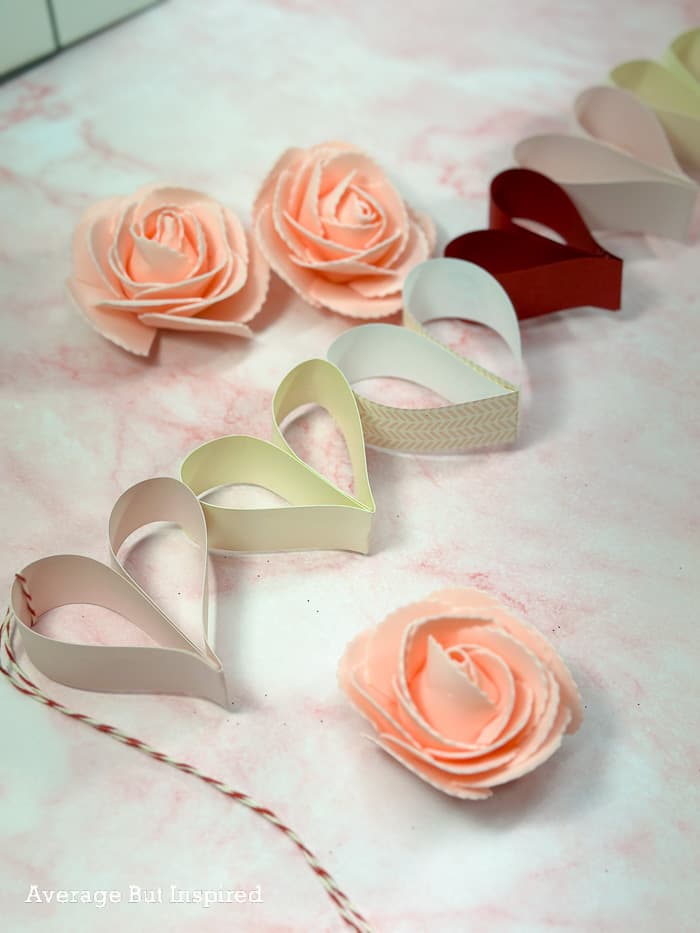
Make as many of these paper heart shapes as you’d like to fill out your Valentine garland. Once you have enough hearts, glue them together – side by side – with either Glue Dots or hot glue.
Then, attach ribbon, twine, or yarn to the ends as a way to hang the heart garland. (And hey, why not also make this adorable DIY Valentine’s Backdrop, hang up your new garland, and have an impromptu friends or family photo shoot?)
DIY Valentine’s Garland Video and Printable Tutorial
It may be easier to understand the exact steps for making this heart garland if you watch a video on how to do it.
Please know that this is one of the very first videos I made – years ago! It is not nearly as good as videos I make now, BUT it will show you exactly what I’m describing in the steps above.
Also, you can print the instructions in this card!
How to Make a Paper Heart Garland
This DIY Valentine's Day decoration is great for all ages. Make a paper heart garland and hang it for a festive touch.
Materials
- Card stock or scrapbook paper
- Paper cutter (or scissors, ruler, and pencil)
- Glue Dots (or hot glue)
- Ribbon, twine, or yarn
Instructions
- Cut paper into strips of desired length and width. I recommend strips that measure 1" or 1.5" wide by 11" or 12" long.
- Fold a strip in half.
- Unfold the paper strip. Place a Glue Dot or hot glue at the end, and fold the other end over to meet it. This creates a paper heart shape.
- If you used hot glue, the weight of the glue may distort the heart. Run a line of hot glue in the inner fold, and bring that top fold down to connect at the bottom.
- Attach all of the paper hearts with Glue Dots or hot glue.
- Add twine, ribbon, or yard to the ends of the garland so that you can hang it.
I hope you found this easy Valentine’s garland tutorial enjoyable! Thanks for reading and happy Valentine’s Day!
Jody says
Very good video. I am challenged at some things and how to make hearts is one. I saw how you did it which was better than being written. It came through loud and clear. Thank you.
Bre says
Hi, Jody! THANK YOU!!! This means a lot; I appreciate you taking the time to comment! I hope to get better with time, but I’m glad the video was helpful! Have a great day.