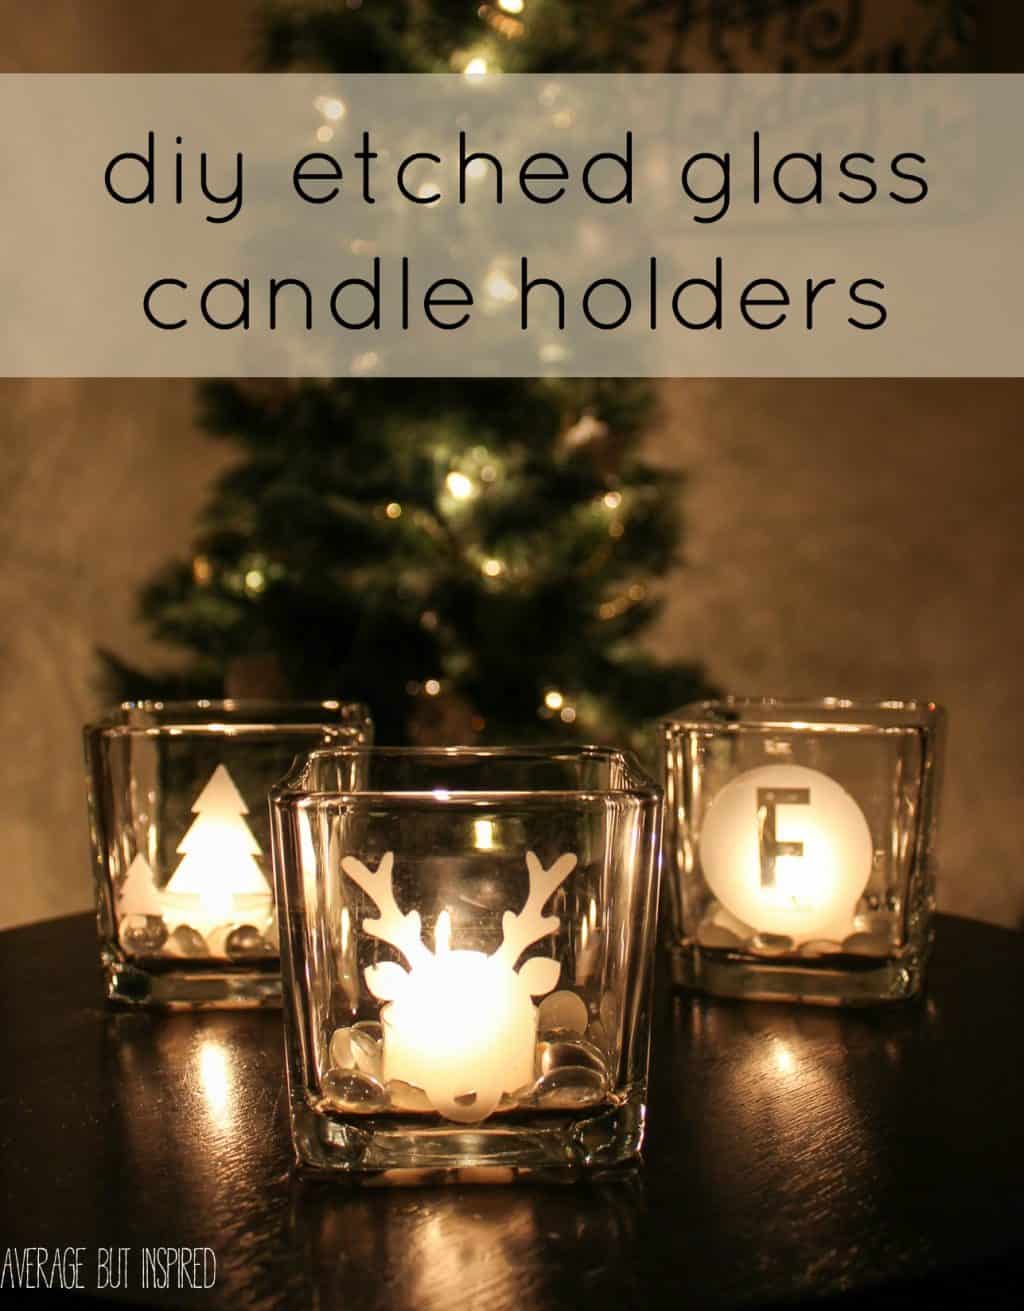
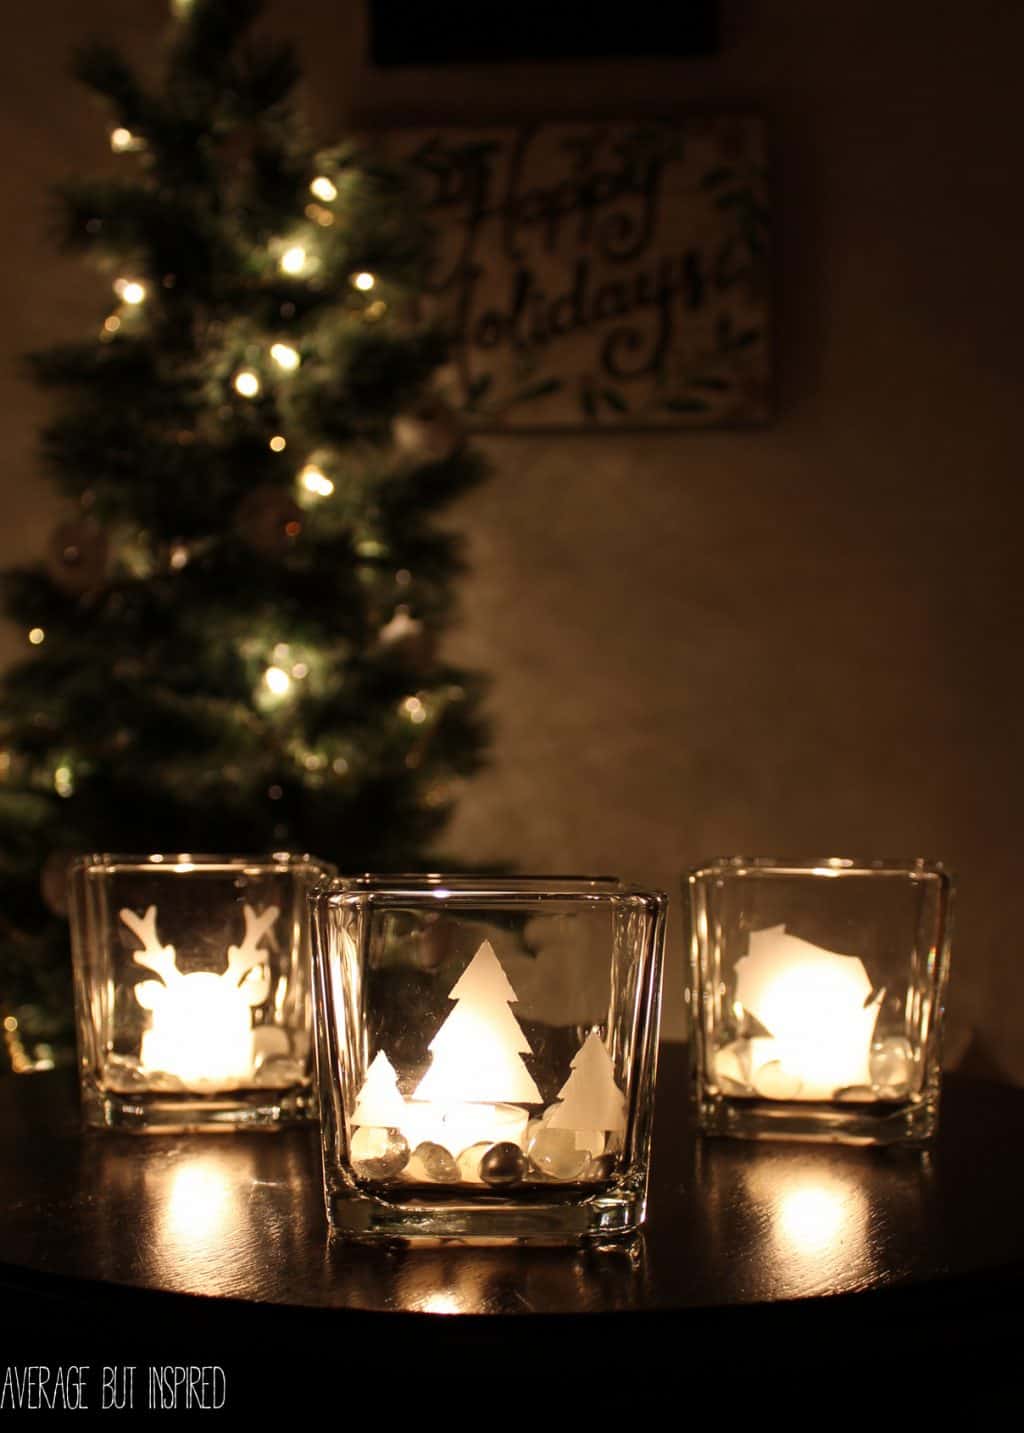
Glass etching is such a fun and impactful craft! Learn how to make these DIY etched glass candle holders with dollar store supplies. They look much more expensive than they are!
The season of giving is upon us, and at times, that can be overwhelming! So many people to shop for and so much money to spend! Luckily, I have an AWESOME DIY gift idea for you that is inexpensive to make but so fun, too!
DIY etched glass candle holders are a really simple project, and they can actually be used in a few different ways (which I’ll fill you in about below).
Supplies Needed to Make Etched Glass Candle Holders
These are the supplies I used to make the etched glass candle holders shown in this post. Feel free to substitute anything to create a project of your own!
Some of these links are affiliate links. Please read my disclosure policy for more information.
- Small square candle holders
- Armour Etch glass etching cream
- Plastic knife
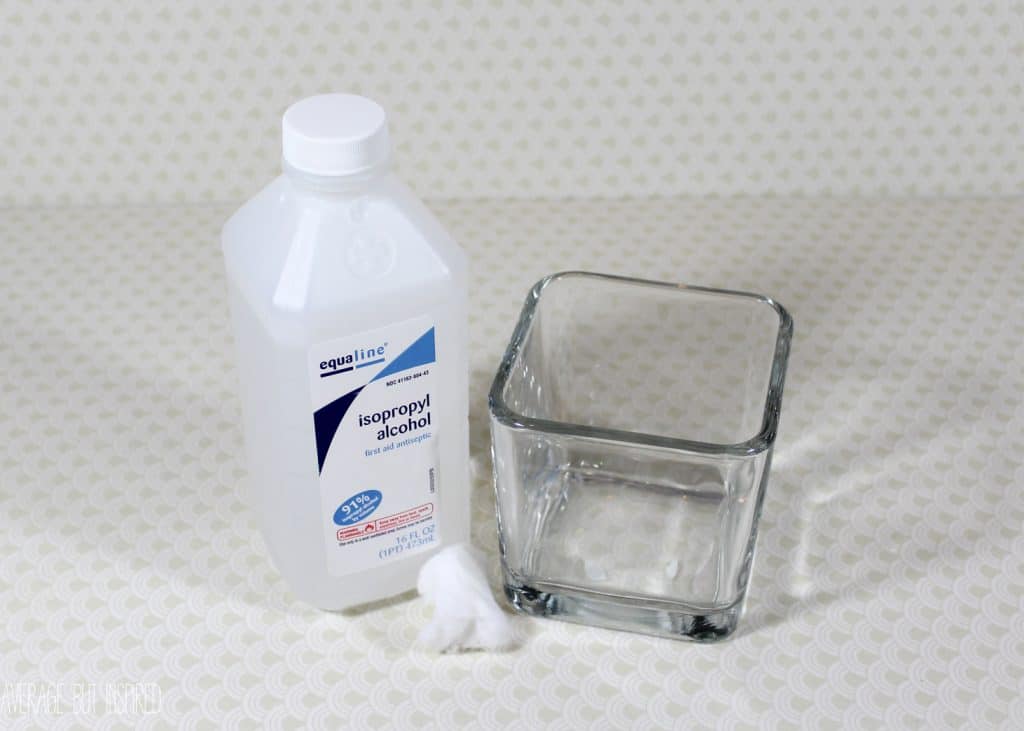
- Rubbing alcohol
- Cotton balls
- Electronic cutting machine (like the Cricut Joy) and removable vinyl or contact paper. Alternatively, try Christmas glass etching stencils.
- Paper towels
- Vase filler stones
- Votive candles
Glass Etching Tutorial
First up, clean the glass candle holder to make sure it’s free of any oils or residues. Gently wipe it with a cotton ball that’s been soaked in rubbing alcohol and let it dry.
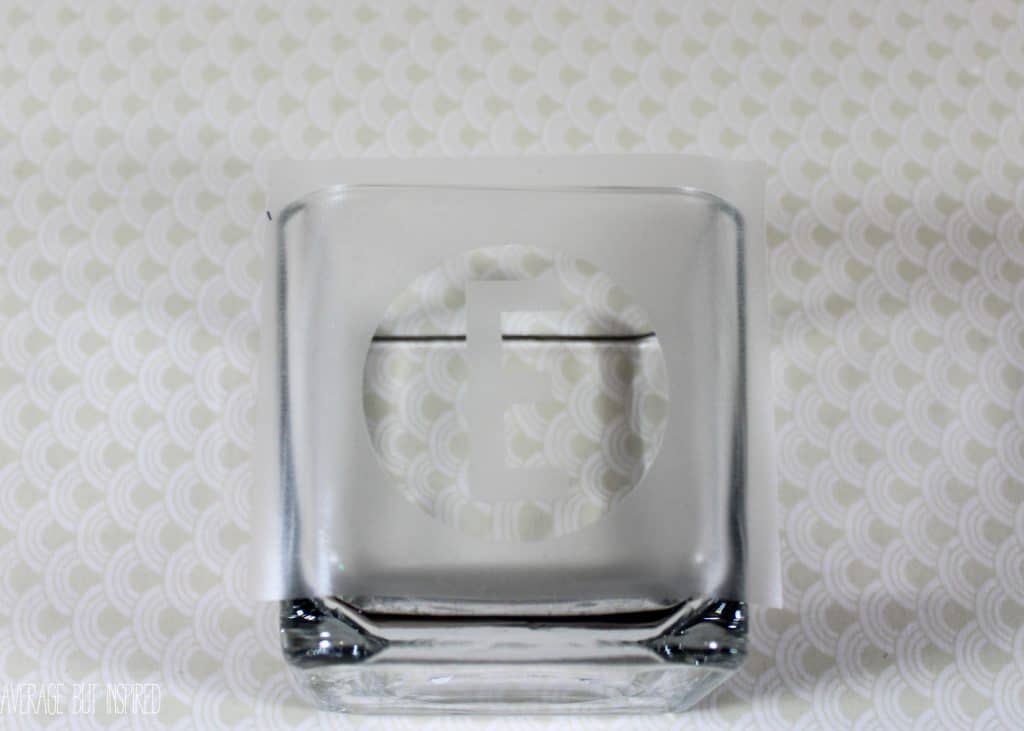
Next, if you’re creating your own stencils on an electronic cutting machine, like a Cricut, make your designs and measure them to fit the front of the glass vase.
Simple shapes are best. I used seasonal silhouettes, state shapes, and monograms. Mine were just about 2″ wide and high.
Cut them from removable vinyl or contact paper, and press them onto the glass. Make sure they’re firmly pressed down along all edges!
If you’re going to do your etching with a premade glass etching stencil, make sure to follow the directions on the stencil package.
Apply the glass etching cream, using the plastic knife or palette knife, and make sure to cover the entire area to be etched.
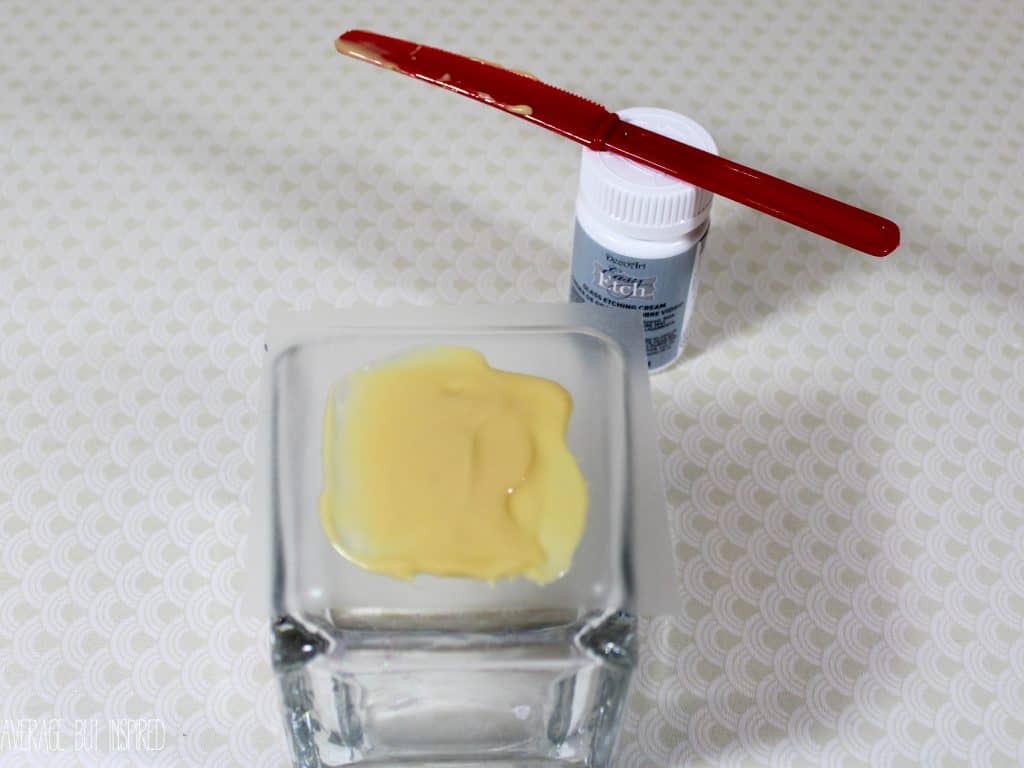
Let it sit according to the directions on the package (mine took about 15 minutes).
After the proper amount of time has passed, use the plastic knife or palette knife to remove the etching cream from the glass. The directions on my etching cream said I could reuse that cream, so I put it back into the container.
Rinse off the excess etching cream and gently pat dry with a paper towel. Pop in your votive candles and enjoy!
I Think You’ll Enjoy These Other Christmas Crafts, Too!
I also filled some of the space with floral accent gems, but that’s optional.
This was my first time using glass etching cream, but I am OBSESSED. It is like magic in a jar! I honestly did not think it would work, but it did, and I love it!
One good thing to note is that the etching is dishwasher safe, too!
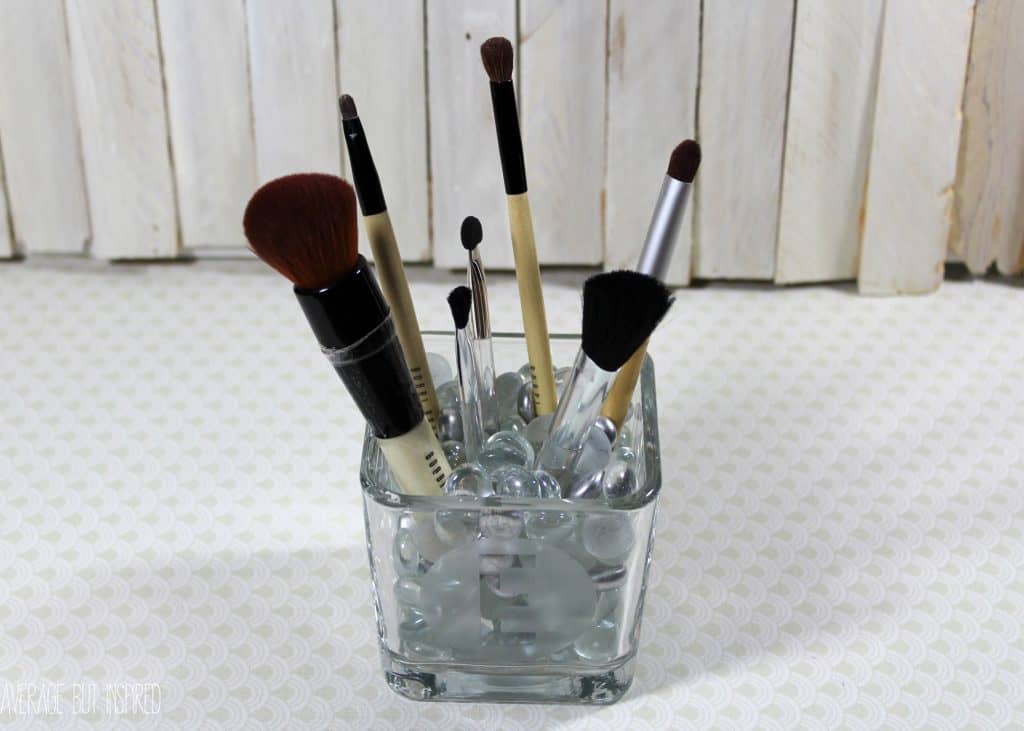
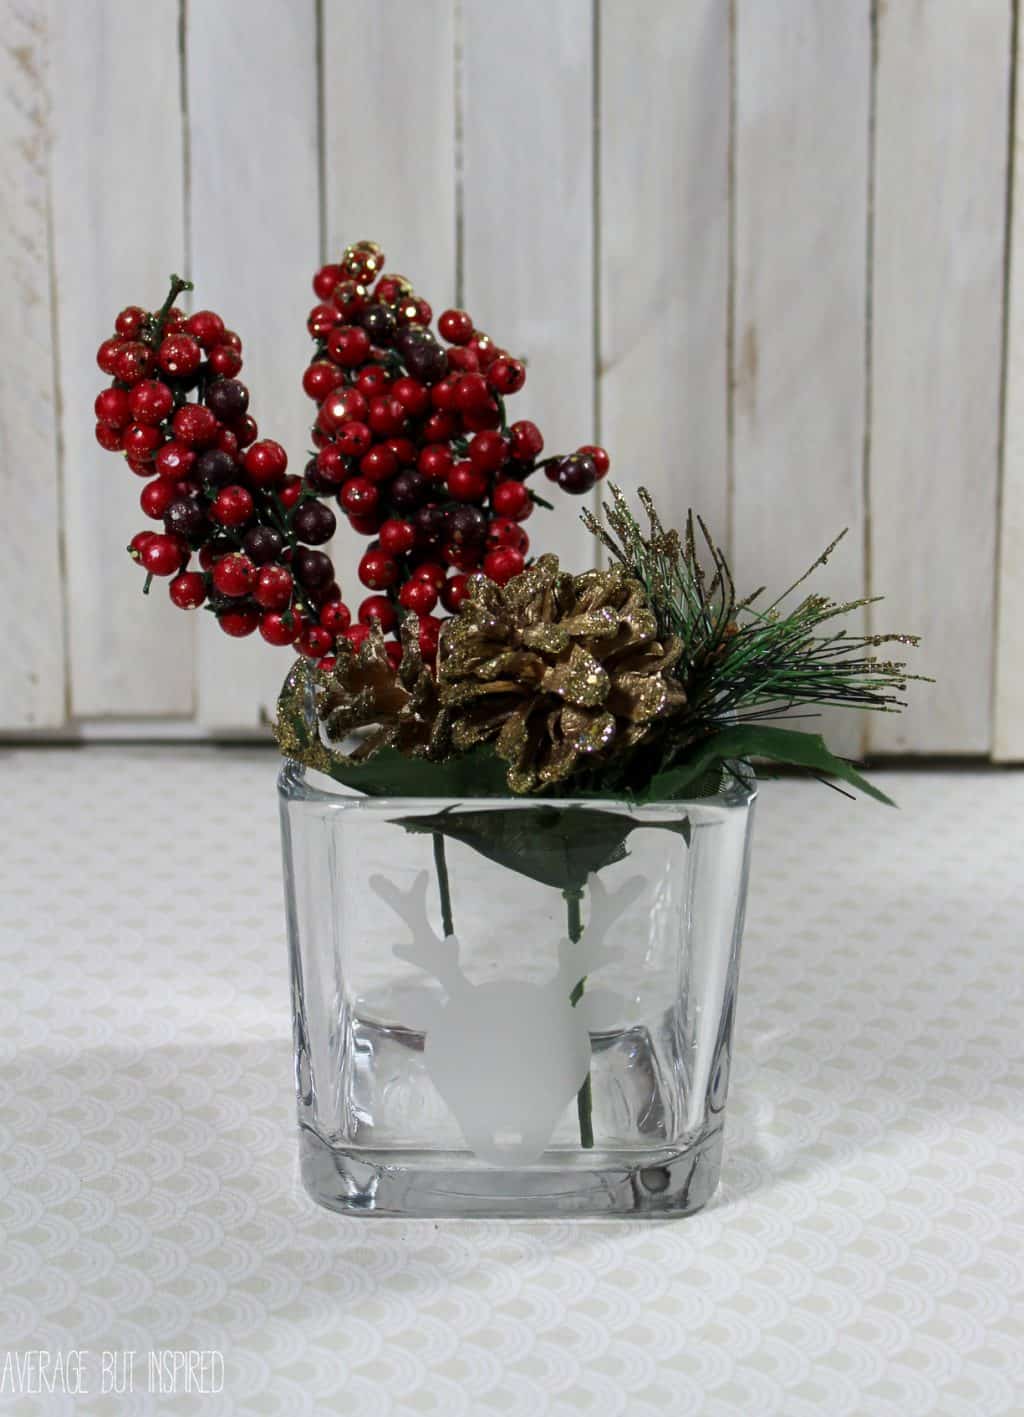
I will be giving my DIY etched glass as votive candle holders this holiday season, but I think you could easily give them as makeup brush holders or vases, too!
Pretty cute, huh?
Amanda says
Can the stencil be reused once the etching cream is wiped off?
Bre says
Hi, Amanda! Yes, if you’re using a stencil that you purchased from a store (like on that bendy stencil material). If you’re using a homemade contact paper stencil like I used, then no, you probably cannot reuse it because the stick will not be as strong. Thanks!
julie says
I love this idea and am going to try it after Retirement kicks in. You are so creative and talented!!
Bre says
You’ll have so much fun doing it!! And I can FaceTime with you if you need help! 🙂
Sarah @ Little Red Brick House says
Oh, these are so cool, Bre! They look so pretty with the candles in them. I need to get my hands on some etching cream!
Bre says
Thank you, Sarah! Etching cream is SO fun! It really is like magic in a jar. 🙂
Estelle @ Petit Bout de Chou says
This is a great idea. Thanks for sharing. This will be perfect for a beautiful Christmas table as candle holders!
Bre says
Thank you, Estelle! 🙂 Happy holidays!
Cindy Henderson says
Seeing your tutorial reminded me that I’d done this too many years ago and need to do this soon
.
Bre says
Good stuff! I hope you have fun with whatever projects you make! 🙂 Happy holidays!
Jenny @ Refresh Living says
These turned out great – and I love all the different uses you thought of besides candle holders! I’ve never used etching cream before (it still seems so weirdly magical to me), but you made it look easy and like something I should probably just try!
Bre says
YES! Do it. You will love it!! I cannot even imagine the magical things you would come up with, Jenny!
Amy | Canary Street Crafts says
These are seriously cute, Bre! I’ve never even heard of etching cream. Can’t wait to try it!
Bre says
Thanks, Amy!
Carrie @ Kenarry: Ideas for the Home says
These votive holders are soooo pretty, Bre! I’ve always wanted to learn how to do glass etching. Thanks for sharing this fantastic tutorial.
Bre says
Thank you, Carrie! It is SO fun! You will love it. 🙂 I want to etch all the things. 🙂
Katie @ Little House of Four says
These are so cute! I love that they are so versatile and easy to personalize. Such a great handmade gift!
Bre says
Thank you, Katie!
Sara says
Ahhhhh I NEED to get one of these machines! These are too cute and thanks for sharing this awesome idea!
Bre says
Yes! Put it on your Christmas list NOW! You will use it for a gazillion things! I was nervous about spending the money, but it was definitely worth it!!
Sydney @ Tastefully Frugal says
I LOVE these! I’ve always wanted to try glass etching but thought it was too hard. You make it look so easy!! Thanks for the tips on the settings to use one the cameo too; I’ll be trying this next week.
Bre says
Oh Sydney, it is the EASIEST! You will love it! 🙂
Ashley ~ 3 Little Greenwoods says
Yet another awesome reason to get my Silhouette machine out of the box! Love these little votives!
Bre says
Thanks, Ashley! Wait – have you never used yours?!? Get it outta there, girl!
Amanda @ Dwelling in Happiness says
These are so adorable!! I love that etching, I’ve GOT to try it. Such a fun gift idea!! Thanks for the giveaway, too! 🙂
Bre says
Aw, thank you, Amanda! Yes – that etching stuff is AMAZING! Honestly – I had my doubts when I first tried it, but now I’m in love and want to etch everything! 🙂
Meg @ Green With Decor says
These are so pretty, what a clever idea! I want to make these for myself 🙂
Bre says
Thank you, Meg! Something about etching cream is SO fun! I think you would love making something like this!
Erica @ Dwell Beautiful says
So cute! I love how you styled them in different ways – the makeup brush one is just too adorable! These are perfect gifts and you could even stuff them with candy 🙂
Bre says
YES – candy – duh! People would probably like that even more! 🙂
Pam @ The Birch Cottage says
Very festive! Most everyone loves candles, so these would make a great gift. Now if I just had a Silhouette Cameo machine!
Bre says
Pam! You need to ask Santa for one this year. Trust me – you will use it ALL the time!!
Kristi says
LOVE it Bre! SO pretty!!!
Bre says
Thank you so much, Kristi!