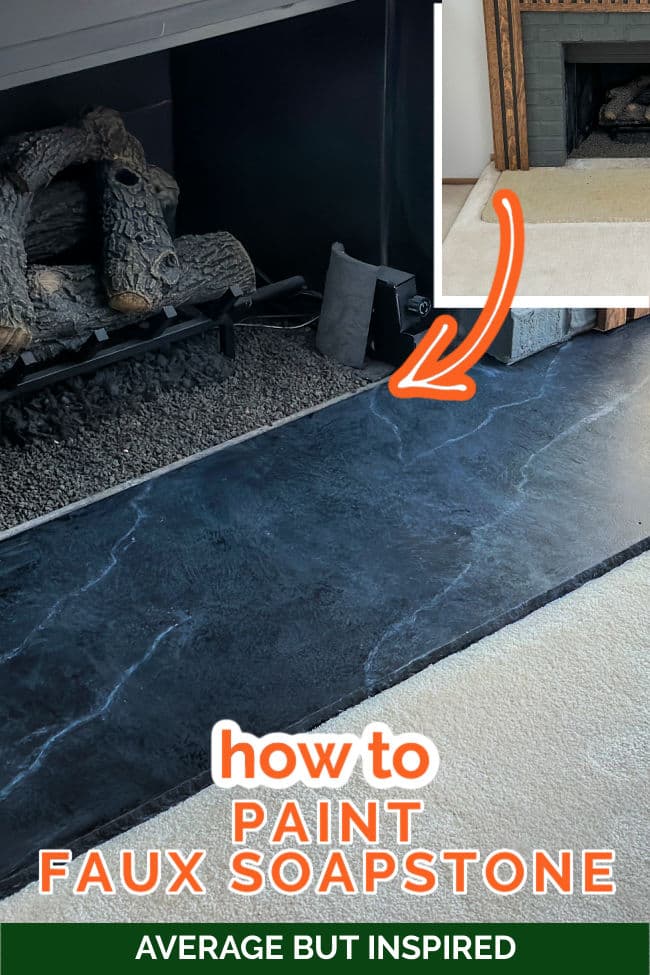
A huge part of my wood slat fireplace makeover was revamping the beige hearth. To make it work with the “new” fireplace, I painted a faux soapstone finish.
It turned out AWESOME, and I am pumped to share how you can create a faux soapstone finish on any surface!
Painting a Fireplace Hearth
First things first: read this linked post if you’re specifically interested in learning how to paint a fireplace hearth. I painted the hearth in my living room years ago, and all of the products and instructions are in that post.
Then come back here to get the step-by-step for making it look like soapstone!
If you’re looking to create a soapstone look on any other surface, just keep reading!
What is Soapstone?
And, before we get into the details on how to paint a soapstone finish, you might wondering what exactly is soapstone?!?
Soapstone is a natural material – rock, to be precise – that has an aged black patina with varying shades of gray and white throughout. It’s more of a matte finish than marble typically is. It’s commonly used in countertops, and is also used as a fireplace hearth because it is not negatively impacted by heat.
Love Faux Finishes? Here are Some More You’ll Want to See!
How to Paint a Faux Soapstone Finish
I am writing out instructions for creating a soapstone finish, but you’ll also want to watch my video! Also, remember that this is much more of an art than a science!
Faux Finish Soapstone Supplies
These are the exact supplies I used. Some of these links are affiliate links. Please read my disclosure policy for more information.
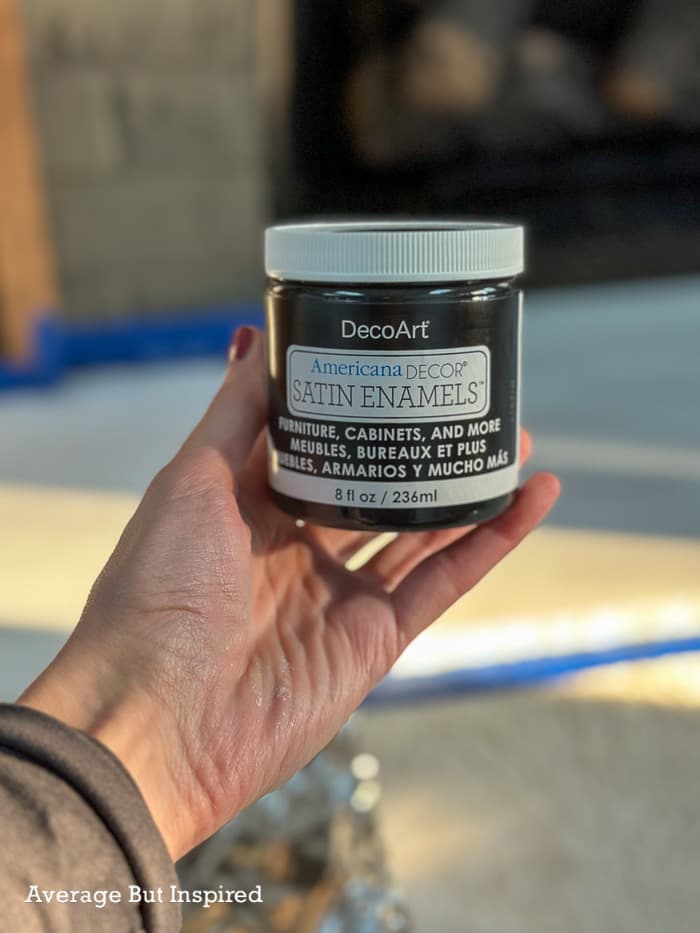
- Americana Decor Satin Enamels paint in Classic Black
- Americana Decor Satin Enamels paint in Pure White
- Americana Decor Satin Enamels paint in Smoke Grey
- Thin artist paint brushes (at least two)
- 2″ chip brush
- Paint pail
- Paint mixing trays (or paper plates)
- Spray bottle
- Cheesecloth
- Natural sponge
- Paper towels
- Paint stir sticks
- Water
Instructions for Painting a DIY Faux Soapstone Finish
If you remember one thing from this tutorial, let this be it: LET THE WATER WORK ITS MAGIC.
Step One: Paint the Base Black
First up, paint a base layer of black paint. I painted two coats of Americana Decor Satin Enamels classic black, because the white primer was showing through after the first coat.
Depending on what you’re painting, this may actually be the second step, as you may need to prime first.
Step Two: Paint and Remove a Gray Wash Layer
Next, pour some of the black paint into the paint pail and add a couple of drops of gray paint. Mix this up, and then add some water to thin it down.
Again, remember this is an art, not a science. I do not have precise measurements for you. Just add a little bit of water at a time until you have a very thinned-down paint mixture that is slightly lighter than the black of your base coat.
Using the 2″ chip brush, paint this mixture onto part of the surface.
Then, use the cheesecloth to dab off much of the paint mixture. This will also leave a texture on the surface, which is exactly what you want.

It looks pretty terrible here. On the far left, the paint has dried, while the next section is still wet.
Repeat this painting and dabbing process across the entire surface to be painted like soapstone.
Once it’s dry, it will look like the below photo. Notice how the four sections are very visible – almost with a line between them? We will fix that!
Step Three: Sponge on Black Paint
Next, get out the natural sponge or sea sponge. Add black paint to the sponge, and dab off almost all of it onto a paper plate or other surface.
Then, dab the sponge in the areas where the section lines are, as well as around them, to help blend those lines and make the sections look like one continuous swath of soapstone.
Use a paper towel to soften the sponge texture left behind. Just gently dab up the extra paint.
Step Four: Paint White Soapstone Lines
Here’s where the real magic happens. I learned this technique when I painted my DIY faux marble countertop, and it works just as well here!
Start by looking up soapstone slabs online. Then, draw a diagram for yourself of where you want to paint lines on your piece. Looking at a real slab online will help you get a natural look!
Then, dip a thin artist brush in paint, gently hold it, and drag it across the piece. Before the paint dries, spray it with water in the spray bottle, and let the water make that paint run and swirl.
The water makes the white paint look like actual soapstone veins.
If you aren’t getting the look you want with the water bottle sprayer alone, dip a clean brush in water and dab it along the white line. This concentrated source of water will greatly soften the look of the lines.
You can also use a paper towel to soak up extra water and blend the lines.
The Faux Soapstone Fireplace Hearth
My husband, who is not usually that excited about my projects, could not get over this faux finish.
It looks SO realistic!
And really, you can do this! Don’t overthink it. The beauty is in the imperfection. Nothing in nature is “perfect,” so let go of any pressure to make your faux soapstone perfect!
Jill says
I was so inspired by your instructional I tried it on my ugly blue Formica countertops. It came out wonderful! My question for you is do you think I can apply a water based polyurethane on top for protection? I put 2 coats primer and 2 coats black paint but I still feel like it will scratch with daily use. Love my counters now and want them to last a while.
Thanks!
Crystal says
This looks great! just wondering if it’s fire safe? If not, I wonder if someone could achieve this with paint that is safe with high heat.
Kathy says
In your instructions you say dip the painters brush in water and before the paint dries, spray with water and dab.
It should say dip in paint, then spray and dab. I figured it out, but threw me for a minute.
Bre says
Kathy, THANK YOU! I am going to fix that in the post right now. Appreciate you pointing that out and I’m glad you figured it out!!
Molly Sargent says
This is amazing! Its perfect! I have been trying to find someone who knows how to make realistic looking soap stone because I want t.o do my kitchen counters. But the guys at Stone Coat don’t seem to know how to do it. Theirs is all glossy. Its like they never bothered to look at a piece of soap stone. Anyway, I will try and use your technique and their product to get the counters of my dreams!
Thank you! You just gained a new fan!
Molly
Bre says
Molly! Oh my goodness – I cannot believe I didn’t respond sooner. I am so sorry! Anyway, thank you SO MUCH for your kind comment!! I am really glad this helped! Have you done the project yet? How did it turn out?