• Skip to primary navigation
  • Skip to main content
  • Skip to primary sidebar
Average But Inspired logo - DIY and craft

Average But Inspired

Craft a home you love. DIY and craft tutorials.

  • About
    • Contact Me
    • Disclosures
    • Privacy Policy and Copyright Policy
  • DIY
    • Furniture
  • Crafts
    • Dollar Store Crafts
    • Seasonal
      • Patriotic & Summer
      • Valentine’s Day
      • Easter & Spring
      • Fall & Halloween
      • Christmas & Winter
  • Home Decor
    • Organization
  • Shop
    • DIY Swag
    • DIY Guides
  • Home

Fall and Halloween

DIY Light Up Halloween Porch Sign

October 8, 2014 by Bre 39 Comments

Hi, friends! I have such a fun post for you today! Remember back in August when some of my blogger friends and I teamed up for The Great Crate Challenge, and showed you how we each transformed a plan wooden crate from Michaels in totally different ways? Well, we’re at it again, but this time it’s with foam craft pumpkins as part of the Pick Your Pumpkin Challenge!

Pumpkin - pumpkin At the bottom of this post are links to everyone’s amazing projects, so make sure you check them out and find tons of inspiration on how to transform a plain craft pumpkin into something fantastic!  Here’s a sneak peek!11 DIY Faux Pumpkin Ideas

For weeks I racked my brain, trying to come up with a new way to decorate a craft pumpkin, but unlike the other ladies who participated in this challenge, I just couldn’t think of something original. So I decided to keep mine plain, but to use it in a different way – on a sign!  A LIGHT UP Halloween wood sign, to be exact!Average But Inspired - Hallowen Sign (Rectangle) [Read more…] about DIY Light Up Halloween Porch Sign

Filed Under: Fall and Halloween, Holiday

Cozy Sweater Gift Jars: a Sweater Upcycle Idea

September 23, 2014 by Bre 14 Comments

blank

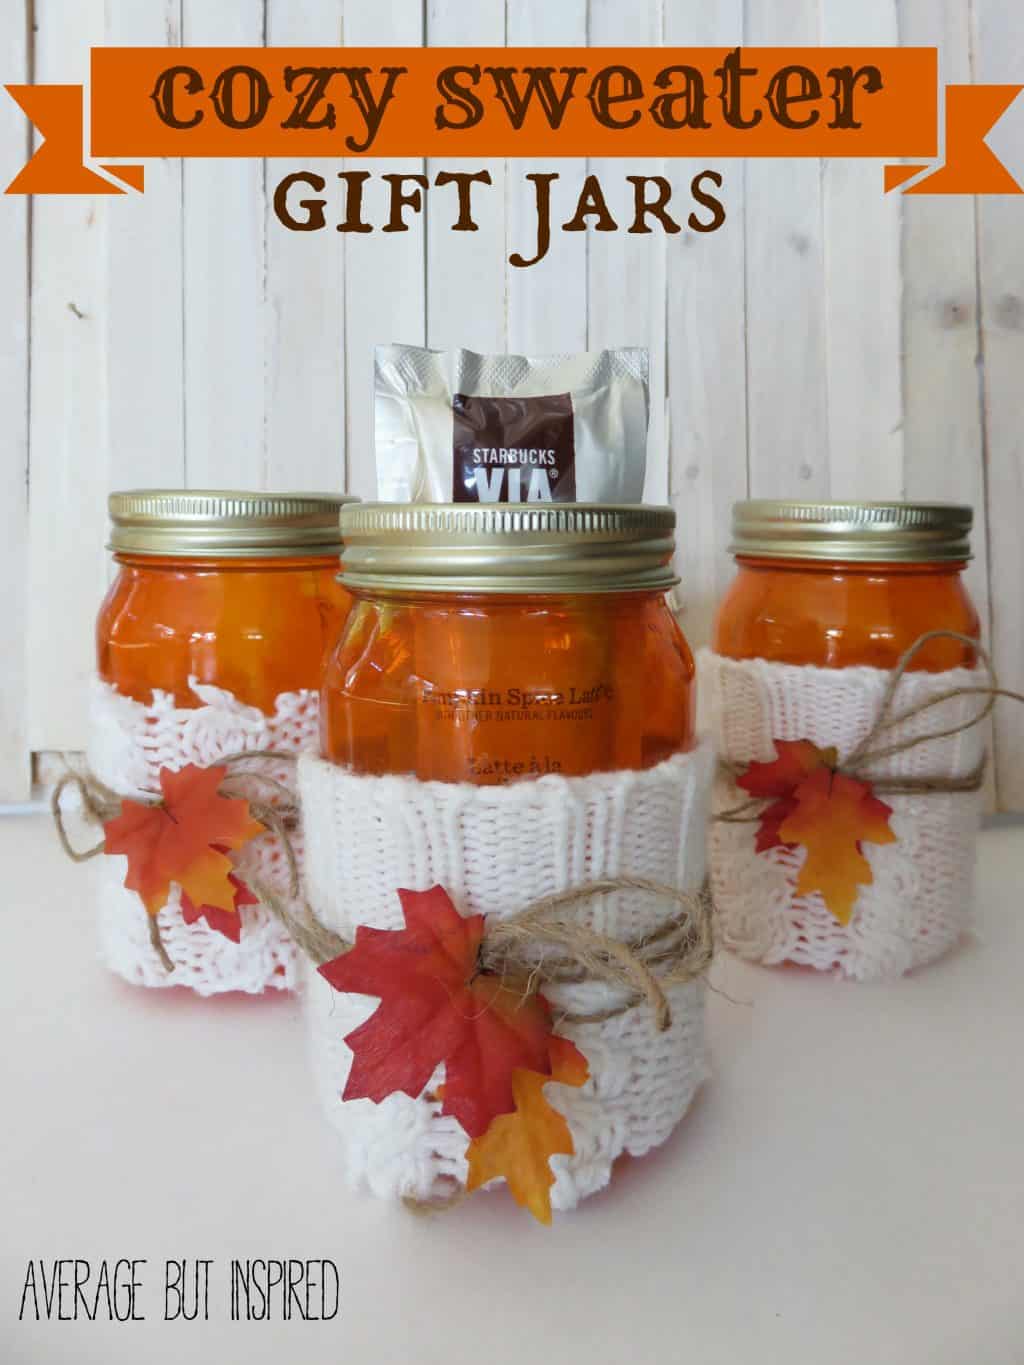
Looking for a creative sweater upcycle or repurposing idea? Try making these cozy sweater gift jars! They’re perfect for fall!

I have never used a mason jar for anything in my life.  Preserving, crafting, containing . . . nothing.  Because mason jars are everywhere these days, I sort of feel like I should win some type of medal for that.  Agree?

Being of German heritage (translation = I am stubborn), I declared that I would not break my mason-jar-free existence at any cost.  

But, I am also a lawyer, so I easily found a loophole in this declaration, and am now able to present to you these cute and cozy sweater gift jars that do not use mason jars, per se, but instead, plain glass jars. (Is there a difference? Probably not. LOL!)

And, they’re an awesome way to repurpose or upcycle that ratty sweater from college. Win!

These jars were dyed orange, wrapped in sweater remnants and adorned with twine and fall leaves for a cute and cozy look.Gotta love loopholes (when they work to your advantage at least).

Anyway, these jars were really fun to make and I know they’ll be really fun to give, too.  You only need a few simple supplies, which is a total bonus.

Sweater Jars Supplies Needed

Some of these are affiliate links.  Please read my disclosure policy for more information.

Note: when I published this post back in 2014, Mod Podge had a pre-tinted product that came in orange. It is no longer sold, but this tutorial has been updated to account for that!

  • Glass jars
  • Mod Podge in any finish
  • Orange acrylic paint
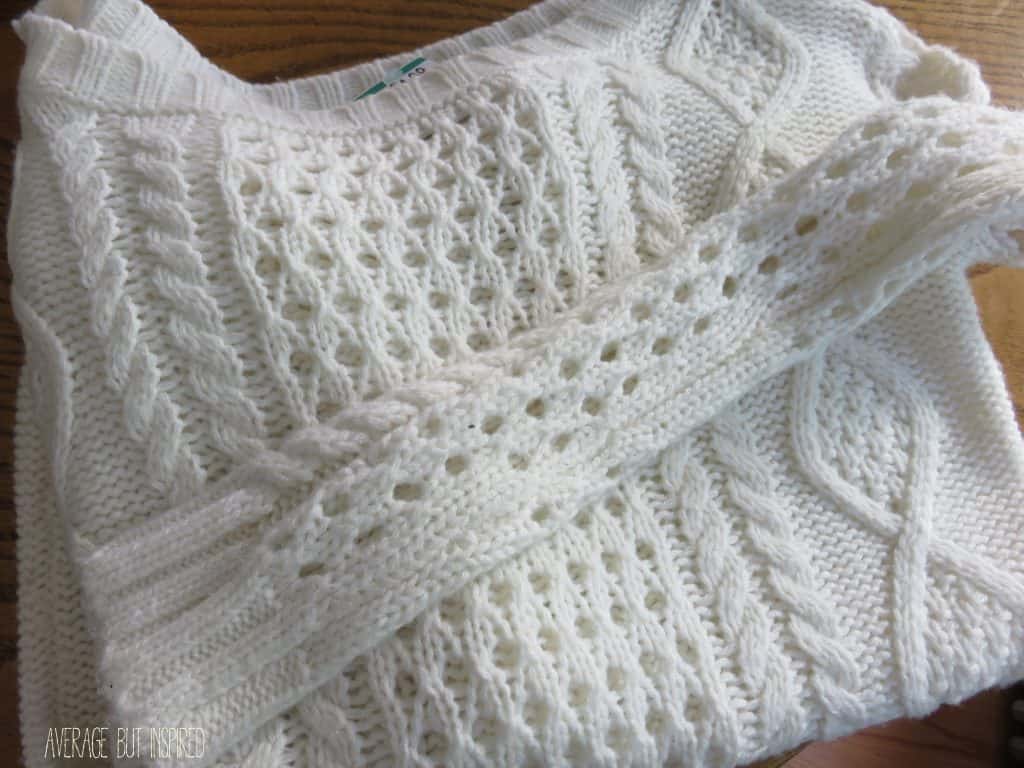
  • Old Sweater
  • Twine
  • Artificial Leaves
  • Mixing bowl and spoon

How to Make Upcycled Sweater Gift Jars

Start by mixing a small amount of orange acrylic paint with Mod Podge. Continue adding paint until you have a shade you like!

Next, pour a generous amount of Mod Podge into each jar.  Then, swirl it around and coat the inside of each jar in its entirety.

Jar - Mod Podge in Jar SwirlNext, turn each jar upside down and let the excess Mod Podge drain from the jars.  This took a long time – like hours.  

(Remember: the Mod Podge shown in this photo is no longer sold, but this written tutorial has been updated to account for that!)

Jar - Draining

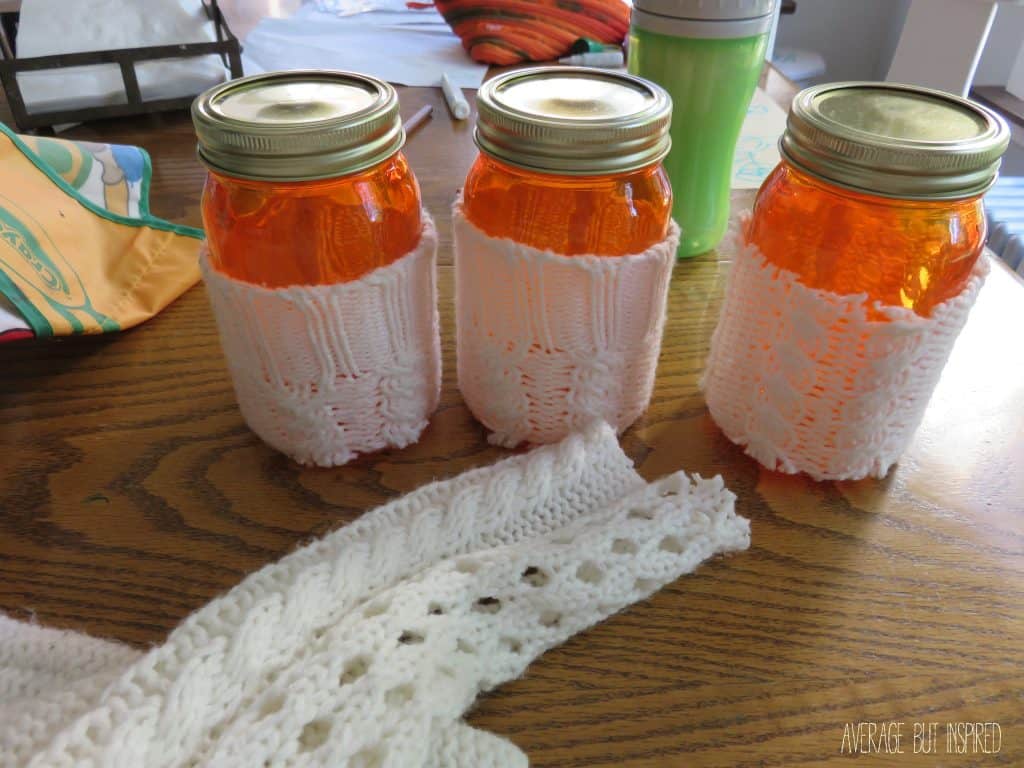
Once the excess product finishes draining, turn the jars over to let them begin drying out.  The Mod Podge product will still be thick and opaque at this point.

If the Mod Podge isn’t drying as fast as you’d like, you can use a blow dryer to speed up the drying process. And, once the Mod Podge is dry, it will become translucent instead of opaque!  

Here’s Another Great Sweater Upcycle Idea!

Sweater Embroidery Hoop Art

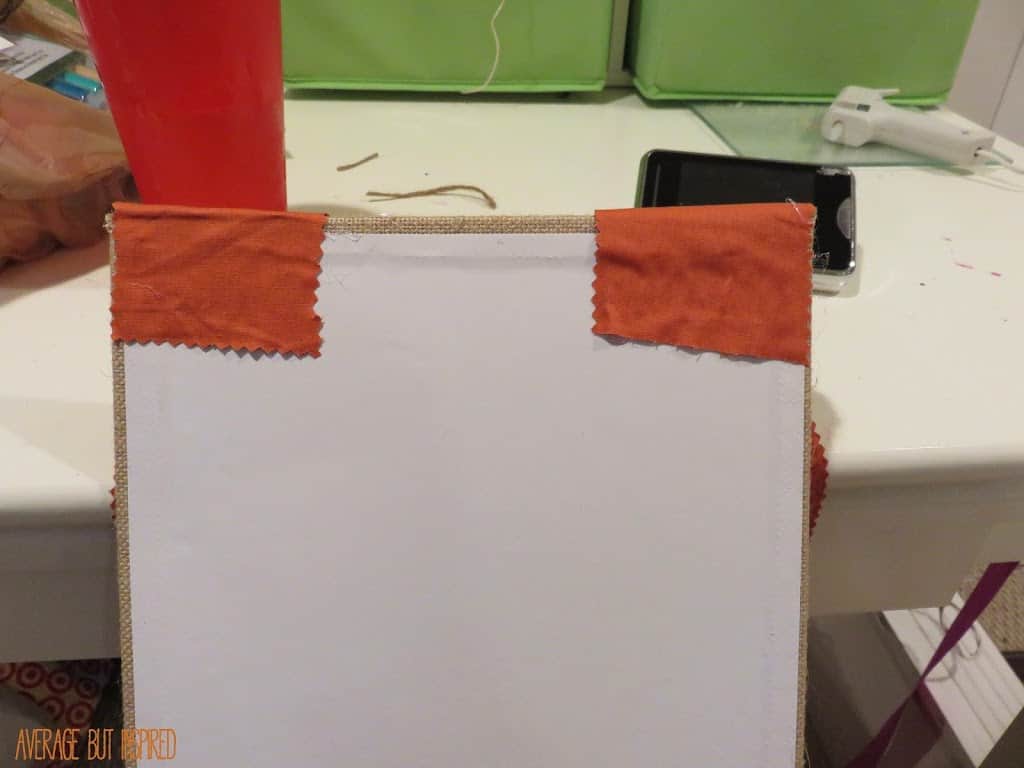
Next, grab an old sweater and cut parts of the sleeves off.

Jar - Sweater

Then, put those sweater sleeves around the jars.  The parts with the cuffs look best.

Jar - Swaeter around it

Finally, tie some twine around the sweater portion and add some artificial fall leaves to the twine.   These jars were dyed orange, wrapped in sweater remnants and adorned with twine and fall leaves for a cute and cozy look.

Pop a little candy, coffee, or a gift card in there and you’ve got a cute little gift for someone special!  

blank

I’m handing my first one out tomorrow to thank a friend for helping me out with my daughter.  I hope she loves it!

Filed Under: Crafts, Fall and Halloween

Twigs and Berries Fall Door Decor

September 8, 2014 by Bre 36 Comments

blank

Like it or not, fall is in the air.

I like it.  A lot.

So it’s no surprise that I am thrilled to be getting my home ready for the new season.  Last year I barely plunked a pumpkin on my porch because all of my fall decor was in storage during our basement remodeling project.  This year will be totally different!  My home will look like a scarecrow vomited copious amounts of harvest-themed decor all over it.

One item that I already added to my backdoor was this cute little guy I made with some twigs I lifted from my neighbor’s yard.

Fall door decor made with branches and berries. Average But Inspired
OK, they weren’t actually twigs – it was actually more like a tree limb that I took from my neighbor’s yard.  (Trust me – I waited until I was sure nobody was around to see me dragging this thing into my house.  I looked like a lunatic.  Even my daughter asked what was wrong with me.  Look at her face – you can tell she thinks I’m crazy.)
blank
Once I sawed my tree limb into twigs of appropriate sizes, I got to work making my door decor.
I used the following supplies (please note that some of these are affiliate links.  You can read my full disclosure policy here.)
  • 9×12 flat burlap canvas
  • Gold acrylic paint
  • Foam brush
  • Hot glue gun & hot glue
  • Twigs/branches
  • Twine
  • Artificial berry stem
  • Fabric or ribbon

First I hot glued my twigs together to form the letter I wanted.  Then I wrapped the joints with twine to give some extra hold.

blank
Next, I drew lines on my canvas so that I could paint stripes on it with my gold acrylic paint.  You could obviously paint your canvas however you like.
blank
When I filled in those lines, I loved how it looked!  The gold was subtle but added a little interest to the plain canvas.  Perfect.
blank
Next, I hot glued a small artificial berry sprig to my letter, and tied some twine around the base.  Then I hot glued the entire thing to the front of my canvas.
blank
Finally, I cut two strips of fabric and hot glued them to the back of my canvas so that I would have a way to hang my letter decor.
blank
So simple and so fun.  I made this entire thing in just about an hour.
It is a perfect touch of fall for my back door.
blank
If you have an unfortunate last name that begins with a curvy letter, you may not be able to do this project, or you may have to get super lucky and find some bendy twigs in the yard.  I’ll cross my fingers for you.
– Bre

Filed Under: Crafts, Fall and Halloween

  • « Go to Previous Page
  • Page 1
  • Interim pages omitted …
  • Page 3
  • Page 4
  • Page 5

Primary Sidebar

Let’s Connect!

Hi, I’m Bre! Thanks for visiting Average But Inspired, where I show you how to work with what you’ve got to create a home you love.

Bre of Average But Inspired - a DIY and craft blog

Love DIY? Subscribe to Get Posts E-mailed!

How Can I Help You?

blank

How to Create a Faux Antique Brass Finish with Paint

blank

Limewash Stone Fireplace Makeover: Bye Bye Orange Stone Fireplace, Hello Neutral Stone Beauty!

blank

How to Paint a Countertop to Look Like Marble!

blank

How to Paint a Door to Look Like Wood (It’s Easier Than You Think!)

Looking for Something?

Copyright © 2013-2022, Bre Eggert (Average But Inspired). All rights reserved.
  • Home
  • DIY
  • Crafts
  • Home Decor
  • Privacy Policy and Copyright Policy
  • Disclosures
  • Contact Me