• Skip to primary navigation
  • Skip to main content
  • Skip to primary sidebar
Average But Inspired logo - DIY and craft

Average But Inspired

Craft a home you love. DIY and craft tutorials.

  • About
    • Contact Me
    • Disclosures
    • Privacy Policy and Copyright Policy
  • DIY
    • Furniture
  • Crafts
    • Dollar Store Crafts
    • Seasonal
      • Patriotic & Summer
      • Valentine’s Day
      • Easter & Spring
      • Fall & Halloween
      • Christmas & Winter
  • Home Decor
    • Organization
  • Shop
    • DIY Swag
    • DIY Guides
  • Home

Organization

Dollar Store-ganization: Hall Closet Organization Ideas

August 7, 2015 by Bre Leave a Comment

This post has awesome ideas for organizing a hall closet with items from the dollar store! You don't have to spend a fortune to get your stuff in order!

Friends!

I am so excited to launch a new series on the blog today – Dollar Store-ganization. What is Dollar Store-ganization, you ask? Well, it’s lots of AWESOME ideas for organizing your home and life with products from the dollar store! The goal of this series is to show that there’s no need to break the bank to get your life in order, and each month I will give you a new organization idea to try!  This post has awesome ideas for organizing a hall closet with items from the dollar store! You don't have to spend a fortune to get your stuff in order!

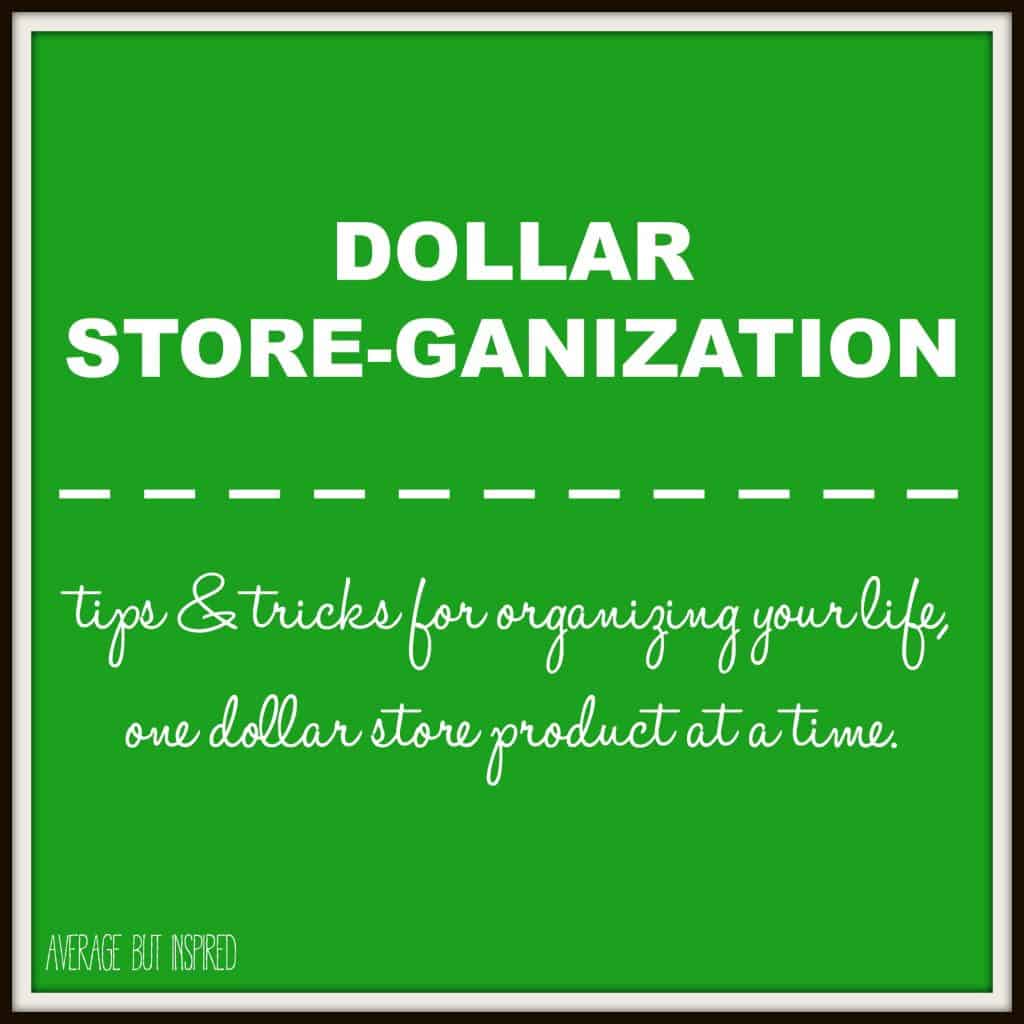
Although this is the first post in this series, I am no stranger to using items from the dollar store to get organized. You may remember my Splatter Screen Earring Organizer, Chip Clip Organizer, and Spinning Art Supply Caddy – ALL created with dollar store items!

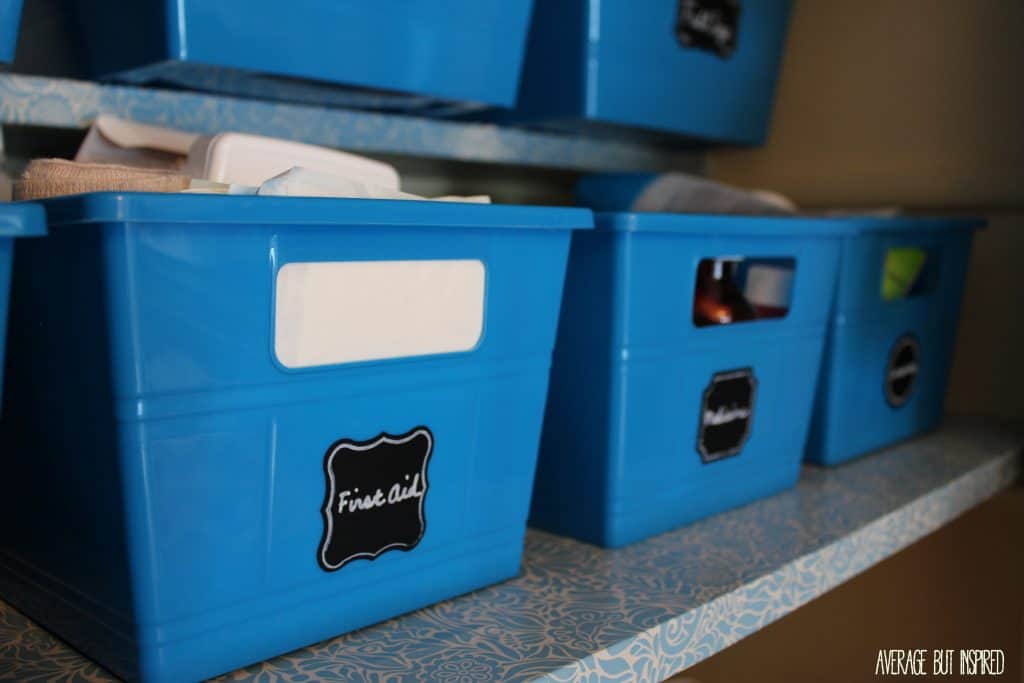
This month I’m tackling something a little bigger, though – the hall closet!  From the outside, this closet looked fine, but the inside was a WHOLE different story.  This post has awesome ideas for organizing a hall closet with items from the dollar store! You don't have to spend a fortune to get your stuff in order!

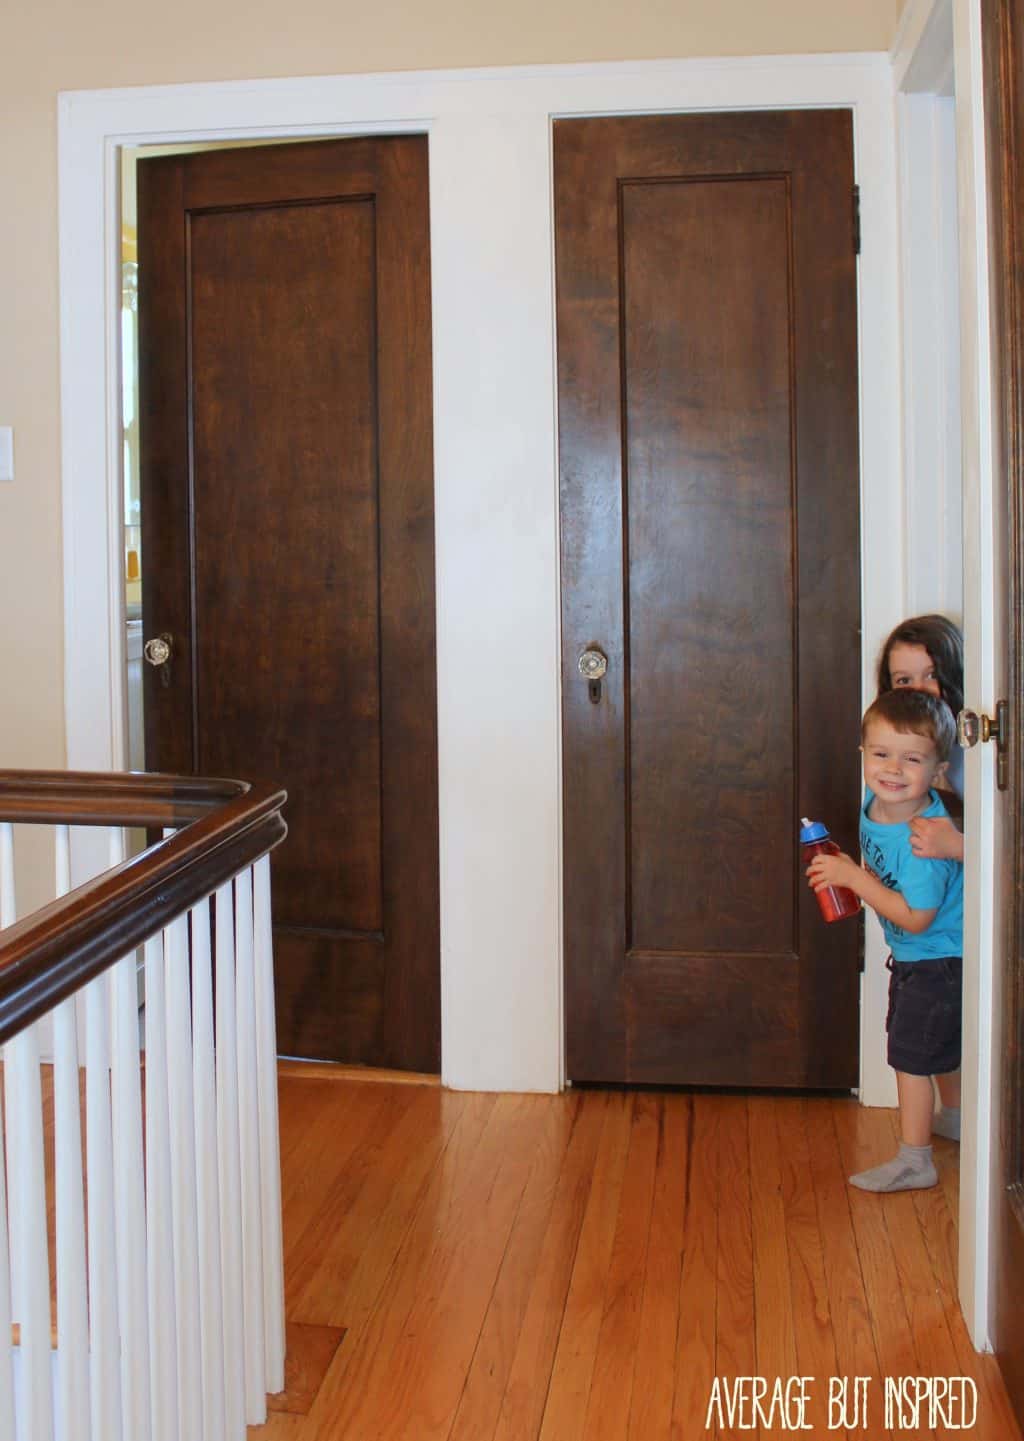
[Read more…] about Dollar Store-ganization: Hall Closet Organization Ideas

Filed Under: Organization

How to Prevent Wire Baskets From Scratching Your Surfaces

July 10, 2015 by Bre 12 Comments

Wire baskets are pretty and trendy, but you'll hate them when they scratch your furniture or wood floors! This super easy tutorial will show you exactly how to prevent wire baskets from scratching your surfaces. You'll be so glad you pinned this!

This tutorial will show you how to prevent wire baskets from scratching your surfaces. It’s super easy and affordable!

Wire baskets are EVERYWHERE! Step into any store that sells home decor or crafting items and you’re bound to find a million wire baskets that you love.

It makes sense because these fabulously utilitarian objects look just a little bit prettier with their interesting metal finishes and/or lovely liners. Plus, they work with just about any style of decor.

But you know what – left to their own devices, wire baskets will scratch the h-e-double-hockeysticks out of whatever surface you set them on. I’m talking mean, ugly scratches that will make you want to throw your once beloved baskets out the window. 

But luckily I figured out a SUPER SIMPLE SOLUTION to this problem, so I had to share my method of how to prevent wire baskets from scratching your surfaces.  

Wire baskets are pretty and trendy, but you'll hate them when they scratch your furniture or wood floors! This super easy tutorial will show you exactly how to prevent wire baskets from scratching your surfaces. You'll be so glad you pinned this!


 So back when I did my son’s Vintage Aviation Room Makeover, I purchased some cute wire baskets from Homegoods to use in his newly-painted bookshelf.

Wire baskets are pretty and trendy, but you'll hate them when they scratch your furniture or wood floors! This super easy tutorial will show you exactly how to prevent wire baskets from scratching your surfaces. You'll be so glad you pinned this!


They looked super cool, and then I realized that they were totally scratching the shelves that I’d JUST painted. To say I was annoyed is an understatement. I contemplated getting rid of them, but then I decided to see if I could fix it.  And I did!

Supplies Needed to Prevent Wire Baskets from Scratching Surfaces

This post contains affiliate links. Please read my disclosure policy for more information.

To keep your wire baskets from scratching your furniture or floors, here’s what you need:

  • Craft Felt (if you have a basket larger than the common 8×12″ craft felt size, you can purchase felt sheets)
  • Yarn
  • Large needle with a large eye to thread the yarn through

How to Keep Wire Baskets from Scratching Surfaces

First up, cut the felt to be slightly larger than the bottom of the wire basket.

Next, thread the needle with a long piece of yarn, and knot the end of the yarn.  

Start at one end of the basket and weave your way through the felt and the bars in the bottom of the wire basket.  

Wire baskets are pretty and trendy, but you'll hate them when they scratch your furniture or wood floors! This super easy tutorial will show you exactly how to prevent wire baskets from scratching your surfaces. You'll be so glad you pinned this!

Make your way around the entire basket. Once you’ve gotten back to your starting point, remove the needle and tie off the other end of the yarn. Trim any excess yarn.

Wire baskets are pretty and trendy, but you'll hate them when they scratch your furniture or wood floors! This super easy tutorial will show you exactly how to prevent wire baskets from scratching your surfaces. You'll be so glad you pinned this!

Once you’ve finished, the bottom of the basket will look like this:

Wire baskets are pretty and trendy, but you'll hate them when they scratch your furniture or wood floors! This super easy tutorial will show you exactly how to prevent wire baskets from scratching your surfaces. You'll be so glad you pinned this!

To be honest, it doesn’t look great.

But once the basket’s actually in use and filled with all-the-things, you’ll never even notice the felt on the bottom (or any scratches on your furniture)! 

Wire baskets are pretty and trendy, but you'll hate them when they scratch your furniture or wood floors! This super easy tutorial will show you exactly how to prevent wire baskets from scratching your surfaces. You'll be so glad you pinned this!

This is especially true if the felt color matches or coordinates with the surface on which you’re placing the wire basket.

Wire baskets are pretty and trendy, but you'll hate them when they scratch your furniture or wood floors! This super easy tutorial will show you exactly how to prevent wire baskets from scratching your surfaces. You'll be so glad you pinned this!

Trust me, if you don’t do anything to prevent wire baskets from scratching your surfaces, you will regret ever having purchased them for your home.

This simple fix makes all the difference and will last SO much longer than stick-on furniture pads!

Filed Under: home decor, Organization

DIY Kids Art Supply Storage Caddy

January 14, 2015 by Bre 20 Comments

blank

Keeping art supplies on hand for whenever your kids are feeling creative is the best way to keep them busy.

But, if you don’t have a good way to store and organize their art supplies, it can lead to more headaches than not.  So, why not make this DIY Kids Art Supply Storage Caddy?

It was super easy to transform some inexpensive dollar store containers into this fabulous craft supply storage solution!

This DIY kids art supply storage idea is awesome! Learn how to make it in this post, and make creative time less messy for your kids!

Supplies Used to Create a DIY Kids Art Supply Storage Caddy

Here are the supplies I used to create this DIY art storage caddy.  Some of these links are affiliate links.  To learn more, please read my disclosure policy.

  • Wide base plastic bucket
  • Small plastic buckets
  • Lazy Susan
  • Velcro or hook and loop dots
  • Optional: glitter tape and circle craft punch

How to Make a Spinning Art Supply Caddy

I started with a circular plastic container and small plastic buckets that I found at Dollar Tree. See how she turned dollar store plastic buckets into kids art supply storage solution.
I thought about painting the container and buckets because this shocking green color is not my favorite, but decided against it because my kids will likely draw all over this caddy anyway.

So instead of painting, I opted for a quicker method of beautification with some super sparkly glitter tape that I found at Michaels.To decorate the spinning art supply caddy, she embellished it with sparkly tape.
I took my large circle craft punch and punched semi-circles out of the glitter tape.
Sparkly tape semi-circles decorated the art supply caddy.
I then placed the semi-circles around the plastic bin to give a glittery scallop effect.
Glitter tape cut into semi circles embellished the spinning art supply caddy.
After the beautification was complete, I grabbed a turntable or lazy susan that I found at Target.
Use a lazy susan to create a DIY Kids Art Supply Storage caddy.
I stuck some Velcro around the top of the turntable so that I could affix it to the bottom of the plastic bin.
Using velcro on top of a lazy susan to attach a kids art storage caddy.
I wanted to be able to remove the turntable if necessary, so that’s why I chose to use Velcro instead of glue.
Attach a dollar store bucket to a lazy susan to create a spinning art supply caddy.
That’s it.  So easy.

And no joke, this thing has made afternoon craft time so much easier for my kids! Instead of launching supplies at one another from across the table, they just spin their art supply storage caddy to get what they want.
This DIY Kids Art Supply Storage Caddy spins for ease of access!
It also makes for a fun toy in and of itself.  🙂  

I love this simple little art supply storage idea!  If you do, too, please pin it to share!  And then, visit my post on how to create a DIY Pegboard for Kids Creation Station!
A DIY Art Supply Storage caddy is a great way to keep your kids' art supplies organized.

Filed Under: Organization

DIY Earring Organizer Made from a Kitchen Gadget

September 12, 2014 by Bre 29 Comments

blank

Hi, friends-

If you’ve been following my blog for any amount of time at all, you know that I have a deep love for Dollar Tree.  I find the BEST things there, and of course they’re always things that I never knew I needed before.

Things like this splatter screen that I found in the kitchen section.

Dollar Tree splatter screen to earring organizer. {Average But Inspired}
What in the world do you do with this thing in the kitchen?  It has a mesh screen, so I don’t really understand how it’s supposed to prevent splattering, but whatever – I didn’t buy it for the kitchen anyway.
Nope.  From the second I laid eyes on it, I thought EARRING ORGANIZER!
See, I have a collection of some awesome dangle earrings that I used to wear on nights out.  Since my nights out now usually consist of “Kids Eat Free Night” at [insert local brewpub name here], I don’t wear my fun earrings all that much anymore.  They sit in my jewelry box and tangle themselves up with my more practical earrings, which is super annoying.
So, I decided they need to be segregated and I made this special place for them – all from my Dollar Tree splatter screen!
Dollar Tree splatter screen to earring organizer. {Average But Inspired}
Easiest project EVER.  I know I’ve said it before, but this time it is the truth.  All you need is:
  • splatter screen
  • spray paint
  • ribbon
Step One
Spray paint your splatter screen.  (Learn from my mistake – make sure the screen part isn’t touching whatever you’re painting on, as the paint may pool and form smudges on your screen.)
Step Two
Add some ribbon to the top of the splatter screen for a cute touch.
Step Three

Put your earrings through the mesh and hang up your new earring organizer.

Dollar Tree splatter screen to earring organizer. {Average But Inspired}
SEE?  I told you it was the easiest project ever.
Dollar Tree splatter screen to earring organizer. {Average But Inspired}
– Bre

Filed Under: Crafts, Dollar Tree, Organization

  • « Go to Previous Page
  • Page 1
  • Page 2
  • Page 3

Primary Sidebar

Let’s Connect!

Hi, I’m Bre! Thanks for visiting Average But Inspired, where I show you how to work with what you’ve got to create a home you love.

Bre of Average But Inspired - a DIY and craft blog

Love DIY? Subscribe to Get Posts E-mailed!

How Can I Help You?

blank

How to Create a Faux Antique Brass Finish with Paint

blank

How to Paint a Door to Look Like Wood (It’s Easier Than You Think!)

blank

How to Paint a Countertop to Look Like Marble!

blank

My DIY Kitchen Makeover Reveal!

Looking for Something?

Copyright © 2013-2022, Bre Eggert (Average But Inspired). All rights reserved.
  • Home
  • DIY
  • Crafts
  • Home Decor
  • Privacy Policy and Copyright Policy
  • Disclosures
  • Contact Me