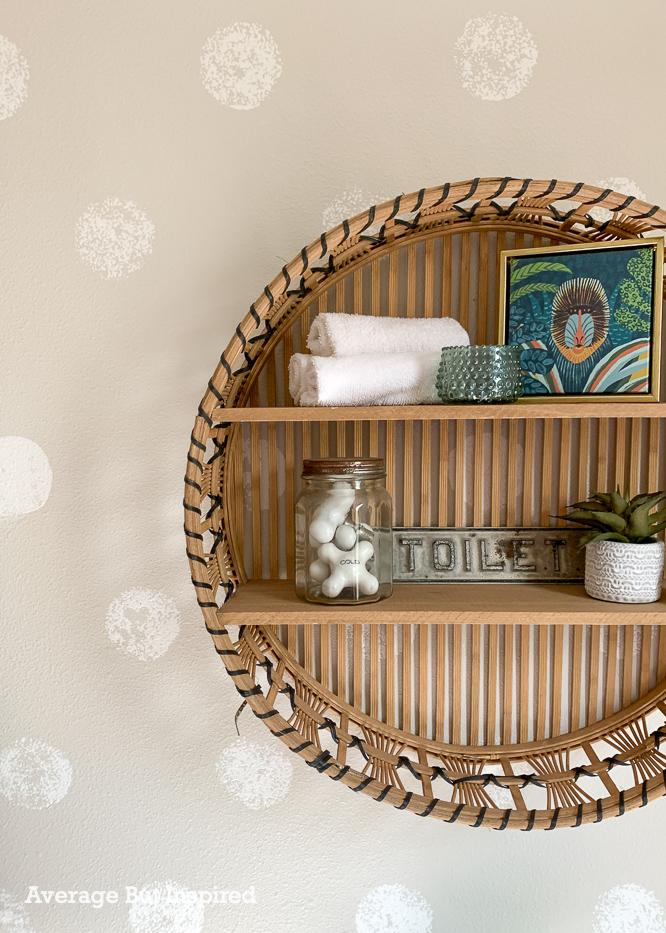
Months ago I set out to give my kids’ bathroom a facelift, and over the summer I slowly (very slowly!) I pulled it all together. Of course I veered from the original modern vintage bathroom makeover plans (I never can stick to a plan exactly!), and part of that involved this Polka Dot Wall, which is a super easy DIY painted accent wall idea!

Accent walls are one of my favorite ways to add personality to a space (take, for example, my painted grid accent wall), so when the bathroom makeover was feeling a little bland to me, I decided a quick and easy paint job is what it needed.
In just a couple of hours I was able to paint this charming bathroom accent wall, and I’m going to show you how you can paint a polka dot wall of your own!
Painted Polka Dot Wall Supplies
This post contains affiliate links. To learn more, please read my full disclosure policy.
To create the DIY polka dot accent wall as shown in this post, these are the supplies used.
- Round floral foam (tip: have several of these on hand so you can swap them out as they get gross or if you need to take a break during the project. You can’t wash them out or keep them fresh, so it’s better to have several.)
- Stencil brush
- Paint (latex paint or even craft paint will work here!)
- Paint tray
- Level (note: a laser level is the best choice if you have one available)
- Paper or card stock
- Knife
How to Paint a Polka Dot Accent Wall
Don’t let the instructions I provide make this seem harder than it is. This accent wall is incredibly easy to paint.
Plan Out the Accent Wall
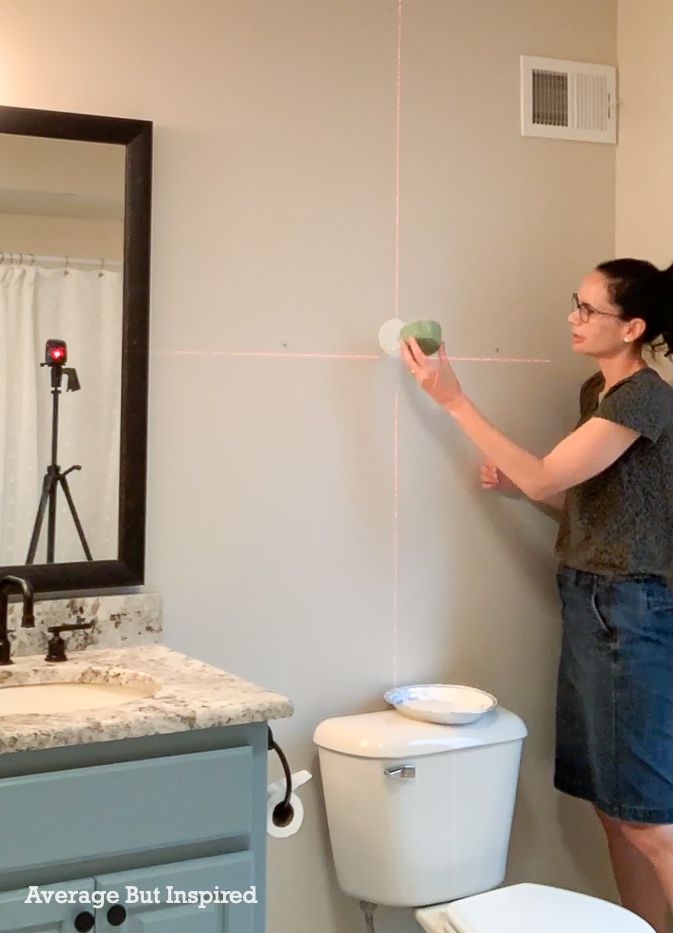
Begin by setting up a laser level at a mid-point on the wall. If you don’t have a laser level, lightly draw a level line on the wall with pencil that can be erased once all of the polka dots have been painted.
Next, decide how far apart you want the polka dots to be from one another (both horizontally and vertically), and cut a sheet of paper to that size. (For reference, my polka dots are about 9″ apart.). The paper will serve as the polka dot spacer. That’s a very important job.
Paint the First Row of Polka Dots on the Wall
Now it’s time to start painting the accent wall!
Gently paint one side of the round floral foam with paint. As tempting as it may be to dip the floral foam into the paint and apply the foam to the wall, don’t do that. There will be too much paint on the foam and it will run down the wall. (Not that I’d know anything about that.)
Press the foam onto the wall and paint the first polka dot.

Next, using the paper spacer you previously created, continue painting polka dots on the wall – along the horizontal line.
Paint the Second Row of Polka Dots
Once that first row of polka dots is complete, it’s time to move up or down along the wall. This step is hard to describe with written directions, so you may want to watch my TikTok video on how to paint a polka dot wall for additional help!
You can use the laser level or draw a level line to create the next rows of polka dots, or you can simply use that paper spacer only. (I did a mixture of both in this project.)
Click to view any of the posts in this series!

To use the paper spacer only, flip the paper spacer vertically and run it up (or down) the wall from the first polka dot you painted. Place your finger at the edge of the paper, and then flip it horizontally. The end of that paper is where the first polka dot on the next row will go.

This will offset the polka dots with each row as you’ll see on my polka dot accent wall.
Continue this process until you cover the entire wall in polka dots.
Paint Polka Dots Along Edges or in Corners
Once you have finished painting the full polka dots, there will likely be some spots along edges of walls (or in my case, along the large mirror that I didn’t want to remove), or in corners, that need partial polka dots.
Simply cut the floral foam circle to size with a knife, and place those partial polka dots wherever they’re needed!

The Painted Polka Dot Accent Wall
It only took around two hours to complete this accent wall project, and to add some whimsy and fun to this previously boring bathroom!
The benefit of a painted bathroom accent wall is that there’s no peeling like you would potentially get with wallpaper in a high-moisture space, and paint is cheaper than adding a wood wall treatment. Plus, as soon as we grow tired of the polka dots, I can easily repaint. It’s just one wall, after all!

Let me know what you think of this painted accent wall idea! I love to hear from you in the comments below, and on my Instagram!

Seana Turner says
This came out so great, and the price is definitely right! My kids would have loved this in their bathroom. 🙂
Bre says
Hi, Seana! Oh my gosh, thank you!! Sorry for the delayed response – I JUST today realized I wasn’t getting comment notifications. Gah! Anyway, yes – super fun for the kiddos. Thanks and I hope you’re doing well!