One thing I love is giving a plain object new life and personality with a simple change. Sprucing up my beat up dining chairs by stenciling the seats is precisely that kind of project!
With just a little patience and some paint, I was able to take my kitchen chairs from boring to beautiful in no time.
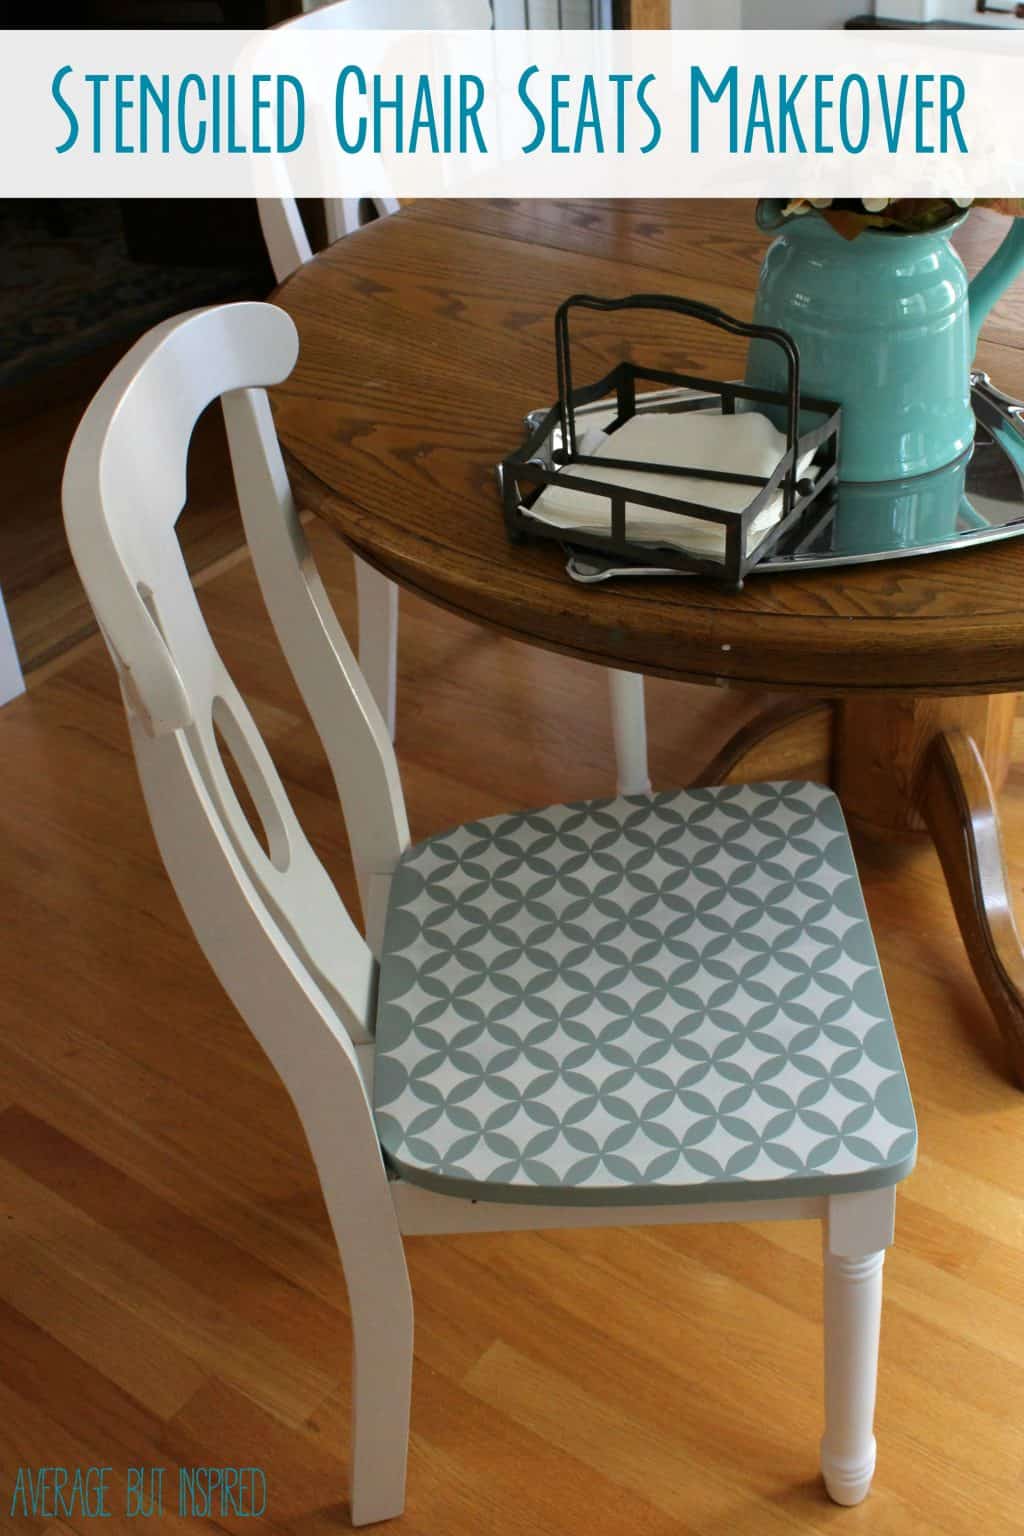
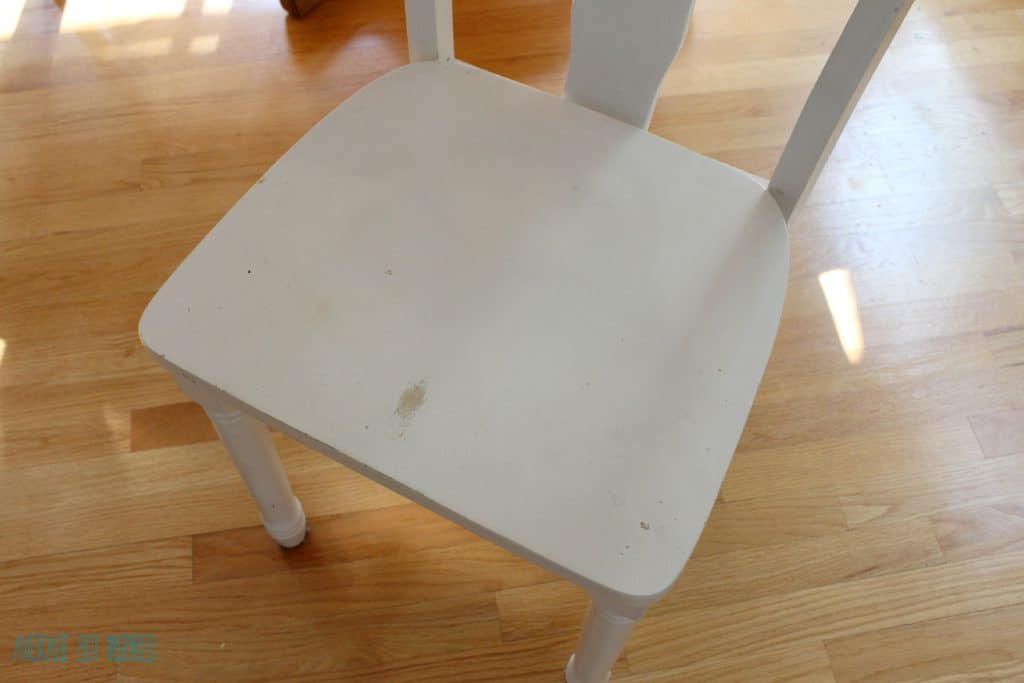
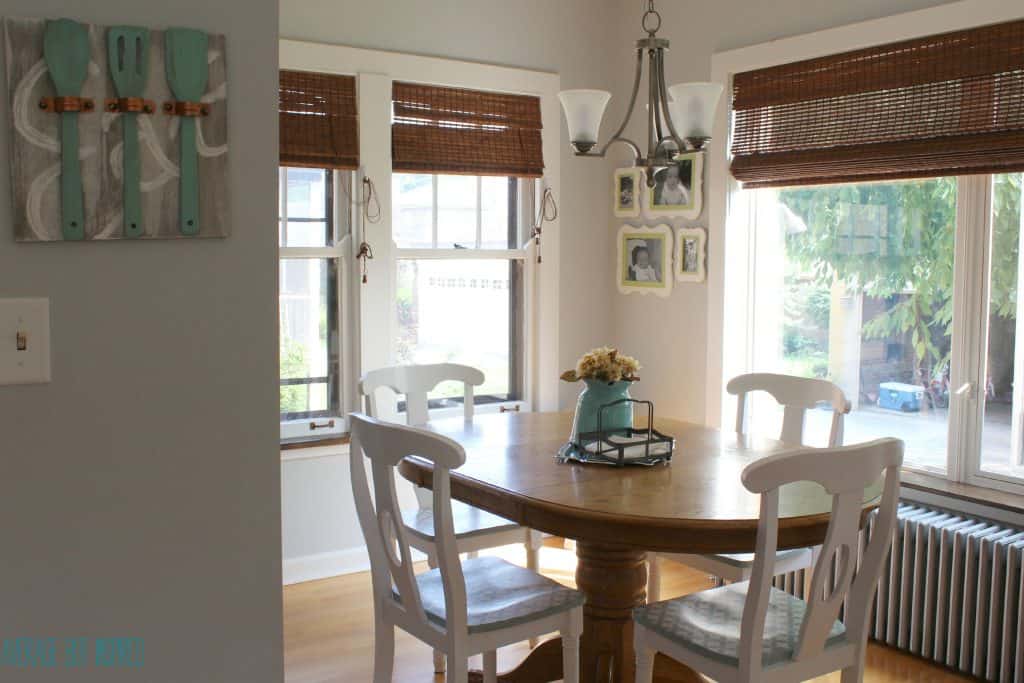
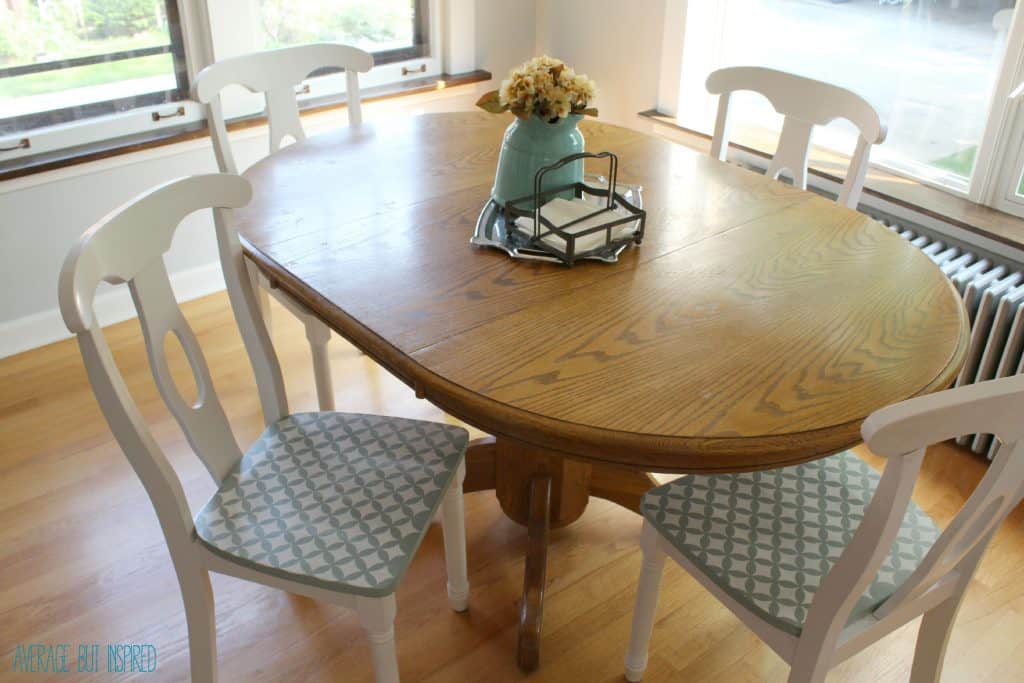
After six years of use, my white kitchen chairs were getting a little beat up. The seats were in especially poor condition due to my kids’ use of a portable booster seat on top of them. It scratched the painted finish off of almost every seat.
I always toyed with the idea of repainting the chairs, but I pretty much despise spray paint because I never do it correctly (duh). Since the easy way out wasn’t an option, I was just going to leave them. Brush painting these chairs was too much work for me.
But then a lightbulb went off in my head: stencil the chair seats to fix the problem left by the booster seat and give the chairs a totally cool new look at the same time!
Supplies Needed to Stencil Chair Seats
This post contains affiliate links. Please read my disclosure policy for more information.
- Cutting Edge Stencils Nagoya Craft Stencil (size small)
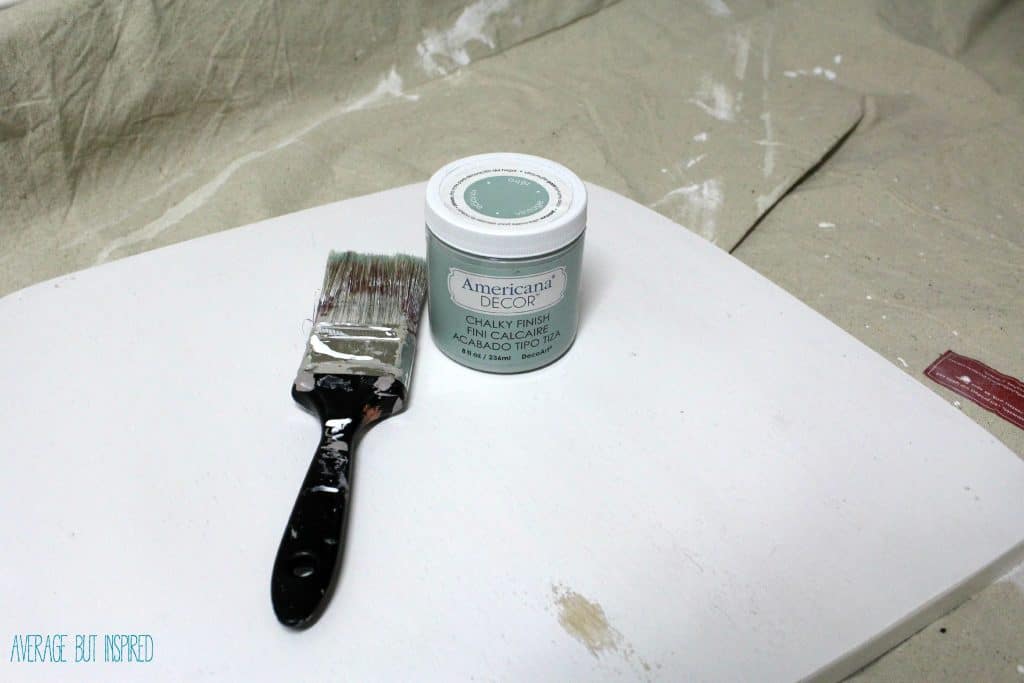
- Americana Decor Chalky Finish Paint in Vintage
- Americana Multi-Surface Paint in Cottonball
- Spray adhesive
- Mini paint roller and tray
- 2″ Paint Brush
- Painter’s Tape
- Screwdriver
- Sandpaper (220 grit)
- Polyurethane (or some other sealer)
Stenciled Chair Seats: How to with a Lasting Finish
If possible, unscrew the the seats from the chairs. This will make it much easier to paint the seats and add the stencil design.
Next, clean the seats (any any other part of the chairs that you’re painting). You can use a Magic Eraser, or clean it with a pre-paint cleaner that doesn’t leave a residue (like Krud Kutter or TSP).
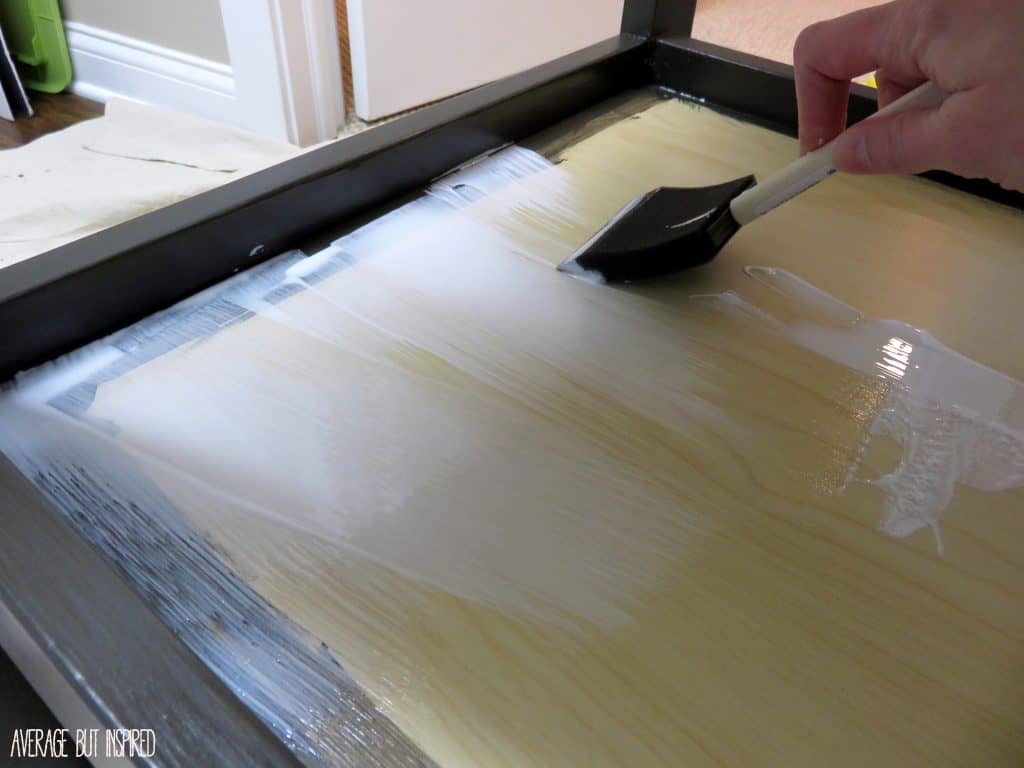
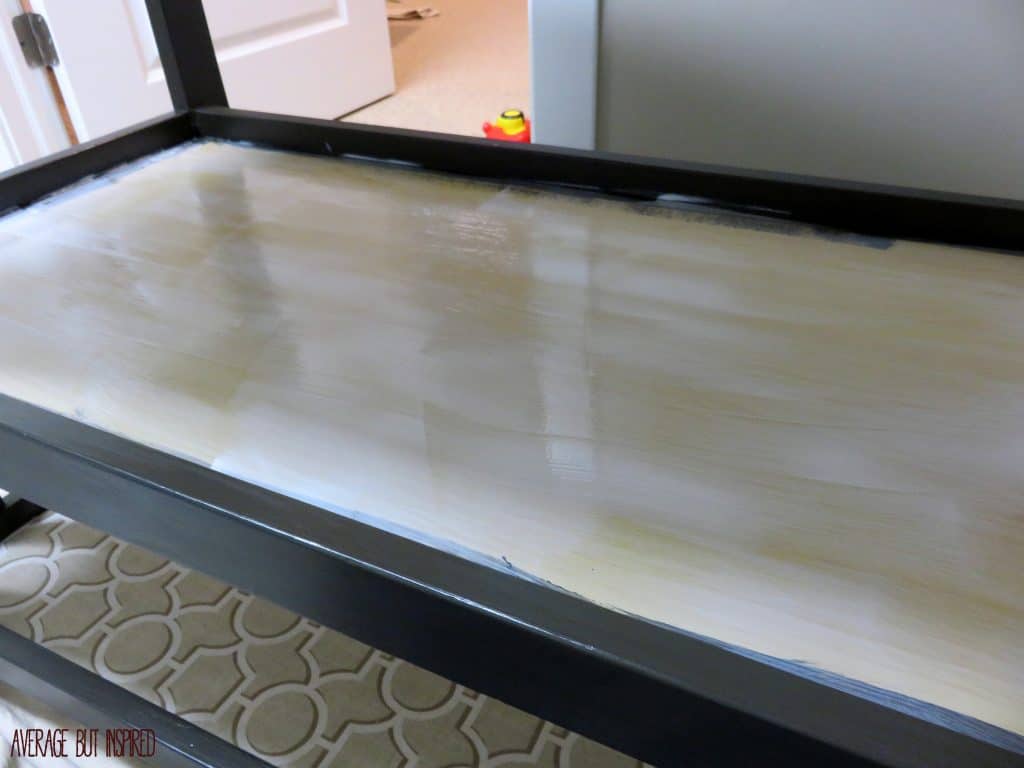
Now, give the seats a scuff sanding, and wipe off all of the dust. Then, paint the seats whatever base color you’d like. For this project, I chose Americana Decor Chalky Finish Paint in Vintage (a soft blue green color).
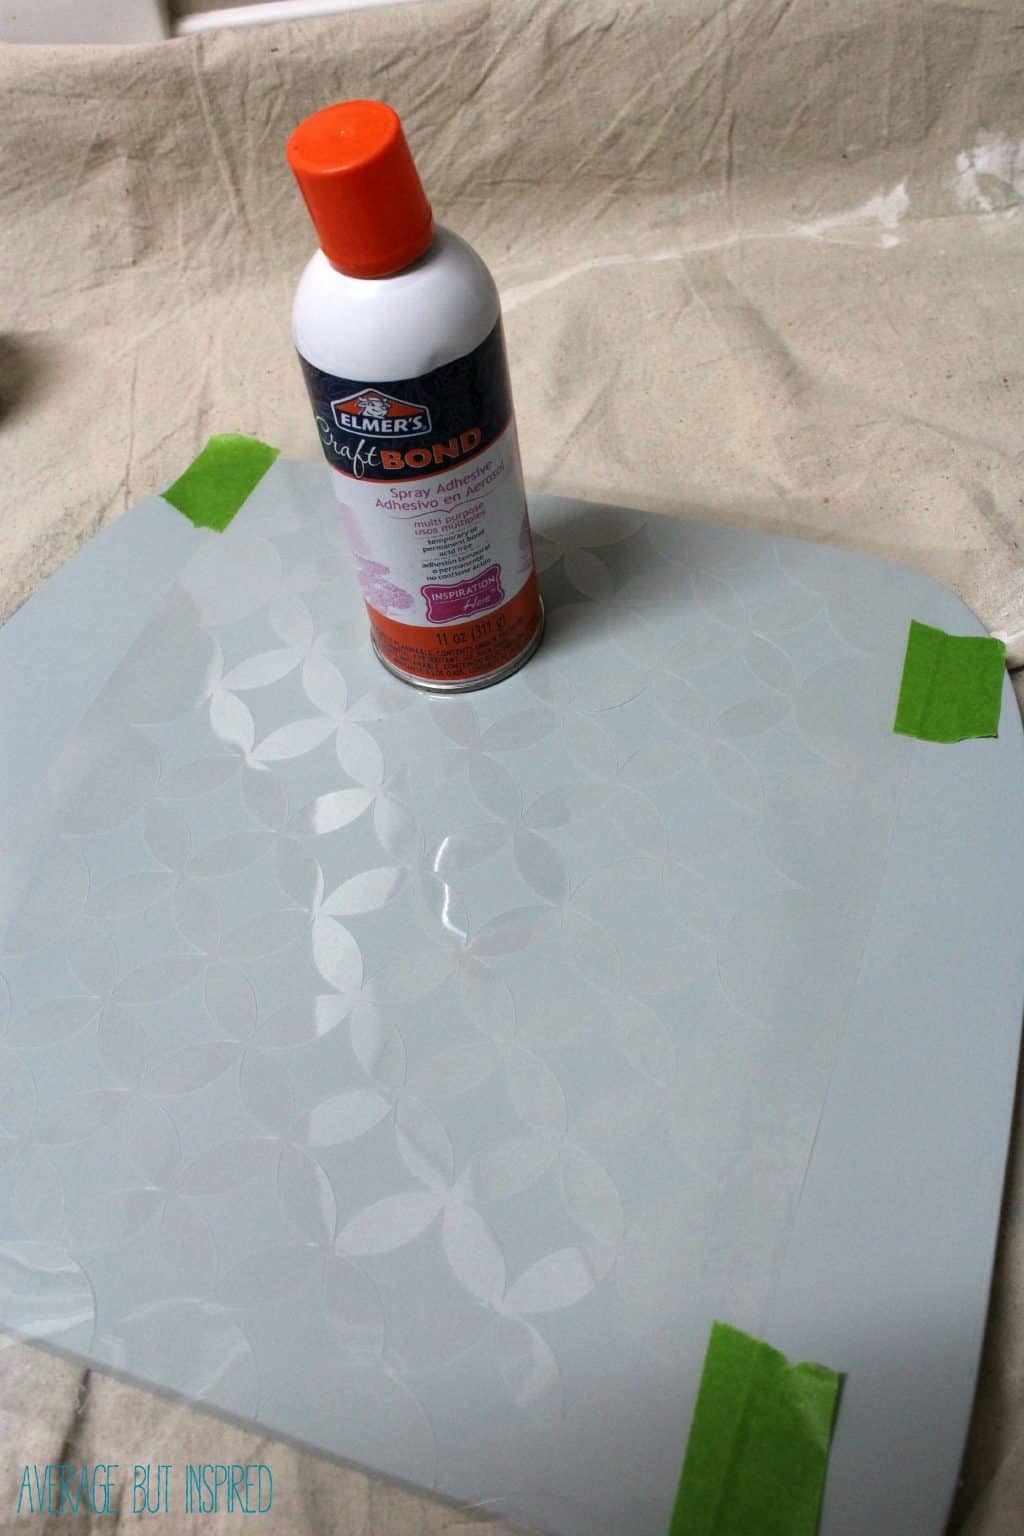
Let the paint thorougly dry, and then apply a light coat of spray adheisve to the back of the stencil you’re using. The spray adhesive not only holds the stencil in place, but it also prevents paint from bleeding through or seeping through the stencil pattern and ruining the crisp lines you’re after.
Press the stencil onto the middle of the chair seat, and then place painter’s tape on the edges of the stencil for extra hold. The painter’s tape is probably unnecessary, but I like to play it safe.
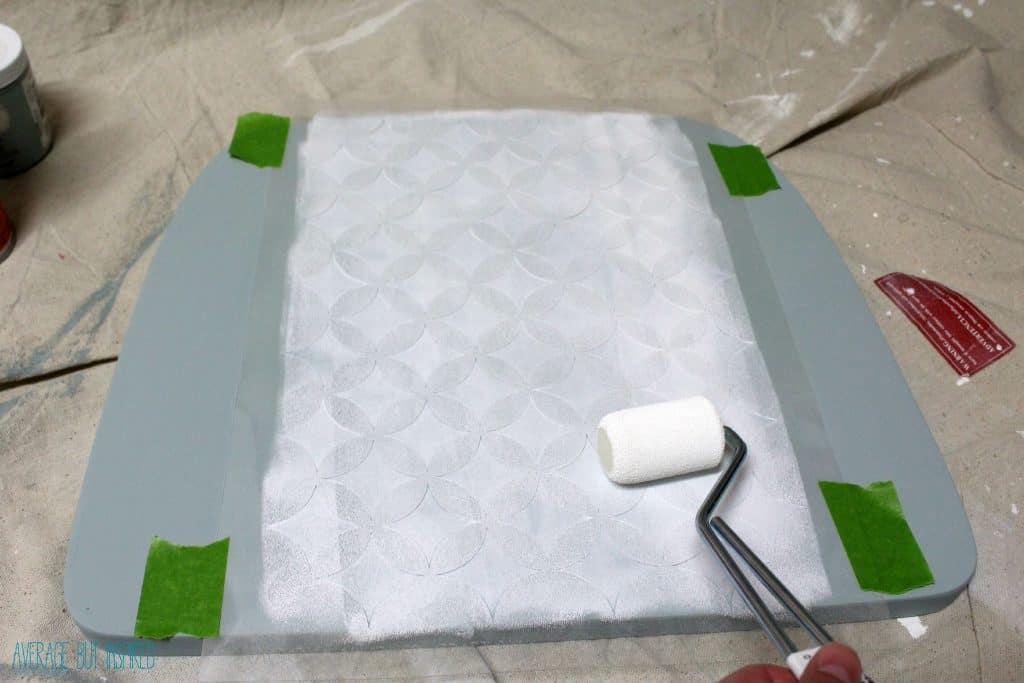
Next, dip the roller into the Americana Multi-Surface Paint and remove as much of the paint as possible from the roller. You want to use as little paint as possible here.
Then, gently roll over the entire stencil.
Once the first coat dried, I applied another. TIP: If you’re impatient like me, get out your hair dryer and speed up the drying process.
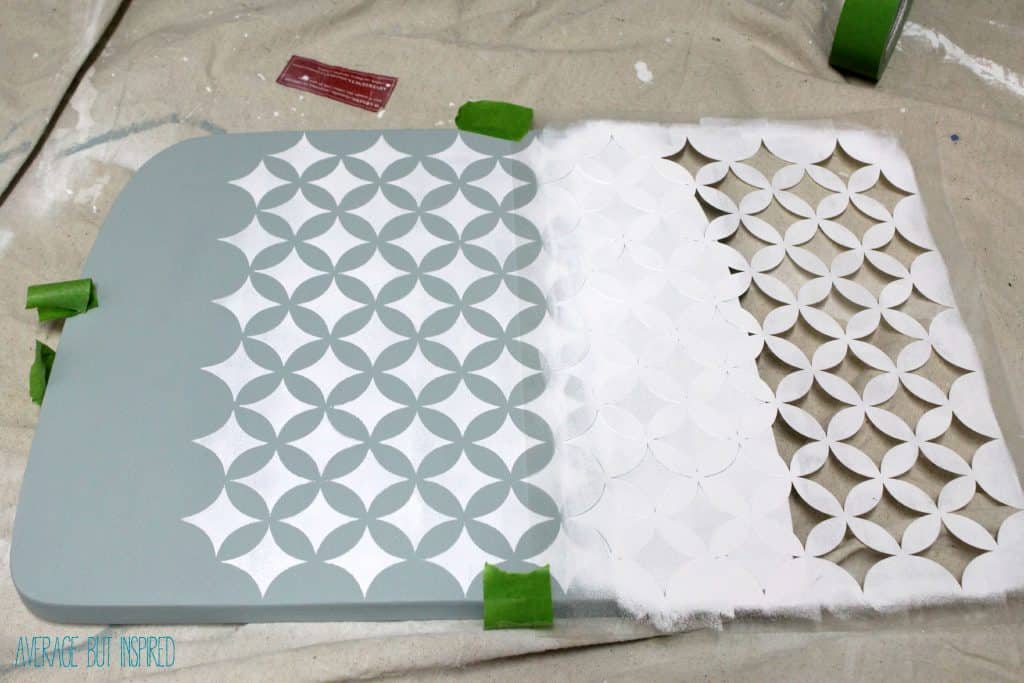
After the second coat of paint dries, gently remove the stencil. Match it up with an already painted edge, and stencil the next section.
Repeat this process until the entire chair seat is stenciled.
Once all of the stenciling is complete, seal each of the stenciled chair seats with polyurethane. This will protect your hard work!
Reattach the chair seats by screwing them back onto the chair frames.

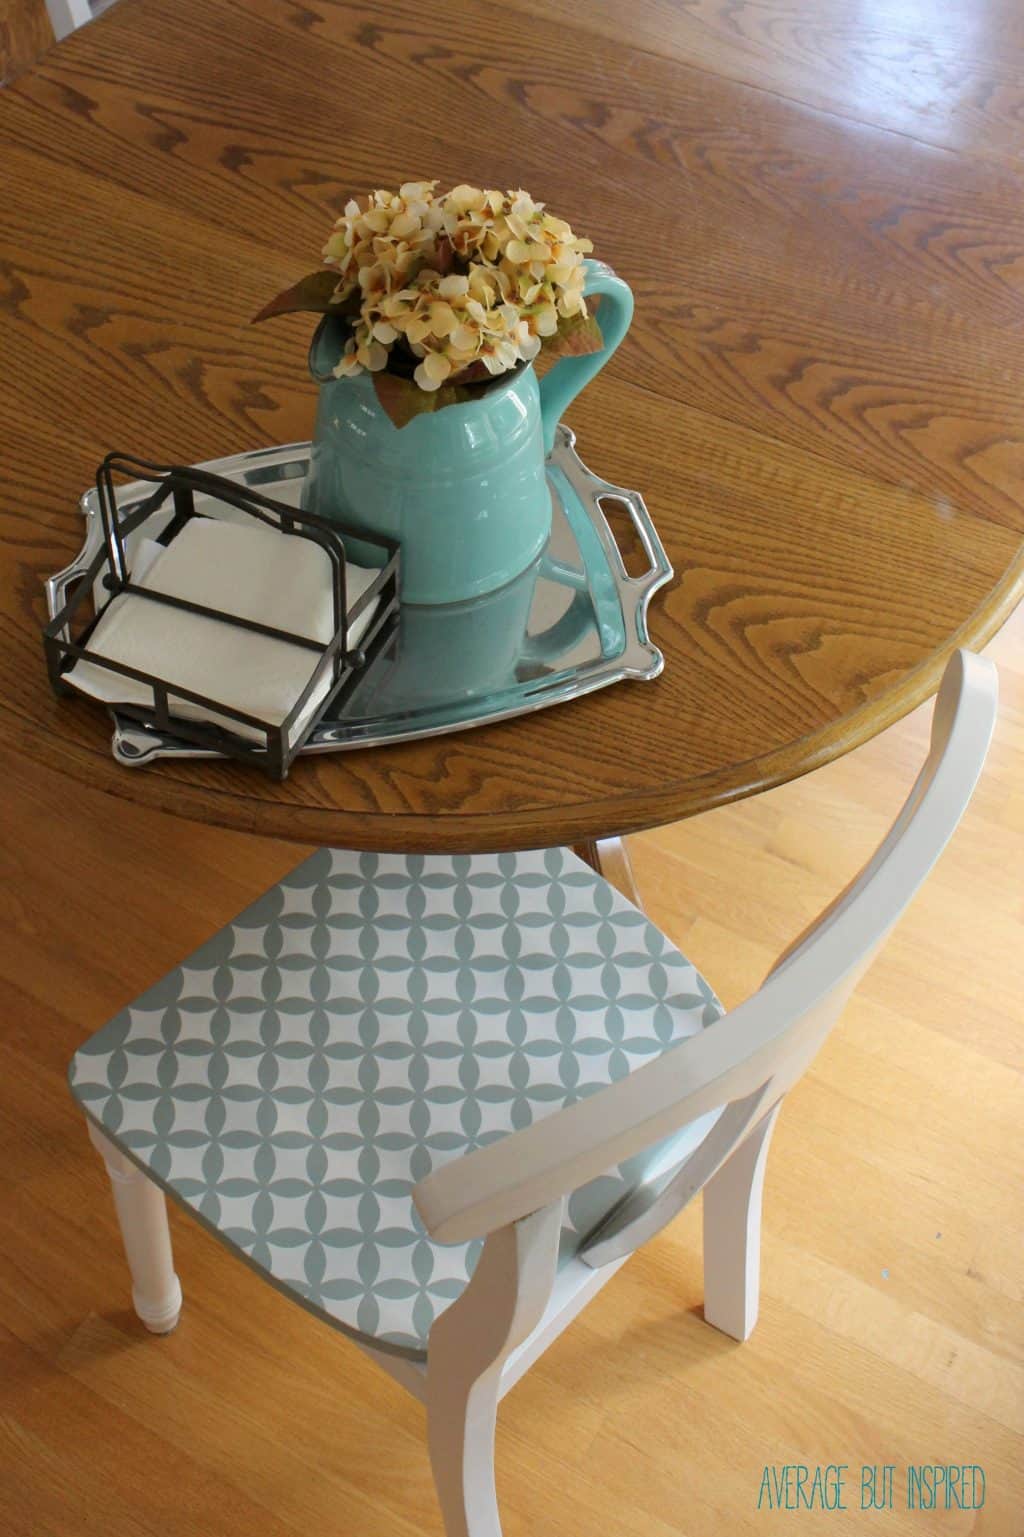
Then sit back and enjoy the new look of your old chairs!
Stenciling old furniture is such an amazing way to give it a whole new life. It’s a win for the environment and for your wallet!
Would you try to make over a set of old chairs with a stencil? Let me know in the comments section below!